Quick answer: Engine Air Filter Replacement on a 2016–2020 Cadillac CT6 is rated Easy and takes about 10–15 minutes. You'll need 1 tool for this job, and parts cost about $35. This guide walks you through the full job step by step, including the mistakes to avoid.
| Part Name |
Part Number |
Price |
Buy |
| Engine air filter for 2016-2020 Cadillac CT6; verify engine, housing shape, and VIN fitment |
— |
$35.00 |
|
About prices: shown prices are typical retail averages and change frequently; cheaper alternatives may be available. Confirm the current price before buying.
💡 Pro tip: Order all parts at once to save on shipping
Step-by-Step Instructions
Follow these steps carefully
1
Locate the passenger-side airbox ahead of the turbo inlet
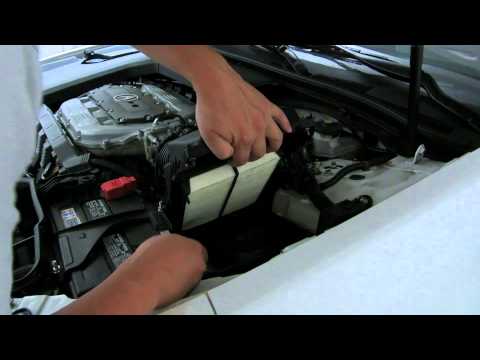
Engine fully off, parking brake on. The air filter lives in an airbox on the passenger side, just ahead of the turbo inlet. Same layout across the 2016–2020 range, including the 4.2L twin-turbo V8 in the 2019–2020 CT6-V.
2
Release the lid's clips or Torx screws — whichever yours has
The lid uses spring clips or Torx-head screws, depending on engine and year. Release them all — flip clips by hand, back screws into a tray. Don't pry the lid with a fastener engaged; the plastic tabs snap.
3
Lift the lid without straining the MAF wiring
Lift the lid. Don't hang it from the MAF wiring or yank the duct — the sensor sits downstream of the box. Never touch the sensing element; finger oil or cleaner residue corrupts its readings.
4
Remove the old filter and inspect it
Lift the old filter out and note which face was up and how the frame nested in the channel. On the turbo engines, a restricted filter dulls boost response and can make the turbos work audibly harder.
🔧 Mechanic's note — Ray Delgado
Hold the old pleats up to daylight before you bin them — dark, packed pleats mean you caught it just in time. On these turbo engines I watch for boost feeling dull or the turbos sounding like they're working harder; that's a restricted filter talking.
5
Clean the box and check the snorkel and clamps
Vacuum or wipe the lower half clear of grit and leaves, without pushing anything toward the clean-side outlet. Wipe the lid's sealing lip and seal channel, then check the intake snorkel and clamps for cracks or looseness.
6
Seat the new filter and close the lid evenly
Seat the new filter with the rubber frame flat in its channel — a folded edge sends dust to the turbo. Lower the lid and refasten every clip until it clicks, or snug every Torx screw without overtightening.
7
Verify the seal and test-drive
Press around the lid seam to confirm it's flush. Start the engine and listen at the airbox — hissing or whistling betrays a poor seal. Short drive to confirm normal boost and throttle, no warning lights.
All Done!
Test your repair before closing everything up. If something doesn't work right, double-check your steps.
⚠️ Common Mistakes to Avoid
- • Assuming every CT6 in this range has the same fasteners — check whether your lid uses clips or Torx screws before grabbing tools.
- • Letting the lid hang by the MAF sensor wiring while the filter is out, which strains the connector on turbo models.
- • Closing the lid with the filter's rubber frame folded over on one side, creating a dust bypass straight to the turbo.