← Back to Land Rover Discovery Guides

2010–2016 Land Rover Discovery

2010-2016 Land Rover Discovery — Cabin Air Filter Replacement

🔧 Easy 15–30 minutes

Quick Video Tutorial

Parts You Need

Click links to purchase (we earn from qualifying purchases)

Total Cost
$0.00
Part Name Part Number Price Buy
Cabin air filter (Corteco 80000361 / CUK 2747 application) — —

💡 Pro tip: Order all parts at once to save on shipping

Step-by-Step Instructions

Follow these steps carefully

1

Empty the glovebox and prepare

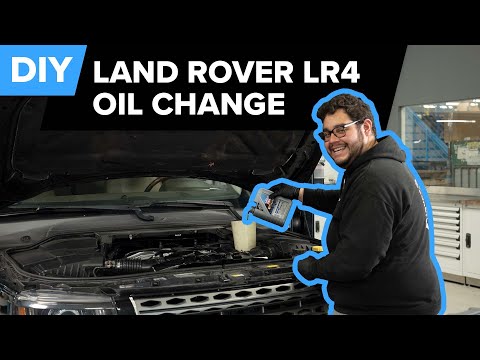
The video is FCP Euro's cabin filter replacement on a 2010–2016 Land Rover LR4 — the LR4 is the US-market name for the Discovery 4, an exact match for this hub. Park the Discovery, switch the ignition off, and open the passenger-side front door. Empty the glovebox completely so it can be removed without spilling its contents.

2

Remove the glovebox

Following the video's glovebox-removal sequence, release the glovebox damper arm and squeeze the sides past their stops to drop the glovebox fully down. Support it as it comes free rather than letting it hang by the wiring for the glovebox light. The cabin filter housing is now exposed on the HVAC case behind the opening.

3

Open the housing and remove the old filter

Unclip or unlatch the filter housing cover and set it aside. Note the airflow direction arrows on the old filter's frame before pulling it out. Slide the old filter straight out, keeping it level so trapped leaves and dust do not spill into the blower motor.

4

Clean the filter housing

Vacuum the empty filter housing and wipe the sealing surfaces clean. The video notes these filters collect twigs, leaves, and debris that cause poor smells — remove all of it. Check the housing for dampness that could indicate a blocked cowl drain.

5

Install the new filter correctly oriented

Slide the new filter into the housing with its airflow arrows pointing the same direction as the old filter. Press it fully home so the perimeter seals with no bypass gaps. Refit the housing cover until its clips or latches engage positively.

6

Reinstall the glovebox

Lift the glovebox back into position, re-engage the side stops and damper arm, and reconnect the glovebox light wiring if disconnected. Confirm the glovebox opens, closes, and latches smoothly with no binding.

7

Test the HVAC and finish

Start the engine and run the climate system on fresh-air mode at high fan speed. Verify strong, clean-smelling airflow from the dash vents and the absence of the musty odor the old filter caused. Return the glovebox contents.

All Done!

Test your repair before closing everything up. If something doesn't work right, double-check your steps.

⚠️ Common Mistakes to Avoid

  • • Installing the filter backwards against the airflow arrows, starving the HVAC of airflow.
  • • Forcing the glovebox past its damper and stops, snapping the plastic hinge tabs.
  • • Leaving leaves and debris in the filter housing, which immediately fouls the new filter.