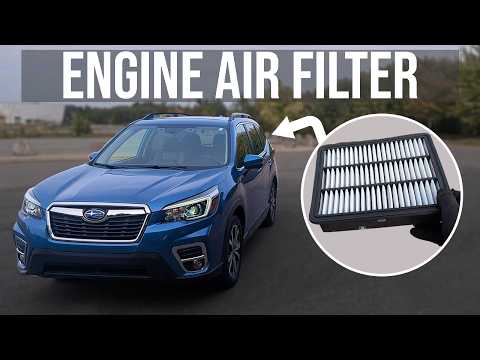
Quick answer: Cabin Air Filter Replacement on a 2019–2024 Subaru Forester is rated Easy and takes about 15-25 minutes. You'll need 2 tools for this job, and parts cost about $20. This guide walks you through the full job step by step, including the mistakes to avoid.
| Part Name |
Part Number |
Price |
Buy |
| Cabin air filter |
— |
$20.00 |
|
About prices: shown prices are typical retail averages and change frequently; cheaper alternatives may be available. Confirm the current price before buying.
💡 Pro tip: Order all parts at once to save on shipping
Step-by-Step Instructions
Follow these steps carefully
1
Prepare the vehicle and locate the filter
Park level, set the brake, ignition off — the Forester's cabin filter lives behind the glovebox, a no-tools job. Confirm the new filter matches the old in size first; Subaru's schedule calls for inspection every 12 months or 12,000 miles.
2
Open the glovebox access
Empty the glovebox, unhook the right-side damper arm, and squeeze both side walls inward to clear the stop tabs so the box swings down off its hinges. Support it as it drops — and reseat the damper arm before closing, or the glovebox won't shut properly.
3
Remove the old cabin filter
Pull the filter cover off and slide the filter out, noting the airflow arrow's direction. Inspect it for leaves, dust, moisture, or mold — a packed filter explains weak airflow or musty smell. If it's damp, run the fan on fresh air for the last minute of drives to dry the evaporator.
🔧 Mechanic's note — Ray Delgado
A filter black with mold tells me the evaporator never dries out — I tell owners to kill the A/C but leave the fan running a few minutes before parking. That one habit keeps the smell from coming back.
4
Clean and install the new filter
Vacuum the empty tray so dust doesn't reach the blower. Confirm the new filter matches the old, then slide it in with the airflow arrow pointing the same way (usually downward), fully seated so the edges seal with no gaps.
5
Reassemble and test HVAC operation
Click the filter cover back on, re-hang the glovebox on its hinges, and reconnect the damper arm. Start the engine and run the blower through several speeds on fresh air — airflow should be strong and clean with no rattles. Musty smell only on fresh air? Check the cowl intake — the filter isn't the culprit.
🔧 Mechanic's note — Tom Becker
I run the blower on every speed, not just high — a filter door that's barely unseated will whistle at speed two and go quiet at four. Catching it now beats pulling the glovebox apart twice.
All Done!
Test your repair before closing everything up. If something doesn't work right, double-check your steps.
⚠️ Common Mistakes to Avoid
- • Installing the filter with the airflow arrow reversed
- • Failing to fully seat the filter perimeter in its guides
- • Leaving leaves or dust inside the filter housing
- • Forcing the glovebox damper, stops, or cover clips