
The Complete Guide to OBD-II Scanners: Everything You Need to Know
If you've ever seen the dreaded check engine light illuminate on your dashboard, you know the sinking feeling that follows. But here's the good news: with an OBD-II scanner, you can diagnose the problem yourself in minutes and decide whether it's a simple fix or requires professional attention.
What is OBD-II?
OBD-II stands for On-Board Diagnostics, Second Generation. It's a standardized system that all vehicles sold in the United States since 1996 must have. This system continuously monitors your vehicle's engine, transmission, and emissions systems, storing diagnostic trouble codes (DTCs) when problems arise.
Why OBD-II Was Created
The EPA mandated OBD-II to:
- Monitor emissions-related components
- Alert drivers to malfunctions that affect emissions
- Help mechanics diagnose problems quickly
- Ensure vehicles maintain emission standards throughout their life
Types of OBD-II Scanners
1. Basic Code Readers ($20-$50)
Best for: Weekend DIYers who want to read and clear basic codes
Features:
- Read and clear diagnostic trouble codes (DTCs)
- Turn off check engine light
- Display basic freeze frame data
- Read VIN (Vehicle Identification Number)
- Show I/M readiness status
Recommended Models:
- ANCEL AD310 - Best budget option, around $30
- Autel AL319 - Slightly more features, around $35
- Foxwell NT201 - Includes ABS codes, around $40
Pros: Affordable, simple to use, portable Cons: Limited data, no live readings, generic codes only
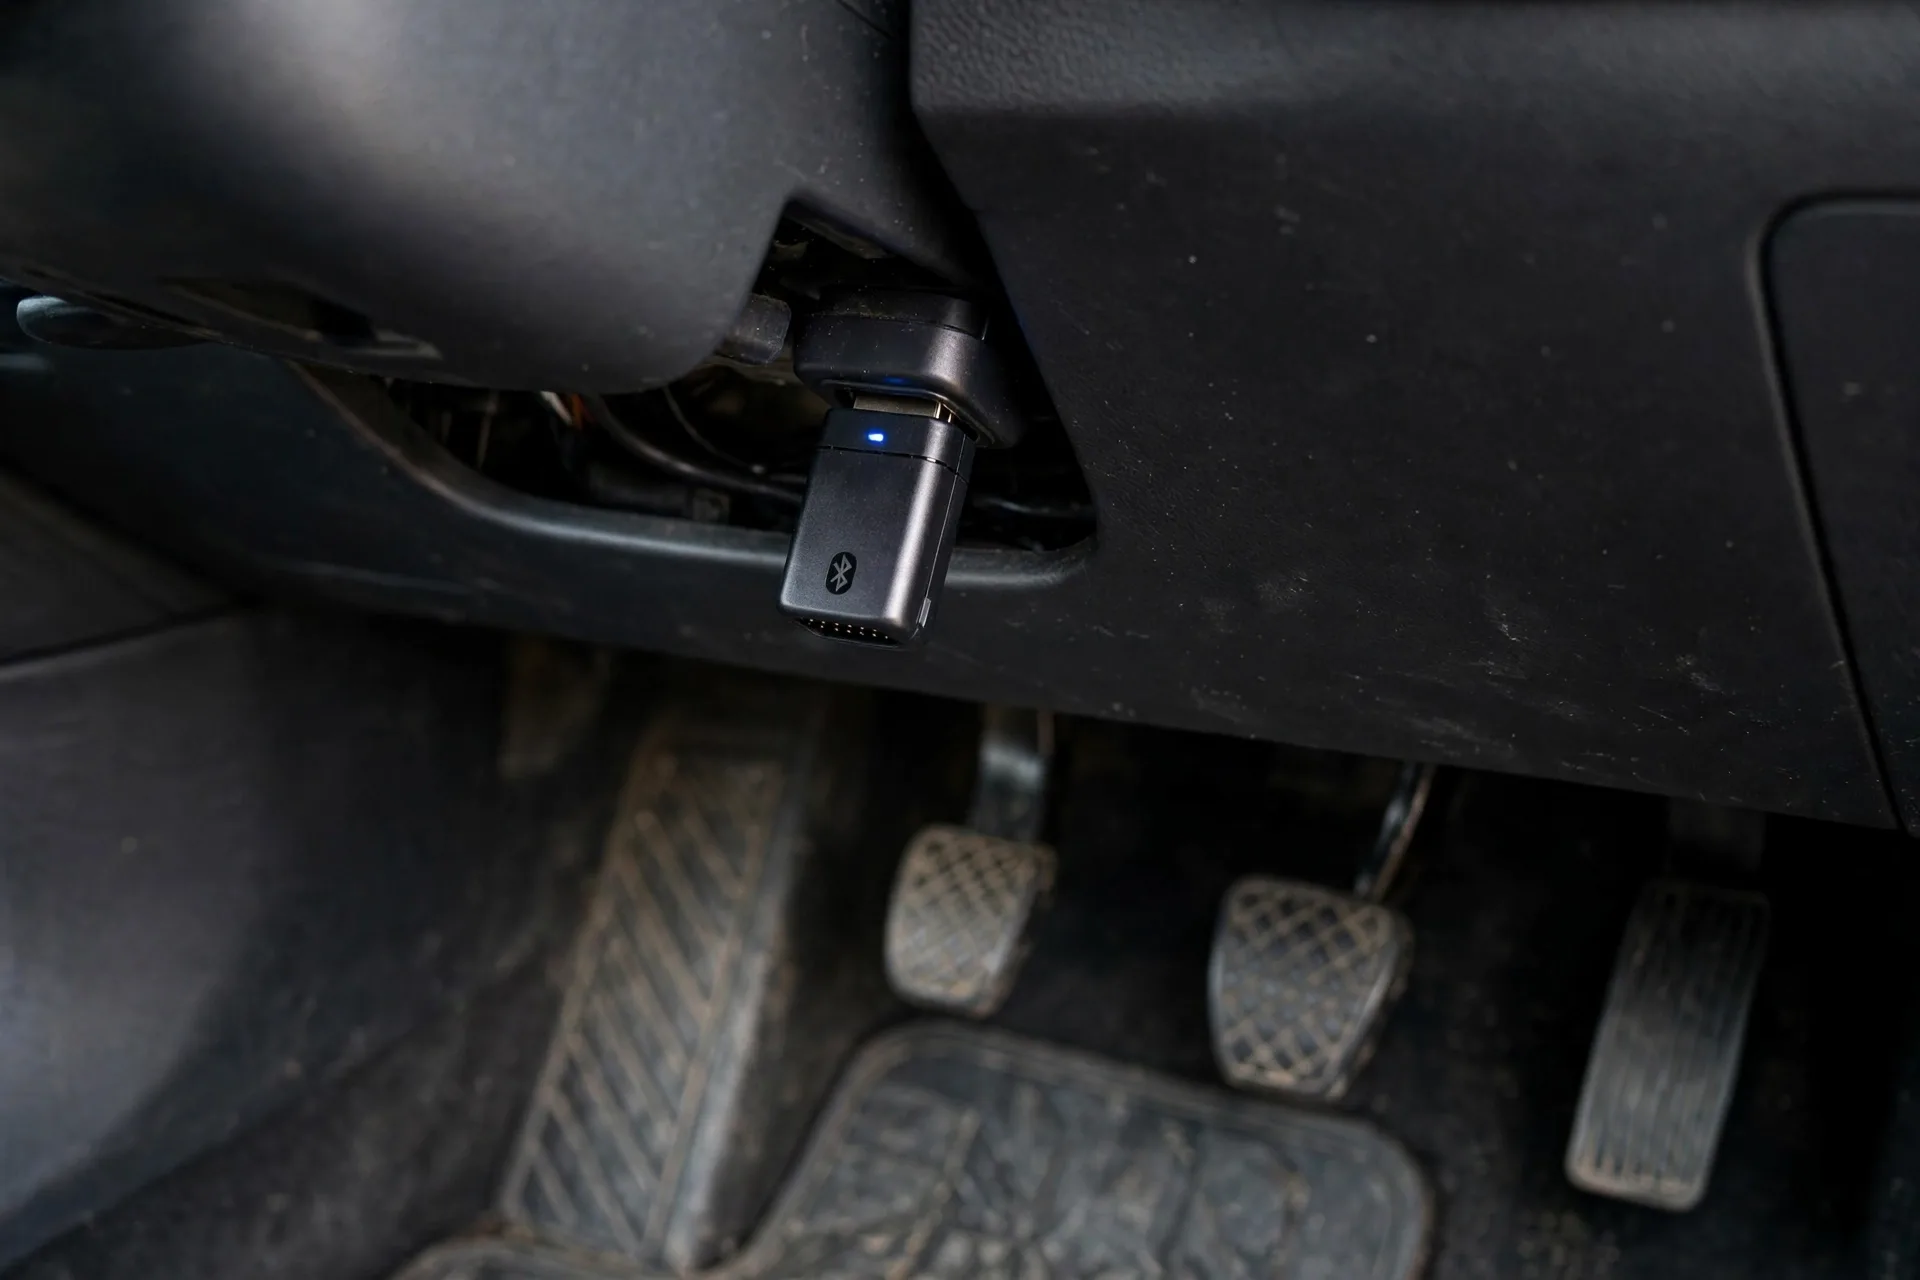
2. Bluetooth/WiFi Adapters ($15-$40)
Best for: Tech-savvy users comfortable with smartphone apps
Features:
- Connect to smartphone via Bluetooth or WiFi
- Use apps like Torque Pro, Car Scanner, or FIXD
- Real-time data monitoring
- Performance tracking
- Record and share data
Recommended Models:
- BlueDriver Bluetooth Pro - Best overall app integration, around $120
- OBDLink MX+ - Professional-grade, around $100
- FIXD OBD2 Premium - User-friendly app, around $60
Pros: Inexpensive hardware, feature-rich apps, graphs and data logging Cons: Requires smartphone, app subscription costs, connection issues
3. Mid-Range Scan Tools ($100-$300)
Best for: Serious DIYers and enthusiasts who work on multiple vehicles
Features:
- All code reader features PLUS:
- Live data streaming
- Bi-directional controls
- ABS and SRS (airbag) codes
- Oil reset and battery registration
- Manufacturer-specific codes
- Larger, built-in screens
Recommended Models:
- Autel MaxiCOM MK808 - Professional features at reasonable price (around $400)
- LAUNCH CRP919E - All-systems scanner (around $300)
- ThinkCar ThinkDiag - Affordable all-systems tool (around $150)
Pros: No smartphone needed, more diagnostics, built-in display Cons: Higher cost, learning curve, can be bulky
4. Professional Scan Tools ($400-$5,000+)
Best for: Professional mechanics and serious car enthusiasts
Features:
- Everything above PLUS:
- Advanced coding and programming
- Key programming
- ECU flashing
- Complete vehicle system access
- Technical service bulletins (TSBs)
- Wiring diagrams
- Regular updates
Recommended Models:
- Autel MaxiSys MS906 - Entry professional level (around $1,300)
- LAUNCH X431 V+ - Full system diagnostics (around $1,700)
- Snap-on SOLUS Ultra - Industry standard (around $2,500+)
Pros: Complete diagnostics, programming capabilities, dealer-level features Cons: Expensive, requires training, overkill for most DIYers
Understanding Diagnostic Trouble Codes (DTCs)
DTCs follow a standardized format: P0420
Code Structure:
First Character (System):
- P = Powertrain (engine and transmission)
- B = Body (airbags, power seats, etc.)
- C = Chassis (ABS, suspension)
- U = Network (communication between modules)
Second Character (Code Type):
- 0 = Generic (SAE standard)
- 1 = Manufacturer-specific
- 2 = Manufacturer-specific
- 3 = Reserved
Third Character (Sub-system):
- 1 = Fuel and air metering
- 2 = Fuel and air metering (injector circuit)
- 3 = Ignition system
- 4 = Auxiliary emissions
- 5 = Vehicle speed and idle control
- 6 = Computer output circuit
- 7 = Transmission
- 8 = Transmission
Fourth & Fifth Characters:
- Specific component or circuit (00-99)
Most Common OBD-II Codes

Related guide: 2018-2024 Jeep Wrangler - Oxygen Sensor — O2 sensor codes are among the most common — here is the replacement guide.
Top 10 Codes DIYers Encounter:
-
P0420/P0430 - Catalyst System Efficiency Below Threshold
- Common causes: Bad catalytic converter, failing O2 sensors
- DIY fix difficulty: Moderate to Hard
-
P0300-P0308 - Engine Misfire Detected
- Common causes: Bad spark plugs, ignition coils, fuel injectors
- DIY fix difficulty: Easy to Moderate
-
P0171/P0174 - System Too Lean
- Common causes: Vacuum leaks, dirty MAF sensor, weak fuel pump
- DIY fix difficulty: Moderate
-
P0442 - EVAP System Leak Detected (Small Leak)
- Common causes: Loose or damaged gas cap, cracked EVAP hoses
- DIY fix difficulty: Easy
-
P0128 - Coolant Thermostat (Coolant Temp Below Thermostat Regulating Temp)
- Common causes: Stuck-open thermostat
- DIY fix difficulty: Moderate
-
P0455 - EVAP System Leak Detected (Large Leak)
- Common causes: Loose gas cap, cracked EVAP canister, damaged hoses
- DIY fix difficulty: Easy to Moderate
-
P0401 - Exhaust Gas Recirculation (EGR) Flow Insufficient
- Common causes: Clogged EGR valve, carbon buildup
- DIY fix difficulty: Moderate
-
P0456 - EVAP System Leak Detected (Very Small Leak)
- Common causes: Pinhole in EVAP hose, leaking purge valve
- DIY fix difficulty: Moderate
-
P0133 - O2 Sensor Circuit Slow Response (Bank 1, Sensor 1)
- Common causes: Worn oxygen sensor, exhaust leak
- DIY fix difficulty: Easy to Moderate
-
P0141 - O2 Sensor Heater Circuit Malfunction (Bank 1, Sensor 2)
- Common causes: Failed oxygen sensor heater element
- DIY fix difficulty: Easy to Moderate
How to Choose the Right Scanner
Ask Yourself:
1. What's your mechanical skill level?
- Beginner: Basic code reader or Bluetooth adapter
- Intermediate: Mid-range scanner with live data
- Advanced: Professional-grade tool
2. How many vehicles will you use it on?
- One vehicle: Basic code reader is sufficient
- Multiple vehicles: Mid-range with all-systems capability
- Professional use: High-end professional tool
3. What's your budget?
- Under $50: Basic code reader
- $50-$150: Bluetooth adapter with good app
- $150-$400: Mid-range all-systems scanner
- $400+: Professional diagnostic tool
4. What level of diagnostics do you need?
- Just read codes: Basic code reader
- Troubleshoot issues: Mid-range with live data
- Programming and coding: Professional tool
Top Scanner Recommendations by User Type

Best for Beginners: ANCEL AD310 (around $30)
- Simple plug-and-play operation
- No smartphone required
- Reads and clears codes
- Free software updates
Best Bluetooth Adapter: BlueDriver (around $120)
- Excellent iOS and Android app
- Free reports with repair information
- Live data graphing
- Records and playback
Best Mid-Range: Autel MaxiCOM MK808 (around $400)
- All-systems diagnostics
- Bi-directional controls
- Oil resets, EPB, SAS, BMS, DPF
- 7-inch touchscreen
Best Professional: Autel MaxiSys MS906 (around $1,300)
- Dealer-level diagnostics
- ECU coding and programming
- 8-inch Android tablet
- Cloud-based updates
Essential Scanner Features
Must-Have Features:
- ✅ Read and clear DTCs
- ✅ I/M readiness status
- ✅ Freeze frame data
- ✅ VIN display
- ✅ Free software updates
Nice-to-Have Features:
- 🌟 Live data streaming
- 🌟 ABS and SRS codes
- 🌟 Built-in DTC library
- 🌟 Print/export reports
- 🌟 Multi-language support
Advanced Features:
- ⭐ Bi-directional controls
- ⭐ ECU programming
- ⭐ Key programming
- ⭐ Component testing
- ⭐ Manufacturer-specific protocols
Using Your OBD-II Scanner: Step-by-Step
Related guide: 2019-2024 Cadillac XT4 — Check Engine Light / OBD2 Diagnosis DIY Guide | EZ Car Fix — Put the scanner to work with a full check-engine-light diagnosis walkthrough.

Step 1: Locate Your OBD-II Port
It's usually under the dashboard on the driver's side, within 3 feet of the steering wheel. Common locations:
- Below steering column
- Near the center console
- Behind a small panel or door
- Check owner's manual if not obvious
Step 2: Connect the Scanner
- Turn off all vehicle accessories
- Insert key and turn to "ON" position (don't start engine)
- For push-button start: press twice without brake
- Plug scanner into OBD-II port
- Wait for scanner to power on and establish connection
Step 3: Read the Codes
- Select "Read Codes" or "Scan" on your device
- Wait for scan to complete (usually 15-30 seconds)
- Note all codes displayed
- Write them down or take a photo
- Select each code for detailed description
Step 4: Research the Codes
- Look up codes online for detailed explanations
- Check for Technical Service Bulletins (TSBs)
- Watch YouTube tutorials for your specific code and vehicle
- Read through repair forums for common fixes
Step 5: Clear Codes (After Repair)
- Only clear codes AFTER fixing the problem
- Select "Clear Codes" or "Erase DTCs"
- Confirm the action
- Turn ignition off, wait 10 seconds, then restart
- Check if check engine light is off
Step 6: Test Drive
- Drive 20-50 miles through various conditions
- Include city, highway, acceleration, and deceleration
- This allows the system to run self-tests
- Re-scan to verify codes don't return
Common OBD-II Scanner Mistakes to Avoid
❌ Mistake #1: Clearing Codes Without Fixing the Problem
The check engine light is not the problem - it's a symptom. Clearing codes without repairs will just make the light return, and you'll lose valuable diagnostic data.
❌ Mistake #2: Assuming the First Code is the Root Cause
Multiple codes often appear together. The first code listed isn't necessarily the main problem - analyze all codes together.
❌ Mistake #3: Not Recording Pending Codes
Pending codes haven't set the check engine light yet but indicate developing problems. Record these for early intervention.
❌ Mistake #4: Ignoring Freeze Frame Data
Freeze frame shows exact conditions when the code set (RPM, speed, temperature, etc.). This context is crucial for diagnosis.
❌ Mistake #5: Buying the Wrong Scanner
Buying too basic (can't diagnose properly) or too advanced (overwhelming and expensive) wastes money.
Advanced Scanner Uses
Related guide: 2018-2024 Toyota Camry — MAF Sensor Replacement DIY Guide | EZ Car Fix — Live data and fuel trims are the fastest way to condemn a bad MAF sensor.
Live Data Monitoring
Watch real-time sensor readings to diagnose intermittent problems:
- Engine RPM
- Coolant temperature
- Throttle position
- Oxygen sensor voltage
- Fuel trim values
- Intake air temperature
- Mass air flow
Readiness Monitors
Check if your vehicle will pass emissions testing:
- Ready = System has completed self-tests
- Not Ready = Need to drive more
- Most states allow 1-2 monitors to be "Not Ready"
Bi-Directional Testing
Advanced scanners can command components:
- Activate fuel injectors
- Cycle ABS valves
- Test cooling fans
- Actuate EVAP purge valve
Special Functions
- Oil life reset
- Electronic parking brake reset
- Steering angle sensor calibration
- Battery registration (for newer vehicles)
- DPF regeneration (diesel)
- Throttle body relearn
Maintaining Your Scanner
Software Updates
- Update regularly (every 3-6 months)
- New vehicle coverage added
- Bug fixes and improvements
- Some require subscription after first year
Care Tips
- Store in protective case
- Keep away from extreme temperatures
- Don't leave plugged in when not in use
- Clean connector pins with contact cleaner
- Charge battery periodically (wireless units)
When to See a Professional
Even with a scanner, some situations require professional help:
- Multiple complex codes you don't understand
- Transmission problems requiring special diagnostics
- ABS or airbag issues (safety-critical)
- Problems requiring dealer-level programming
- Intermittent issues that don't set codes
- You lack tools or skills for the repair
Money-Saving Tips
DIY Diagnostics Can Save You:
- $100-$150 per diagnostic visit
- $50-$100 per code reading
- Avoid unnecessary repairs from misdiagnosis
- Verify shop diagnosis before approving work
- Know if it's urgent or can wait
Return on Investment:
A $30 code reader pays for itself after just one use. A $400 professional scanner pays for itself after 4-5 diagnostic visits.
The Future of OBD-II
What's Coming:
- OBD-III: Real-time emission monitoring with automatic reporting (in development)
- Enhanced cybersecurity measures
- More electric vehicle diagnostics
- Cloud-based diagnostic platforms
- AI-assisted troubleshooting
Final Thoughts
Owning an OBD-II scanner is like having a direct line of communication with your vehicle. Whether you choose a basic $30 code reader or a $400 professional tool, the knowledge and savings you gain make it one of the best investments for any car owner.
Start with a basic scanner if you're new to car repair, and upgrade as your skills and needs grow. The important thing is taking that first step toward understanding what your car is trying to tell you.
Ready to buy your first OBD-II scanner? Check out our recommended models above and take control of your vehicle's health today!
Have questions about OBD-II scanners or need help choosing the right one? Drop a comment below and we'll help you out!
Last reviewed: October 2026.


