
The Sensor That Costs $100 but Saves $500/Year in Gas
Most modern cars have 2–4 oxygen sensors. Most people have never heard of them until their check engine light comes on.
What they do: Tell the computer how much oxygen is in the exhaust. Computer uses this to adjust air/fuel mixture for maximum efficiency.
When they fail: Your fuel economy can drop 15–25%. On a car getting 25 MPG, that's 4-6 MPG lost. At $3.50/gallon and 12,000 miles/year, you're wasting $350-500 in extra gas annually.
Plus you fail emissions testing. Plus you might damage your catalytic converter.
Let me show you how to fix this before it costs you serious money.
What Oxygen Sensors Actually Do
Your engine needs the perfect air-to-fuel ratio: 14.7:1 (14.7 parts air to 1 part fuel)
Too rich (too much fuel):
- Wasted fuel
- Black smoke
- Fouls spark plugs
- Damages catalytic converter
Too lean (too much air):
- Loss of power
- Engine damage from running hot
- Rough running
Oxygen sensors measure oxygen in exhaust:
- High oxygen = lean mixture
- Low oxygen = rich mixture
- Computer adjusts fuel accordingly
This happens constantly while you drive
Types of Oxygen Sensors
Upstream O2 Sensor (Before Catalytic Converter)
Also called:
- Sensor 1
- Bank 1 Sensor 1 or Bank 2 Sensor 1
- Pre-cat sensor
Location: Between engine and catalytic converter
Purpose: Primary sensor for fuel control
Most critical - directly controls fuel mixture
Your car has: 1-2 of these (1 for 4-cyl, 2 for V6/V8)
Downstream O2 Sensor (After Catalytic Converter)
Also called:
- Sensor 2
- Bank 1 Sensor 2 or Bank 2 Sensor 2
- Post-cat sensor
Location: After catalytic converter
Purpose: Monitors catalytic converter efficiency
Less critical for fuel economy, more for emissions
Your car has: 1-2 of these
Bank 1 vs Bank 2
V6 or V8 engines have two banks:
- Bank 1: Side with cylinder #1
- Bank 2: Other side
Each bank has:
- Sensor 1 (upstream)
- Sensor 2 (downstream)
4-cylinder usually has:
- Just Bank 1 Sensor 1 and Bank 1 Sensor 2
Symptoms of Bad Oxygen Sensor

Check Engine Light
Most common O2 sensor codes:
P0131-P0138: Various O2 sensor faults (circuit low/high, slow response)
P0141: O2 sensor heater circuit (sensor not warming up)
P0171/P0174: System too lean (could be O2 sensor or vacuum leak)
P0420/P0430: Catalyst efficiency (often caused by bad downstream O2 sensor)
Get codes read at auto parts store (free) to know which sensor
Poor Fuel Economy
Most noticeable symptom:
- Up to 15-25% worse MPG
- More frequent fill-ups
- Computer running too rich (wasting fuel)
Why: Bad sensor gives wrong reading, computer adds too much fuel
Rough Idle
Engine idles poorly:
- Stumbles
- Surges
- Inconsistent RPM
Why: Air/fuel mixture constantly wrong
Failed Emissions Test
In states with emissions testing, usually an automatic fail if:
- Check engine light on
- O2 sensor not reading properly
- Emissions too high
Black Smoke from Exhaust
Rich condition:
- Too much fuel
- Black smoke visible
- Bad O2 sensor telling computer to add more fuel
Hesitation or Surging
While driving:
- Engine hesitates
- Surges forward unexpectedly
- Inconsistent power delivery
Why: Computer constantly trying to correct fuel mixture based on bad sensor data
When to Replace Oxygen Sensors
Manufacturer recommendation: Usually 60,000-100,000 miles
Reality (varies by vehicle — check your manual):
- Upstream sensors: 60,000-80,000 miles
- Downstream sensors: 80,000-100,000 miles
- Or when they fail
Replace earlier if:
- Check engine light with O2 sensor code
- Fuel economy drops significantly
- Failed emissions test
- Engine runs rough
Factors that shorten life:
- Poor fuel quality
- Oil burning (worn engine)
- Coolant in combustion chamber (head gasket leak)
- Contamination from additives
- Silicone from improper RTV use
How to Diagnose Which Sensor Failed
Step 1: Get the Code Read
Free at auto parts stores:
- AutoZone, O'Reilly's, Advance Auto
- They'll read code and print it out
Code tells you which sensor:
- P0131 = Bank 1 Sensor 1 (upstream)
- P0141 = Bank 1 Sensor 2 (downstream)
- Etc.
Step 2: Visual Inspection
Look at sensor:
- White/gray deposits = contamination (oil/coolant)
- Black/sooty = rich running
- Physical damage = failed
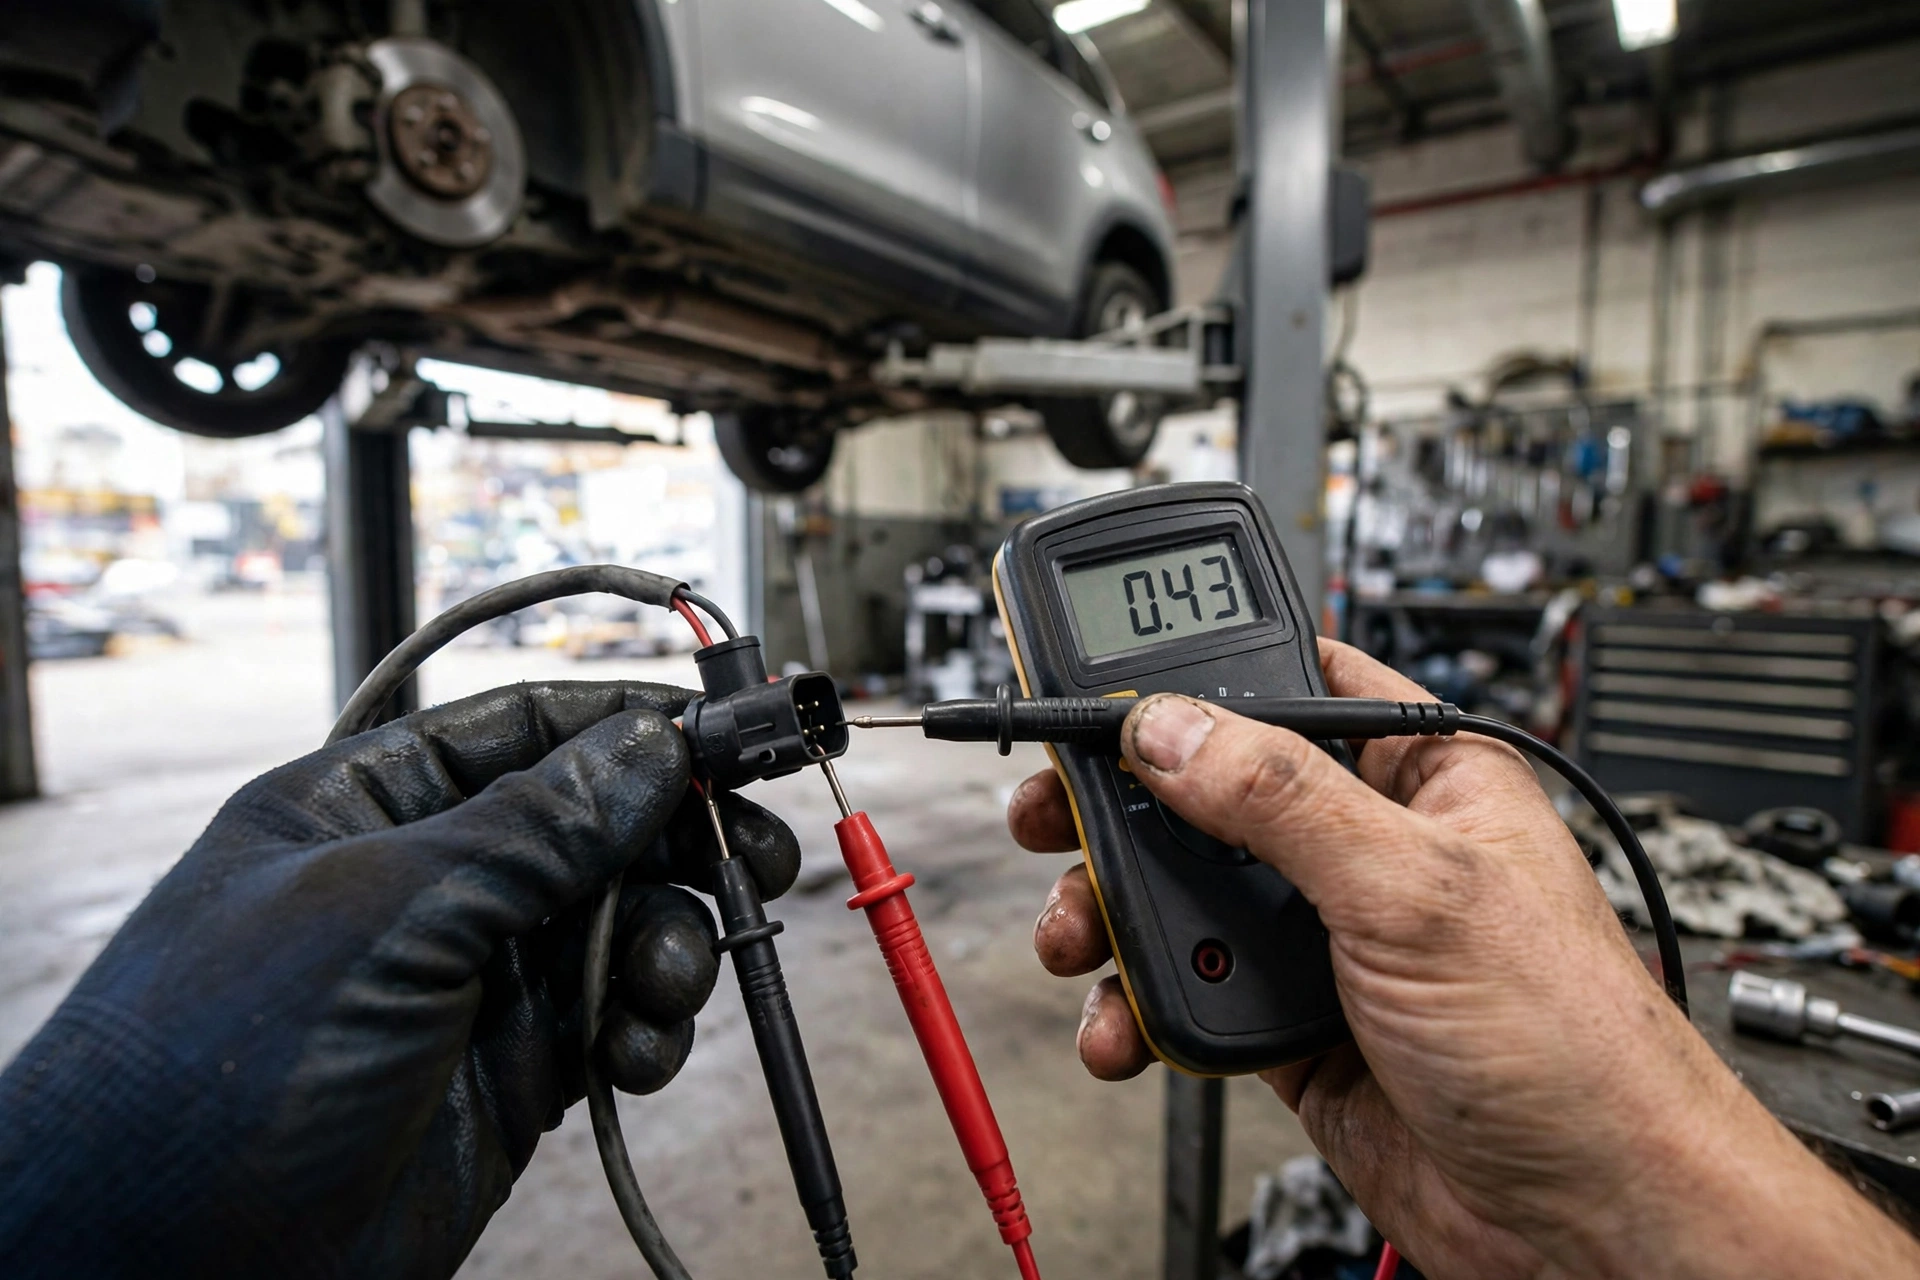
Step 3: Check Sensor Voltage (Advanced)
With scan tool that shows live data:
Upstream sensor should:
- Fluctuate rapidly (0.1V to 0.9V)
- Respond to throttle changes
- Switch rich/lean constantly
Bad upstream sensor:
- Stuck at one voltage
- Slow to respond
- Doesn't fluctuate
Downstream sensor should:
- Be relatively steady (0.4-0.6V)
- Not fluctuate much
Bad downstream sensor:
- Stuck at extremes
- Mirrors upstream sensor (means cat is dead)
Step 4: Process of Elimination
If code doesn't specify sensor:
- Check cheapest first (downstream usually)
- Replace and test
- If problem persists, check other sensors
Related guide: 2019-2024 Cadillac XT4 — Check Engine Light / OBD2 Diagnosis DIY Guide | EZ Car Fix — how to read O2 sensor codes and live data to pin down the bad sensor.
DIY Oxygen Sensor Replacement
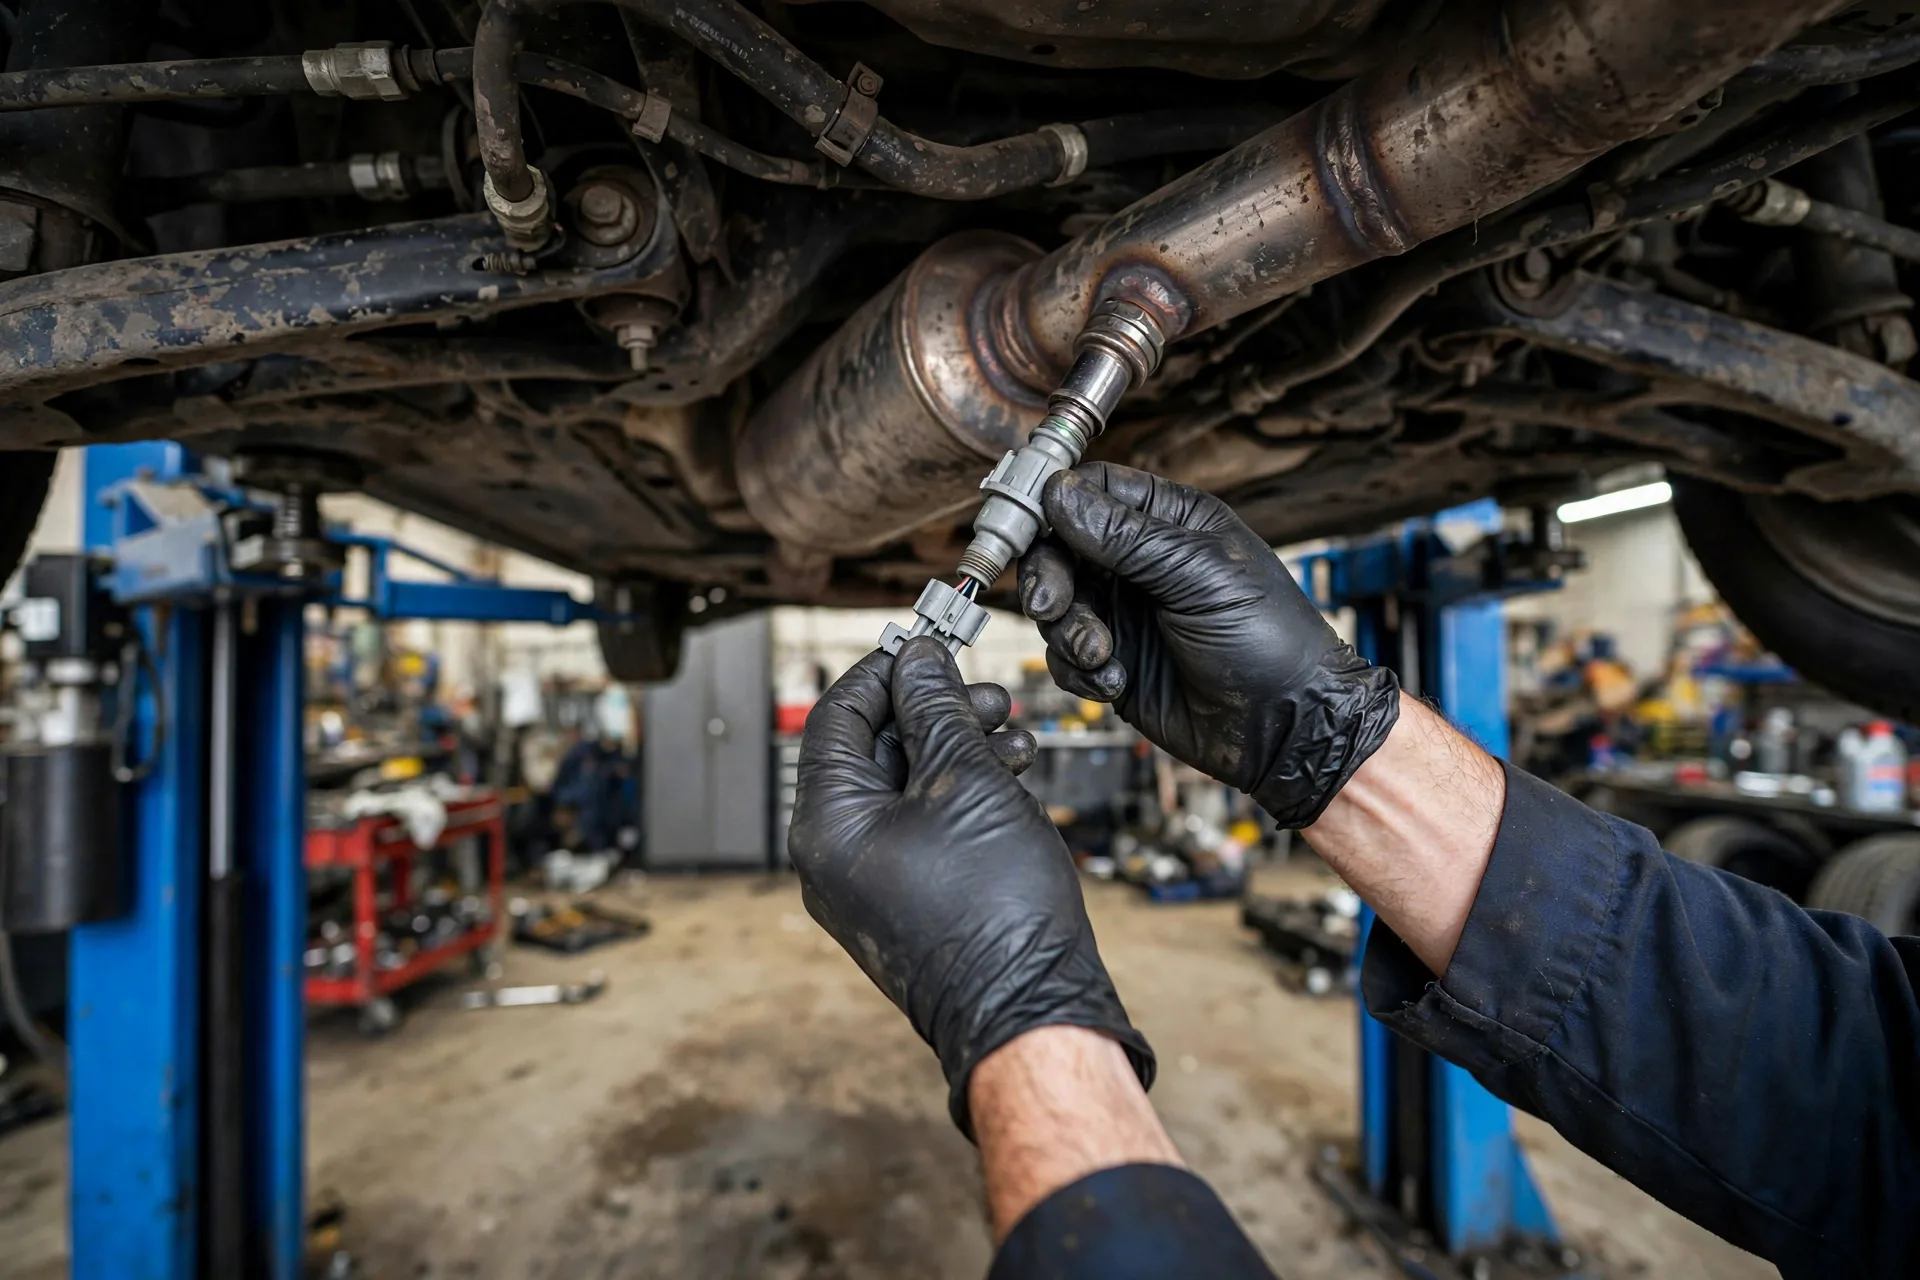
Difficulty: 3/10 - Pretty easy
Time: 30-60 minutes per sensor
Tools needed:
- O2 sensor socket (very important)
- Ratchet and extensions
- Penetrating oil
- Anti-seize compound
- Jack and stands (for under-car access)
The Process
Step 1: Locate the Sensor
Upstream: On exhaust manifold near engine
Downstream: After catalytic converter
Looks like: Wire coming out of exhaust pipe with connector
Step 2: Let Car Cool
Exhaust is HOT. Wait at least 1 hour after driving.
Step 3: Lift Car if Needed
Some sensors accessible from above, some require lifting car.
Step 4: Disconnect Electrical Connector
Usually:
- Press tab and pull apart
- Might be corroded/stuck
- Don't force - press release tab correctly
Step 5: Spray Penetrating Oil
Sensors get stuck in exhaust:
- Spray with PB Blaster or similar
- Let soak 10-15 minutes
- Makes removal much easier
Step 6: Remove Old Sensor
Use O2 sensor socket:
- Special socket with slot for wire
- 7/8" or 22mm usually
- Long extension helps
Turn counterclockwise
If stuck:
- Heat exhaust with torch (carefully)
- More penetrating oil
- Might need breaker bar
- Patience
Some sensors are REALLY stuck - this is the hardest part
Step 7: Prep New Sensor
Apply anti-seize to threads:
- Small amount on threads
- NOT on sensor tip
- Helps future removal
Some sensors come pre-coated - check first
Step 8: Install New Sensor
- Thread in by hand first (prevents cross-threading)
- Tighten with socket
- Torque to spec (usually 30-40 ft-lbs)
- Don't overtighten
Step 9: Connect Electrical
Plug connector back in until it clicks
Step 10: Clear Codes and Test
- Clear check engine light (scan tool or disconnect battery)
- Drive car
- Monitor for check engine light
- Check fuel economy improvement over next tank
Should see MPG increase within a tank of gas
Related guide: 2018-2024 Jeep Wrangler - Oxygen Sensor — the full sensor swap including the special socket and anti-seize steps.
Which Sensor to Replace First
If you don't know which failed:
Option 1: Read the code (tells you exactly which one)
Option 2: Replace upstream first
- More critical for fuel economy
- Fails more often
- Usually cheaper/easier to access
Option 3: Replace all at once (if high mileage)
- 100,000+ miles on original sensors?
- Replace all 2-4 sensors
- Prevents doing job multiple times
- Saves labor in long run
Cost Breakdown
Parts:
- Universal O2 sensor: $20-50
- Direct-fit O2 sensor: $40-150
- OEM O2 sensor: $80-250
Labor (per sensor):
- Easy access: 0.5 hours ($50-100)
- Difficult access: 1 hour ($100-200)
Total per sensor:
- DIY: $40-150 (sensor only)
- Shop: $150-350 (parts + labor)
For all 4 sensors:
- DIY: $160-600
- Shop: $600-1,400
Savings by DIY: $440-800+
Universal vs Direct-Fit Sensors
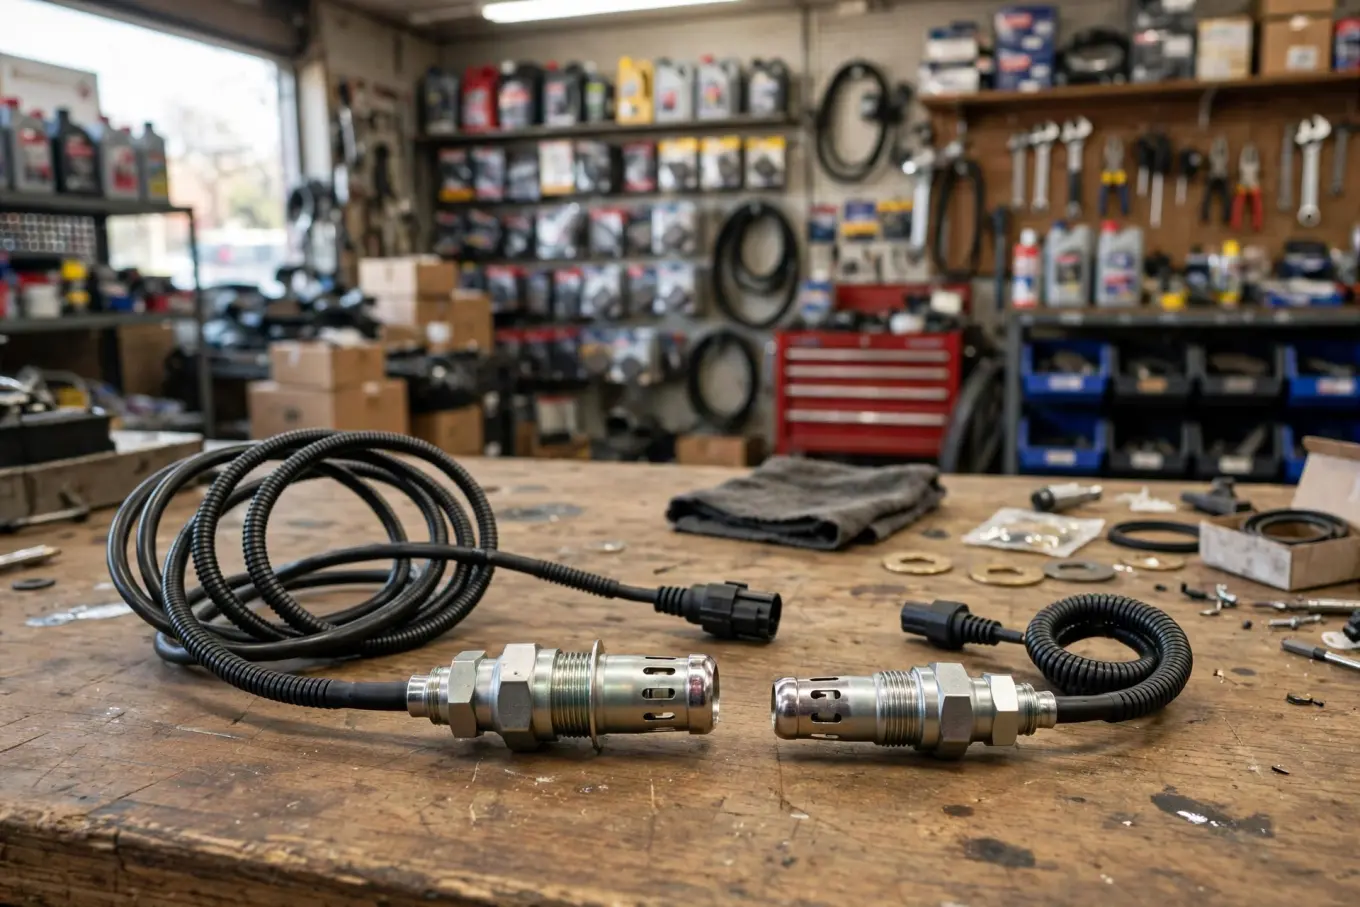
Universal Sensors
Pros:
- Much cheaper ($20-50)
- Fits many cars
- Same sensing element
Cons:
- Requires splicing wires
- Need to reuse old connector
- Takes longer to install
- Can have wiring issues if done wrong
For experienced DIYers who know how to splice properly
Direct-Fit Sensors
Pros:
- Plug-and-play
- No splicing
- Correct length wire
- Faster installation
- Less chance of error
Cons:
- More expensive ($40-150)
- Must match your exact car
My recommendation: Spend extra $20-50 for direct-fit. Worth it for simplicity.
Common Mistakes
Confusing O2 Sensor with Catalytic Converter
Code P0420/P0430:
- Says "catalyst efficiency"
- Could be bad downstream O2 sensor
- Or could be bad catalytic converter
Try replacing downstream O2 sensor first ($100-150)
If that doesn't fix it: Probably need catalytic converter ($500-2,000)
Using Wrong Sensor
V6/V8 cars have multiple sensors:
- Bank 1 vs Bank 2
- Sensor 1 vs Sensor 2
- Use correct one for the code
Installing wrong one won't fix the problem
Breaking Sensor During Removal
Seized sensors can break:
- Wire rips off
- Sensor breaks in threads
Now you need:
- Special extractor tool
- Or weld a nut onto broken sensor
- Or drill it out (last resort)
Prevention: Penetrating oil, patience, proper tools
Not Using Anti-Seize
Without anti-seize:
- Next removal will be nightmare
- Sensor might break off
Use anti-seize - your future self will thank you
Contaminating New Sensor
Don't touch sensor tip:
- Oil from fingers contaminates it
- Silicone from RTV gasket maker kills sensors
- Handle by hex portion only
Ignoring Root Cause
If sensor failed early:
- Oil burning (worn engine)
- Coolant leak (head gasket)
- Fuel additives
- Rich running condition
Fix root cause or new sensor will fail too
Preventive Maintenance
Extend O2 sensor life:
- Use quality fuel - cheap gas has more contaminants
- Fix oil leaks promptly - oil burning damages sensors
- Fix coolant leaks - coolant in combustion chamber kills sensors
- Don't use fuel additives unless necessary
- Maintain engine properly - worn engine kills sensors faster
- Replace on schedule - 60-100k miles
Signs engine is killing sensors:
- Blue smoke (oil burning)
- White smoke (coolant burning)
- Sensors failing frequently
Fix engine problems before replacing sensors repeatedly
When It's NOT the O2 Sensor
Other causes of same symptoms:
Vacuum leak:
- Triggers lean codes (P0171/P0174)
- Sounds like bad O2 sensor
- Check for hissing, cracked hoses
MAF sensor:
- Dirty/failed MAF causes similar issues
- Clean MAF first (easy, $10)
Fuel pressure:
- Weak fuel pump
- Clogged filter
- Causes lean/rich conditions
Exhaust leak:
- Before O2 sensor
- False lean reading
- Fix leak first
Catalytic converter:
- P0420/P0430 codes
- Try O2 sensor first, cat second
Related guide: 2015-2023 Dodge Challenger - Replace Catalytic Converter — if P0420 or P0430 persists after a new sensor, the converter itself is the next suspect.
The Bottom Line
Oxygen sensors are wear items that affect:
- Fuel economy (15-25% loss when bad)
- Emissions (won't pass inspection)
- Engine performance
- Catalytic converter life (can damage expensive cat)
When to replace:
- Check engine light with O2 sensor code
- 60,000-100,000 miles preventively
- Fuel economy drops noticeably
- Failed emissions test
DIY difficulty: Easy (3/10)
Cost:
- DIY: $40-150 per sensor
- Shop: $150-350 per sensor
- Savings: $100-200 per sensor
Tools needed:
- O2 sensor socket ($10-20)
- Basic hand tools
- Penetrating oil
Key points:
- Use correct sensor for the code
- Direct-fit easier than universal
- Penetrating oil is your friend
- Anti-seize prevents future problems
- Bad sensor costs you $30-50/month in wasted gas
A $100 sensor replacement saves $400-500/year in fuel.
Don't drive around with bad O2 sensors wasting gas.
Questions? Drop them below.
- Roberto Gil
Last reviewed: October 2026.


