Quick answer: Oil and Filter Change on a 2016–2019 Cadillac ATS-V is rated Moderate and takes about 45–60 minutes. You'll need 7 tools for this job, and parts cost about $53. This guide walks you through the full job step by step, including the mistakes to avoid.
Oil spec
3.6L twin-turbo V6
Capacity 6.0 qt with filter Viscosity 5W-30 (alt: 0W-30) Spec dexos1 Gen 3
| Part Name |
Part Number |
Price |
Buy |
| 5W-30 dexos full-synthetic oil (6 quarts) |
— |
$35.00 |
|
| Cartridge oil filter element with O-ring |
— |
$18.00 |
|
About prices: shown prices are typical retail averages and change frequently; cheaper alternatives may be available. Confirm the current price before buying.
💡 Pro tip: Order all parts at once to save on shipping
Step-by-Step Instructions
Follow these steps carefully
1
Warm the twin-turbo V6 and lift the car level
Idle 2–3 minutes, then shut it off. The car sits low and must stay level for an accurate fill — drive it onto ramps or lift all four corners evenly. Set the parking brake and chock the wheels.
2
Remove the underbody splash shield
Remove the belly pan's Torx or 7mm screws and lower it carefully. Keep track of the fasteners; they're easy to lose. With the shield off, the drain plug and filter housing are accessible.
3
Drain the oil from the pan
Remove the fill cap to vent the crankcase. Position a large pan under the plug; loosen with a wrench, remove by hand. Allow a full 10–15 minutes — the turbo oil lines need time to drain back.
🔧 Mechanic's note — Tom Becker
I give it the full ten to fifteen minutes — the turbo oil lines hold a surprising amount, and I rush the drain only when I want to end up overfilled. Waiting is the cheapest precision on this job.
4
Replace the cartridge oil filter
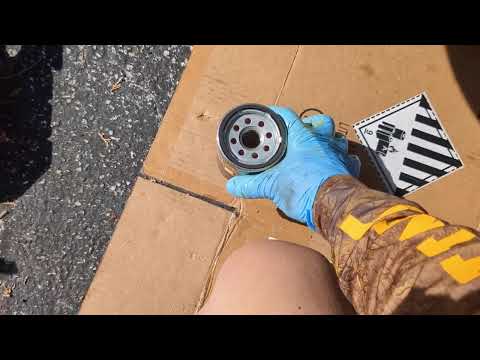
Unscrew plastic housing cap — it's reached from above or below depending on model year. Pull the old cartridge and wipe the housing clean. Oil the new O-ring, seat the cartridge, and thread the cap on snugly by hand.
5
Reinstall the drain plug and refill
Thread the drain plug in by hand and snug it with a wrench — the pan threads are delicate. Pour in 6 quarts of 5W-30 dexos-approved full synthetic through the fill tube. Reinstall the fill cap.
🔧 Mechanic's note — Tom Becker
I thread that drain plug in by hand first — the LF4's pan threads are delicate. Cross-threading one is an expensive mistake, and I've never seen a patient hand start go wrong.
6
Check for leaks and verify the level
Idle a minute, watching the plug and filter housing for drips. Shut it off, wait 2 minutes, then check the dipstick — the twin-turbo must read at the full mark, not over. Top up in small increments.
7
Reinstall the splash shield and reset the monitor
Refit the belly pan and tighten all its screws. Reset the oil-life monitor via the steering-wheel controls. Lower the car and take a short drive, then recheck the level once more after the oil has circulated.
8
Recycle the used oil
Pour the used oil into sealed containers and bag the old filter element. Most auto-parts stores accept both for free recycling. Log the mileage — the turbocharged LF4 is hardest on oil, so don't stretch intervals beyond the monitor's recommendation.
All Done!
Test your repair before closing everything up. If something doesn't work right, double-check your steps.
⚠️ Common Mistakes to Avoid
- • Forgetting to reinstall the belly pan, which then drags or traps heat.
- • Reusing the old filter-housing O-ring, causing a slow leak.
- • Overfilling the 3.6L turbo, which can aerate the oil and starve the turbos.