Quick answer: Cabin Air Filter Replacement on a 2000–2007 Chevrolet Monte Carlo is rated Easy and takes about 20–30 minutes. You'll need 1 tool for this job, and parts cost about $28. This guide walks you through the full job step by step, including the mistakes to avoid.
| Part Name |
Part Number |
Price |
Buy |
| Cabin air filter for 2000-2007 Chevrolet Monte Carlo; verify arrows, size, and VIN/trim fitment |
— |
$28.00 |
|
About prices: shown prices are typical retail averages and change frequently; cheaper alternatives may be available. Confirm the current price before buying.
💡 Pro tip: Order all parts at once to save on shipping
Step-by-Step Instructions
Follow these steps carefully
1
Look under the hood, not in the cabin
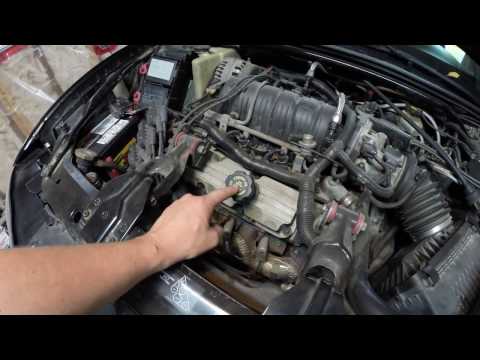
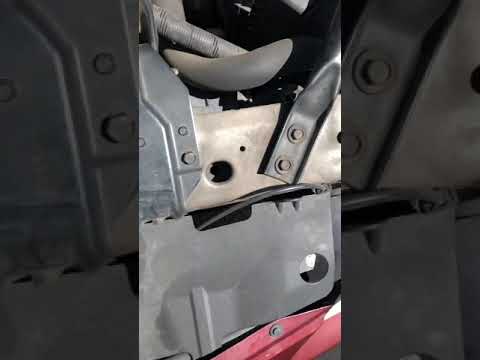
This filter lives under the passenger-side cowl vent grille, in front of the windshield — not behind the glove box. Verify the housing is there first: GM data covers 2000–2003, owners confirm it on 2006 models. No housing, no filter.
🔧 Mechanic's note — Ray Delgado
I can't tell you how many people buy the filter first and then find out their Monte never had the housing. Check under the cowl before you spend a dime.
2
Park the wipers in the up position
Switch the wipers off mid-sweep so the blades stop raised, then turn the ignition off. This clears the wiper arms from the cowl grille — forcing the cowl out from under parked wipers is how the plastic cracks.
3
Pull back the weatherstrip and free the washer hose
Pull the passenger-side hood weatherstrip back from the cowl halfway. Unclip the washer hose from the cowl grille, disconnecting it from the pump rail if needed. Work gently — old brittle plastic snaps, turning a filter job into plumbing.
4
Remove the cowl grille retainers and lift the cowl
Pop the retainers' center pins up first, then lift them out. Bow the passenger-side cowl grille upward slightly and lift it out. On a cold day, warm the plastic with your hands — twenty-year-old cowl plastic cracks when flexed cold.
5
Lift out the old filter
Lift the old filter straight out — expect leaves, pine needles, and general cowl debris on top. Clear the compartment with your hand or a shop vacuum so the new filter doesn't sit in a pile of compost.
6
Drop in the new filter and refit the cowl
Set the new filter in flat, edges inside the sealing lip — air must pass through the media, not around it. Refit the cowl grille, retainers, and weatherstrip, and clip the washer hose back along the grille, secure and unkinked.
7
Return the wipers and verify everything works
Close the hood and run the wipers once to park them. Run the HVAC on high, windows up — stronger airflow, no water-drip or wind-noise from the cowl. Confirm the washer sprays. Replace the filter every 12,000–15,000 miles or yearly.
All Done!
Test your repair before closing everything up. If something doesn't work right, double-check your steps.
⚠️ Common Mistakes to Avoid
- • Tearing the glove box apart looking for a filter that isn't there — on this car it's under the hood cowl, passenger side
- • Flexing the cold, aged cowl grille and cracking it; warm the plastic first and bow it gently
- • Forgetting to reconnect the washer hose or leaving the hood weatherstrip pulled back, which lets water pour into the filter compartment