Quick answer: Engine Air Filter Replacement on a 2000–2007 Chevrolet Monte Carlo is rated Easy and takes about 20-45 minutes. You'll need 2 tools for this job, and parts cost about $35. This guide walks you through the full job step by step, including the mistakes to avoid.
| Part Name |
Part Number |
Price |
Buy |
| Engine air filter for 2000-2007 Chevrolet Monte Carlo; verify engine, housing shape, and VIN fitment |
— |
$35.00 |
|
About prices: shown prices are typical retail averages and change frequently; cheaper alternatives may be available. Confirm the current price before buying.
💡 Pro tip: Order all parts at once to save on shipping
Step-by-Step Instructions
Follow these steps carefully
1
Confirm filter fitment and engine state
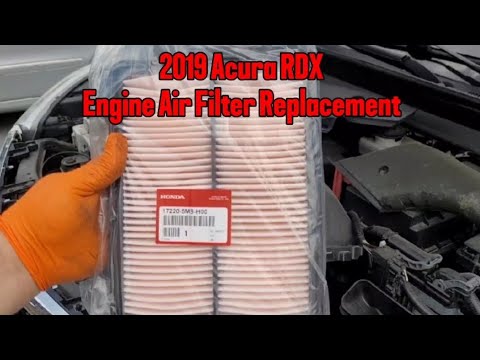
Confirm your engine size: this run spans 3.4L/3.8L V6 and 3.5L/3.9L V6 (2006-2007), and the airbox takes a different filter per engine. Set the new filter by the airbox and verify its shape, gasket, and dimensions before opening it.
2
Open the air box
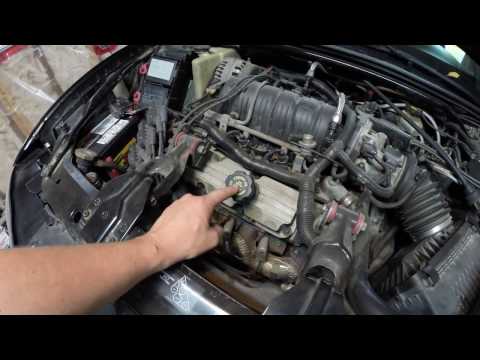
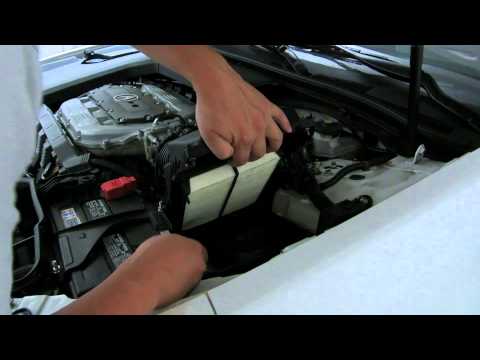
Find the black airbox. The lid uses spring clips or screws by year — release per the owner's manual, never yank. Lift it clear without straining the duct or sensor wiring, and cover the opening with a clean towel.
3
Inspect the old filter and housing
Note the old filter's orientation — the dark side marks airflow direction. Hold it to daylight; if light barely passes, it was overdue. Vacuum the dirty side only and keep grit away from the clean-air opening.
🔧 Mechanic's note — Ray Delgado
That daylight test never lies. I've pulled filters that looked fine on the surface but blocked light completely — if you can't see light through the pleats, the engine has been breathing through a straw.
4
Install the new filter
Seat the new filter in the same orientation, gasket resting evenly on the sealing lip. It should sit flat without force — if it needs force, it is the wrong part. Confirm no crushed pleats and a fully captured gasket.
🔧 Mechanic's note — Tom Becker
Here's what I do: If the new filter doesn't drop in flat, stop. Forcing it warps the gasket and leaves a gap — unfiltered air goes straight past the MAF, and you'll be chasing a lean code next week.
5
Close and verify the intake
Refasten every clip or screw and tug the lid to confirm the seal. Refit the duct, snug its clamp, and click the sensor plug. Start and listen at idle for whistle or rattle — sealed means smooth idle, no warnings.
All Done!
Test your repair before closing everything up. If something doesn't work right, double-check your steps.
⚠️ Common Mistakes to Avoid
- • Confusing the engine filter with the cabin filter
- • Installing the filter upside down or leaving a corner unseated
- • Dropping clips, dirt, or shop towels into the intake tract
- • Over-tightening plastic air-box fasteners
- • Failing to reconnect the intake duct or sensor connector