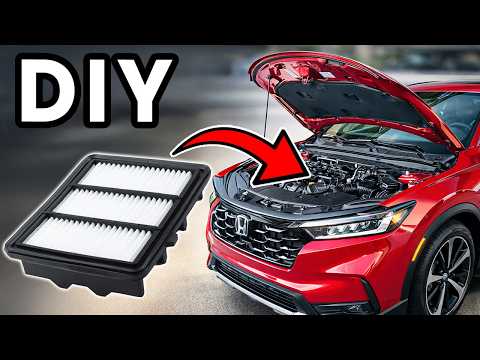
Quick answer: Cabin Air Filter Replacement on a 2023–2026 Honda CR-V is rated Easy and takes about 10 minutes. No tools are required for this job, and parts cost about $28. This guide walks you through the full job step by step, including the mistakes to avoid.
| Part Name |
Part Number |
Price |
Buy |
| Cabin air filter for 2023-2026 Honda CR-V Hybrid; verify arrows, size, and VIN/trim fitment |
— |
$28.00 |
|
About prices: shown prices are typical retail averages and change frequently; cheaper alternatives may be available. Confirm the current price before buying.
💡 Pro tip: Order all parts at once to save on shipping
Step-by-Step Instructions
Follow these steps carefully
1
Prep the passenger side of this 6th-generation CR-V
6th-gen CR-V: cabin filter behind the passenger glove box — no tools or trim removal. Park, engine off, door open, glove box emptied (it drops on hinges). Same setup as Civic/Accord/HR-V/Integra.
2
Unhook the damper arm on the right side
Unhook the right-side damper arm before lowering the box — pops off by hand. Swing the box with it attached and the plastic post snaps; then the box slams open forever. Hang it free; refit at the end.
🔧 Mechanic's note — Ray Delgado
Here's what I do: that damper post is the number-one broken part on modern Honda glove boxes — unhook the arm first, every time. A snapped post means a new glove box.
3
Drop the glove box past its side stops
Press both sides inward near the top to clear the stop tabs; swing the box down on its hinges. Hanging crooked? One side hasn't cleared — press it in again, don't force. Behind it: the HVAC housing with the horizontal filter tray cover.
4
Unclip the filter tray cover
Press the cover's side clips inward and pull toward you — firm hand pressure, no tools. Photograph the old filter's position and airflow arrow first; that's your orientation reference. Set the cover where it can't fall behind the dash.
5
Pull the tray, remove the old filter, and note the arrow
Slide the tray out; lift the old filter. Note its arrow — Honda pulls air DOWN through the element, so orientation matters. Compare sizes. Expect a gray matted filter (school-run spring duty loads them fast). Wipe the tray with a dry cloth.
6
Seat the new filter and lock the tray back in
New filter in, arrow matching, flat with no curled corners (curls = bypass gap). Tray fully home, cover clicked, tug to confirm. Rehook the damper; lift the box past the stops.
7
Verify airflow and note the service interval
Close up, start, run the fan through all speeds on fresh air — strong clean airflow, no dash whistle (whistle = cover unclipped). Honda says ~12,000–15,000 miles or yearly; sooner in dust. Same filter as Civic/Accord — one spare covers the driveway.
All Done!
Test your repair before closing everything up. If something doesn't work right, double-check your steps.
⚠️ Common Mistakes to Avoid
- • Swinging the glove box down with the damper arm still hooked up, snapping the plastic damper post on the box.
- • Forgetting to rehook the damper arm at the end, so the glove box slams open from then on.
- • Installing the new filter with the airflow arrow reversed or letting a corner curl in the tray, which leaves a bypass gap.
- • Pushing the tray back in crooked so the cover clips will not engage — it must slide straight in until it seats.