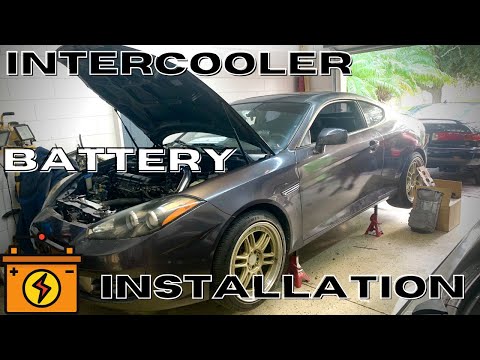
Quick answer: Cabin Air Filter Replacement on a 1997–2002 Hyundai Tiburon is rated Easy and takes about 30–45 minutes. You'll need 4 tools for this job, and parts cost about $28. This guide walks you through the full job step by step, including the mistakes to avoid.
| Part Name |
Part Number |
Price |
Buy |
| Cabin air filter for 1997-2002 Hyundai Tiburon; verify arrows, size, and VIN/trim fitment |
— |
$28.00 |
|
About prices: shown prices are typical retail averages and change frequently; cheaper alternatives may be available. Confirm the current price before buying.
💡 Pro tip: Order all parts at once to save on shipping
Step-by-Step Instructions
Follow these steps carefully
1
Understand the Tiburon's unusual two-element setup
Order matters in both directions — the upper element comes out first and goes back in last. Knowing about the stacked pair before you start is what separates a 30-minute job from an hour of confusion.
2
Disconnect the battery ground cable first
This isn't optional caution: you'll have live fuse-box wiring in your hands, and one slipped wrench across two terminals is a short circuit you really don't want.
3
Move the junction block aside for access
Unbolt the bracket and ease the junction block aside — you don't need to disconnect every connector, move the assembly enough to expose the blower case and the cabin air cover.
4
Note the airflow arrow direction
Before you disturb anything, note the airflow arrow on the cover or the elements: the arrow must always point in the direction of airflow, and on the Tiburon that's downward through the blower case.
5
Pull the upper element first, then the lower
Grip the upper element — the one you can see first — and slide it straight out of the blower case. Once it's out, the lower element will have slid down into the vacated space; grip it and pull it out too.
6
Install the lower element first, then the upper, arrows correct
Installation is the mirror image: slide the new LOWER element in first, pushing it up into the far position, then slide the new UPPER element in behind it. If an element binds halfway in, pull it back and realign it rather than forcing it.
7
Reassemble everything and verify
Refit the cabin air cover and snug its retaining screw — firm, not gorilla-tight, into the plastic. Remount the junction block and its bracket, double-checking that every connector you disturbed is fully seated, then reconnect the battery ground cable.
🔧 Mechanic's note — Ray Delgado
I snap that photo every single time: Phone-photo the airflow arrow before you disturb anything — the upper element comes out first and goes in last, and mixing up the order is how you end up with a filter that blocks the blower.
All Done!
Test your repair before closing everything up. If something doesn't work right, double-check your steps.
⚠️ Common Mistakes to Avoid
- • Pulling the lower element out first — the upper element blocks it. Upper comes out first; lower goes in first.
- • Forgetting to disconnect the battery ground cable — you're handling the fuse block, and a slipped wrench on live wiring is a short circuit.
- • Mixing up the two elements — they're different sizes; compare each old element to its new match before installing.
- • Installing an element with its arrow backward — one reversed element throttles airflow through the whole stacked pair.