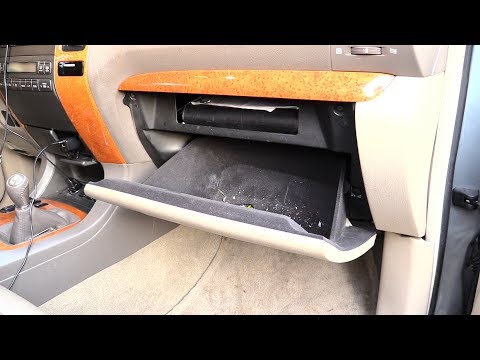
Quick answer: Spark Plug Replacement on a 2003–2009 Lexus GX is rated Advanced and takes about 90–120 minutes. You'll need 5 tools for this job, and parts cost about $95. This guide walks you through the full job step by step, including the mistakes to avoid.
| Part Name |
Part Number |
Price |
Buy |
| 8 spark plugs for the 4.7L 2UZ-FE (pre-gapped per spec) |
— |
$95.00 |
|
| Anti-seize (optional, sparing) Optional |
— |
$3.00 |
|
About prices: shown prices are typical retail averages and change frequently; cheaper alternatives may be available. Confirm the current price before buying.
💡 Pro tip: Order all parts at once to save on shipping
Step-by-Step Instructions
Follow these steps carefully
1
Work on a cold engine
Let the GX470 sit until the 4.7L 2UZ-FE V8 is completely cold — overnight-cold is ideal. Pulling plugs from a hot aluminum head risks stripping the threads, which turns a tune-up into a cylinder-head repair. While you wait, confirm your plug: 2003 to early-2002-build trucks use the copper Denso K20R-U gapped at 0.031 in; later ones use the iridium Denso SK20R11 gapped at 0.043 in. You need eight either way.
🔧 Mechanic's note — Ray Delgado
Quick word from me — I've been under there: Pulling plugs from a hot aluminum head risks stripping the threads, which turns a tune-up into a cylinder-head repair.
2
Remove the engine cover
The rearmost coils sit close to the firewall, so stage a 16 mm spark plug socket with a rubber insert, a 6-inch and a 3-inch extension, and a universal joint. Disconnect the negative battery terminal while you're here.
3
Disconnect the coil connectors
Unplug the electrical connector from each of the eight ignition coils, working one bank at a time. Squeeze each locking tab and pull the plug straight back — never tug the wiring.
🔧 Mechanic's note — Tom Becker
I've seen this exact mistake come through the shop: Squeeze each locking tab and pull the plug straight back — never tug the wiring.
4
Remove the coils
Remove the 10 mm bolt from each coil and pull each coil straight up out of its well, keeping them in cylinder order on a rag.
5
Blow out the plug wells
Use compressed air or a vacuum to clear dirt and debris from each spark plug well BEFORE loosening a single plug. The GX470's deep wells collect years of grit, and the moment a plug backs out, anything on top of it drops into the cylinder and scores the walls. Two minutes here prevents real damage.
6
Remove the old plugs
With the 16 mm socket, extensions, and a universal joint where needed, remove all eight old plugs counterclockwise. The rubber insert fishes each plug out of its deep well.
7
Gap and install the new plugs
Verify the gap on each new plug — 0.031 in for the early copper K20R-U, 0.043 in for the later iridium SK20R11 — even if the box says pre-gapped. Thread each plug in by hand for several turns to avoid cross-threading the aluminum head, then torque to 13 ft-lb (18 N·m). Skip the anti-seize on these coated Denso threads.
🔧 Mechanic's note — Ray Delgado
I know small thing, big difference: Thread each plug in by hand for several turns to avoid cross-threading the aluminum head, then torque to 13 ft-lb (18 N·m).
8
Reinstall the coils
Press each coil firmly onto its plug and refit the 10 mm bolts — snug, not gorilla-tight, since they thread into aluminum.
9
Reassemble and test
Refit the engine cover and reconnect the negative battery terminal. Start the engine and confirm a smooth idle with no misfire codes — the 2UZ-FE should idle nearly silently. Take it for a drive with some load, like a highway on-ramp pull, then rescan.
All Done!
Test your repair before closing everything up. If something doesn't work right, double-check your steps.
⚠️ Common Mistakes to Avoid
- • Changing only one bank and leaving four worn plugs behind.
- • Cross-threading a plug by starting it with a ratchet.
- • Forgetting to reconnect a coil plug, causing a misfire code.