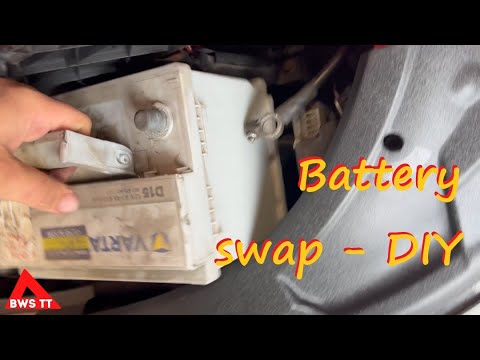
Quick answer: 12V Battery Replacement on a 2018–2025 Nissan Leaf is rated Easy and takes about 20–40 minutes. You'll need 4 tools for this job, and parts cost about $176. This guide walks you through the full job step by step, including the mistakes to avoid.
| Part Name |
Part Number |
Price |
Buy |
| 12V lead-acid auxiliary battery (match the group size and terminal layout of the original Leaf battery) |
— |
$176.00 |
|
About prices: shown prices are typical retail averages and change frequently; cheaper alternatives may be available. Confirm the current price before buying.
💡 Pro tip: Order all parts at once to save on shipping
Step-by-Step Instructions
Follow these steps carefully
1
Power the Leaf fully off
Park on a level surface, shift to Park, and power the Leaf completely off, then take the key fob out of the cabin. Confirm the instrument cluster is dark before touching anything under the hood.
2
Locate the 12V auxiliary battery under the hood
Open the hood and find the 12V auxiliary battery mounted in the motor compartment on the driver's side. Note how the positive and negative cables are routed and where the hold-down bracket sits.
3
Disconnect the negative terminal first
Remove any plastic battery cover, then loosen the negative (black) terminal clamp nut with a wrench and lift the cable off the post. Disconnecting negative first is the rule because it prevents a short if your wrench accidentally touches body metal while you work.
4
Disconnect the positive terminal
Loosen the positive (red) terminal clamp nut and lift that cable off its post, keeping it clear of any metal. Note exactly which bolt holes the hold-down uses so the new battery sits in the identical position.
5
Lift out the old battery and clean the tray
Lift the old lead-acid battery straight up and out of the tray using both hands — it is heavier than it looks, so keep your back straight. Inspect the tray for white or green corrosion and scrub it clean with a battery brush or baking-soda solution. A clean, dry tray prevents the new battery case from sitting in corrosive residue.
6
Set in the new battery and secure the hold-down
Lower the new 12V lead-acid auxiliary battery into the tray in the same orientation as the old one, with the terminals on the correct sides. Reinstall the hold-down bracket or strap and tighten it so the battery cannot rock or slide. A snug hold-down keeps vibration from cracking the battery case or loosening the terminals over time.
🔧 Mechanic's note — Tom Becker
Small thing, big difference: I make the hold-down snug so the battery can't slide — I've seen loose batteries crack cases from vibration.
7
Reconnect positive first, then negative
Slide the positive (red) cable onto its post first and tighten the clamp nut firmly, then do the same with the negative (black) cable. Both clamps should be tight enough that you cannot twist them on the posts by hand. Reconnecting in this order mirrors the safe disconnection sequence and avoids accidental shorts.
8
Power on and verify all systems
Close the hood, get in, and power the Leaf on. The instrument cluster should boot normally with no warning lights, and the car should go into Ready mode. Test the headlights, power windows, and door locks.
🔧 Mechanic's note — Ray Delgado
Trust me on this one: The instrument cluster should boot normally with no warning lights, and the car should go into Ready mode.
All Done!
Test your repair before closing everything up. If something doesn't work right, double-check your steps.
⚠️ Common Mistakes to Avoid
- • Disconnecting or reconnecting the terminals in the wrong order and shorting a wrench between the positive post and body ground.
- • Leaving the hold-down bracket loose so the battery shifts, cracks its case, or works the terminal clamps loose on bumps.
- • Installing the new battery with reversed terminal orientation, which stretches the cables and risks hooking positive to negative.
- • Skipping the tray cleanup, letting old corrosion eat into the new battery's case and terminals within months.
- • Touching or leaning tools against the orange high-voltage cables while focused on the 12V battery.