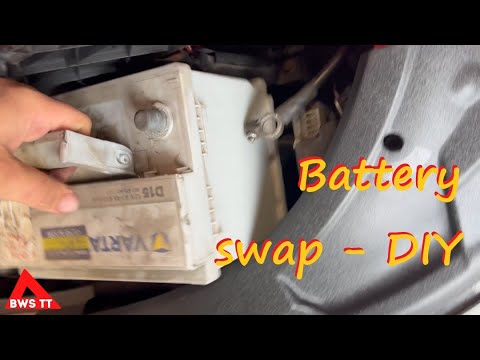
Quick answer: 12V Battery Replacement on a 2011–2018 Audi A8 is rated Moderate and takes about 30-45 minutes. You'll need 2 tools for this job, and parts cost about $269. This guide walks you through the full job step by step, including the mistakes to avoid.
| Part Name |
Part Number |
Price |
Buy |
| Battery Terminal Protectant |
— |
$9.00 |
|
| 12V AGM battery (Group 49 / H8) |
— |
$259.99 |
|
About prices: shown prices are typical retail averages and change frequently; cheaper alternatives may be available. Confirm the current price before buying.
💡 Pro tip: Order all parts at once to save on shipping
Step-by-Step Instructions
Follow these steps carefully
1
Access the trunk battery
Open the trunk of the 2011–2018 Audi A8 (D4). The 12V battery is in the trunk, typically on the right side under a cover — lift out the trunk floor and remove the side trim to reach it. Confirm the replacement is a Group 49 (H8) AGM battery; the D4's battery energy management system is calibrated for AGM, and a flooded battery will not charge correctly. Note how the vent tube is connected — the new battery must be vented the same way.
2
Disconnect negative terminal
On the A8, identify the negative (-) and positive (+) terminals. Using the correct-size wrench, disconnect the NEGATIVE terminal first and tuck the cable aside. This order prevents short circuits. Do not pry the cable off the post.
🔧 Mechanic's note — Tom Becker
Do yourself a favor like I do: I loosen the clamp nut fully and wiggle the cable free — I never pry it off the post.
3
Disconnect positive and remove clamp
On the A8, disconnect the POSITIVE (+) terminal, lifting off its protective cover first. Remove the battery hold-down clamp or bracket, keeping the hardware where you will find it again. Disconnect the vent tube from the old battery, noting exactly which side it attaches to.
4
Remove the old battery
Carefully lift the old battery out of the A8's trunk. Set it upright in a safe spot for recycling; never lay a battery on its side.
🔧 Mechanic's note — Tom Becker
Trust me on this one: Set it upright in a safe spot for recycling; never lay a battery on its side.
5
Install the new battery
Place the new Group 49 (H8) AGM battery in the A8's tray and make sure it sits flat. Reconnect the vent tube to the same side as the original, and reinstall the hold-down clamp securely — the battery must not shift in the trunk.
6
Connect terminals and register
Connect the POSITIVE (+) terminal first, then the NEGATIVE terminal, and tighten both clamps so there is no wiggle. If you don't have a scan tool, a shop or dealer can perform the registration; check your owner's manual.
🔧 Mechanic's note — Ray Delgado
I've done this job enough times to say it plain: If you don't have a scan tool, a shop or dealer can perform the registration; check your owner's manual.
7
Verify operation
Start the A8 and verify all electrical systems work with no warning lights. Proper registration ensures the alternator charges the new AGM battery correctly, which protects its lifespan.
All Done!
Test your repair before closing everything up. If something doesn't work right, double-check your steps.
⚠️ Common Mistakes to Avoid
- • Buying the wrong battery - the D4 A8 needs an AGM battery of the correct group size and capacity.
- • Not registering the new battery - the D4 requires battery registration via diagnostics.
- • Shorting the terminals - the trunk location is tight.
- • Forgetting the vent tube - AGM batteries need proper venting.