Quick answer: Oil & Filter Change on a 2010–2024 Toyota 4Runner is rated Moderate and takes about 30-60 minutes. You'll need 5 tools for this job, and parts cost about $60. This guide walks you through the full job step by step, including the mistakes to avoid.
Oil spec
4.0L V6 (1GR-FE)
Capacity 6.6 qt with filter Viscosity 0W-20 (alt: 5W-20)
| Part Name |
Part Number |
Price |
Buy |
| Engine Oil (0W-20) |
— |
$45.00 |
|
| Engine oil filter for 2010-2024 Toyota 4Runner; verify engine and VIN fitment |
— |
$12.00 |
|
| New drain-plug washer/O-ring |
— |
$3.00 |
|
About prices: shown prices are typical retail averages and change frequently; cheaper alternatives may be available. Confirm the current price before buying.
💡 Pro tip: Order all parts at once to save on shipping
Step-by-Step Instructions
Follow these steps carefully
1
Confirm oil and filter fitment
4.0L 1GR-FE V6: 6.6 quarts 0W-20 (5W-20 acceptable temporarily). Cartridge filter, Toyota part 04152-YZZA5, metal housing under engine; skid plate needs to come off or be worked around. 64mm wrench, 14mm socket, new washer ready. Park level, engine warm.
🔧 Mechanic's note — Tom Becker
I keep a spare 64mm cartridge wrench in my box just for these — the cheap stamped ones flex and round off the housing ribs. The Toyota 04152-YZZA5 kit is the right call; aftermarket elements sometimes skip the O-ring.
2
Raise and secure the vehicle
Brake set; chock the wheels. Ground clearance lets you slide underneath; if you lift it: frame points and jack stands — never the jack alone. Remove or loosen the skid plate fasteners to reach the drain plug and filter housing.
3
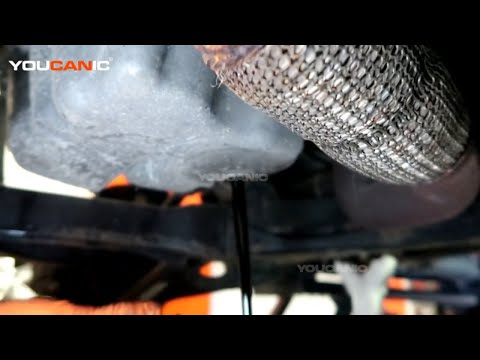
Drain the old oil
Remove the fill cap to vent. Position the drain pan; take out the 14mm plug; let the oil drain. The plug tightens to about 30 ft-lbs on reinstall with a new washer. Wipe the pan surface clean while it drains.
4
Replace the filter and washer
Unscrew the metal housing with 64mm wrench. Pull the old element and O-ring; install the new O-ring (lightly oiled) and element; thread the housing back on to your manual's torque. Drain plug with a new washer to about 30 ft-lbs.
🔧 Mechanic's note — Ray Delgado
I've seen stripped housing threads from guys treating the canister like a drain plug — torque it to the manual's spec and stop. And always change that housing O-ring; reusing it is how slow drips start.
5
Refill and check for leaks
Pour in about 6 quarts of 0W-20; wait a minute; dipstick; top to full — 6.6 quarts total. Start the engine 30 seconds; check the housing and plug. Refit the skid plate; take a short drive; recheck; recycle the oil.
All Done!
Test your repair before closing everything up. If something doesn't work right, double-check your steps.
⚠️ Common Mistakes to Avoid
- • Using the wrong viscosity, specification, or filter
- • Raising the vehicle without rated stands, ramps, and wheel chocks
- • Forgetting the old filter gasket or reusing a crushed drain-plug washer
- • Over-tightening the filter or drain plug and damaging the housing or pan
- • Checking level on an uneven surface or overfilling after a partial drain