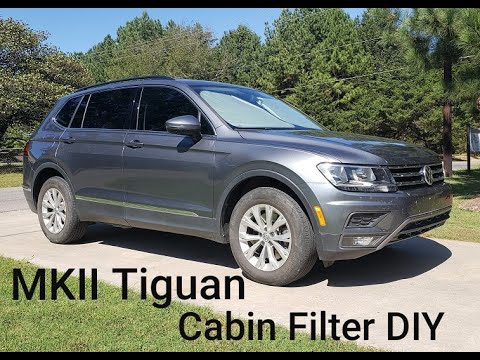
Quick answer: Replace Cabin Air Filter on a 2015–2021 Volkswagen Golf is rated Easy and takes about 30 minutes. You'll need 5 tools for this job, and parts cost about $18. This guide walks you through the full job step by step, including the mistakes to avoid.
| Part Name |
Part Number |
Price |
Buy |
| Activated Charcoal Cabin Air Filter Optional |
CUK26009 |
$25.00 |
|
| OEM Cabin Air Filter |
5Q0819653A |
$18.00 |
|
About prices: shown prices are typical retail averages and change frequently; cheaper alternatives may be available. Confirm the current price before buying.
💡 Pro tip: Order all parts at once to save on shipping
Step-by-Step Instructions
Follow these steps carefully
1
Release the glovebox via top tabs
The 2018–2023 Golf S (Mk7) cabin filter is BEHIND THE GLOVEBOX. You need a new pollen filter. Open and empty the glovebox, press the two TOP-CORNER tabs inward, and let it swing down. Detach the stopper strap if present.
🔧 Mechanic's note — Tom Becker
In my experience, top-corner tabs, not side stoppers — that's the Mk7's trick. Everyone hunts the sides first because that's how the old cars worked. Press the top corners and it drops.
2
Locate the filter box
With the glovebox down, look behind it for the filter box/cover on the HVAC housing. Note: Mk7 forums also discuss cowl/intake-area filters — those are aftermarket secondary filters, NOT the main cabin filter.
3
Carefully remove the filter cover
Remove the filter cover by pressing or gently prying its clips/tabs — the tabs snap off easily, so work carefully around the cover. Set the cover aside; the pollen filter is now visible.
🔧 Mechanic's note — Ray Delgado
Those cover tabs are the fragile bit — I've snapped one with a fingernail. Press, don't pry, and if you must pry, use the flathead like a feather.
4
Remove the old filter
Pull the old pollen filter out. Note the airflow direction — the arrow points toward the bulkhead (firewall). A dirty filter is why the HVAC feels weak. Handle the cover tabs delicately; they're fragile.
5
Install the new filter
Slide the new filter in with the airflow arrow toward the bulkhead (firewall), fully seated. Reinstall the filter cover — engage the clips/tabs gently; don't force, they break easily. The cover should sit flush.
6
Reassemble and test
Swing the glovebox back up until the top-corner tabs click. Reattach the stopper strap if your version has one. Close the glovebox and test the HVAC. Replace every 15,000–20,000 miles.
All Done!
Test your repair before closing everything up. If something doesn't work right, double-check your steps.
⚠️ Common Mistakes to Avoid
- • Forgetting to turn off the vehicle and remove the key before starting the replacement process.
- • Not properly securing the glove box after reinstallation, leading to rattling or improper closure.
- • Installing the new filter with the airflow direction arrow facing the wrong way, reducing its effectiveness.