1
Park and gather the supplies
Park the car with the ignition off. Gather a pair of gloves, a flashlight, and the new filter before you begin.
2015–2024 Porsche Macan
By Ray Delgado ✓ Certified Mechanic · Published Sep 21, 2026 · Updated Oct 22, 2026
Save $120 by doing it yourself! Shop cost: $150
Quick answer: Replace Cabin Air Filter on a 2015–2024 Porsche Macan is rated Easy and takes about 30 minutes. You'll need 3 tools for this job, and parts cost about $30. This guide walks you through the full job step by step, including the mistakes to avoid.
| Part Name | Part Number | Price | Buy |
|---|---|---|---|
| Mann OE Cabin Air Filter | CUK 2450 | $30.00 |
About prices: shown prices are typical retail averages and change frequently; cheaper alternatives may be available. Confirm the current price before buying.
💡 Pro tip: Order all parts at once to save on shipping
Follow these steps carefully
Park the car with the ignition off. Gather a pair of gloves, a flashlight, and the new filter before you begin.
The filter housing is hidden behind a soft foam cover under the glove compartment in the passenger footwell. It is held in place by three plastic screws that you can turn by hand — no tools are required.
I turn those three plastic screws by hand and keep them together — I've dropped one into the footwell abyss before, and fishing it out took longer than the filter swap.
Slide the bracket toward the right side of the vehicle until it releases and comes free. Do not pry it with a screwdriver; it is designed to slide sideways, and forcing it can crack the plastic tabs.
I slide the bracket sideways like the step says — I've cracked those little tabs prying with a screwdriver, and then the bracket never holds tension again.
Before touching the old filter, study how it is oriented: the notched corner of the filter should be facing the right side of the vehicle. Pull the old filter straight out of the housing.
Compare the new filter with the old one to confirm the size and shape match exactly. It should seat fully and flush; never force an oversized filter, because a poor seal lets unfiltered air bypass it.
Slide the plastic retaining bracket back into position until it locks the new filter in place. Make them snug but do not overtighten — they are plastic and the threads strip easily.
Confirm that airflow from the vents is strong and even, and listen for whistling or rattling that would mean the filter or the foam cover is not seated properly.
I run the fan through every speed and listen — a whistle means the filter or foam cover isn't seated, and I'd rather reseat it now than get a 'it's noisy' complaint.
Test your repair before closing everything up. If something doesn't work right, double-check your steps.
⚠️ Common Mistakes to Avoid

2015–2024

2015–2024

2015–2024

2015–2024

2015–2024

2015–2024

Ford Escape · 2013–2019

Kia Optima · 2016–2020

MINI Cooper · 2014–2024

Volkswagen Golf · 2015–2021
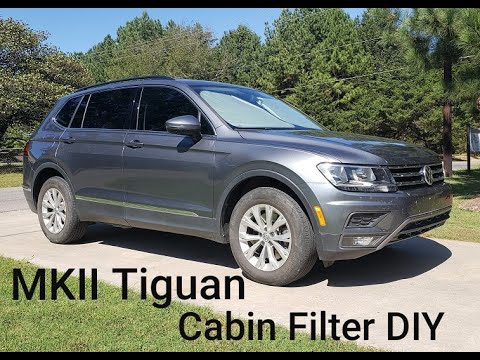
Volkswagen Tiguan · 2018–2024



