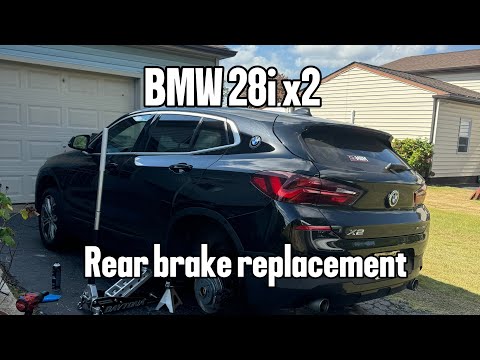
Quick answer: Spark Plug Replacement on a 2018–2024 BMW X2 is rated Advanced and takes about 45 minutes to 1 hour — the tightest part is the rearmost plug. You'll need 6 tools for this job, and parts cost about $115. This guide walks you through the full job step by step, including the mistakes to avoid.
| Part Name |
Part Number |
Price |
Buy |
| Correct spark plug set for the gasoline/ICE engine in 2018-2024 BMW X2; verify engine, heat range, gap, and VIN fitment |
— |
$115.00 |
|
| Coil-boot seals or ignition coils only if inspection finds damage Optional |
— |
$35.00 |
|
About prices: shown prices are typical retail averages and change frequently; cheaper alternatives may be available. Confirm the current price before buying.
💡 Pro tip: Order all parts at once to save on shipping
Step-by-Step Instructions
Follow these steps carefully
1
Identify your X2's turbo four — B46 or B48 — and cool it down
Park on level ground, set the parking brake, and let the engine cool completely. Disconnect the negative battery cable with a wrench and tuck it aside.
2
Pull the engine cover and plan the rearmost plug
Take a look at the rearmost plug (cylinder 4, at the firewall side): it is the tightest one on the B46/B48, with the cowl crowding it, so plan a swivel or wobble extension combination for it before you start.
🔧 Mechanic's note — Tom Becker
I check the plug torque with a small inch-pound wrench. Foot-pounds are too coarse for spark plugs. The plug torque is critical on aluminum. I use a calibrated wrench — never guess.
3
Unbolt and lift the four coil packs in order
Work one cylinder at a time and keep the coils in order on a clean rag. Squeeze the release tab on each coil's electrical connector and pull it free, then remove the coil's single retaining bolt and lift the coil straight out of the plug well with a gentle twist. The B46/B48 coils are a snug fit after years of heat, so a steady wiggle beats a yank that could tear the boot. Inspect each boot for cracks or white carbon tracking as it comes out — a damaged boot causes misfires that new plugs alone will not fix.
4
Blow out the wells and remove the plugs with a 14mm socket
Break each plug loose counterclockwise and spin it out, keeping the socket straight to avoid side-loading the plug. Note each old plug's condition in order as it comes out.
5
Check the gap against the manual and hand-thread the new plugs
Read the electrode gap specification in your owner's manual or on the emissions sticker under the hood — never use a generic gap value. Check each new plug with a wire-type or feeler gauge and adjust gently; never force the gauge against a fine-wire electrode. Thread each new plug into the head by hand for several full turns until finger-tight. On these deep wells, lower the plug in on the socket but start the threads with your fingertips on the extension so you can feel any binding — back out and restart at the first sign of resistance.
6
Seat the plugs and reinstall the coil packs
Lower each coil back onto its plug, reinstall the retaining bolt, and push the electrical connector on until the locking tab clicks — tug each one to confirm it is latched.
7
Reconnect the battery and verify
Reconnect the negative battery cable. Start the engine and let it idle — it should run smoothly with no check-engine light. Take a short test drive and confirm smooth acceleration and no warning lights.
All Done!
Test your repair before closing everything up. If something doesn't work right, double-check your steps.
⚠️ Common Mistakes to Avoid
- • Attacking cylinder 4 at the back without a swivel or wobble extension planned
- • Yanking the snug coils instead of wiggling them out, tearing the boots
- • Not fully latching a coil connector, causing a post-job misfire code
- • Overtightening plugs into the aluminum head