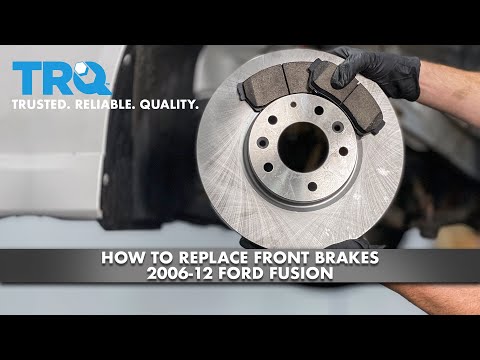
Quick answer: Front Brake Pads Replacement on a 1999–2004 Ford Mustang is rated Moderate and takes about 60–90 minutes per axle. You'll need 7 tools for this job, and parts cost about $76. This guide walks you through the full job step by step, including the mistakes to avoid.
| Part Name |
Part Number |
Price |
Buy |
| Front brake pads (1999–2004 Mustang, GT or V6 per model) |
— |
$61.00 |
|
| Front rotors (if needed) Optional |
— |
— |
|
| Brake parts cleaner |
— |
$8.00 |
|
| Brake lubricant |
— |
$7.00 |
|
| Anti-rattle clip set |
— |
— |
|
About prices: shown prices are typical retail averages and change frequently; cheaper alternatives may be available. Confirm the current price before buying.
💡 Pro tip: Order all parts at once to save on shipping
Step-by-Step Instructions
Follow these steps carefully
1
Lift the Mustang and remove wheels
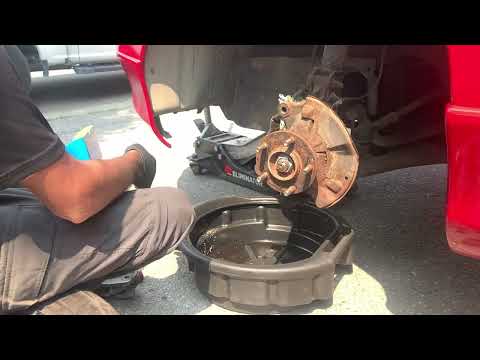
Park level, parking brake on, rear wheels chocked. Loosen the front lug nuts, raise the front with a floor jack under the K-member, and set it on jack stands. Remove the front wheels to expose the PBR-style calipers.
Video at 0:00
2
Remove the caliper and pads
Remove the two caliper bolts, slide the caliper off the rotor, and hang it from the strut with wire. Pull the old pads. Check the rotor for grooves and runout; replace it if warped or under minimum thickness.
Video at 1:30
3
Inspect brake hoses and lines
Flex the rubber brake hose and check for cracks, swelling, or dry rot — common on 1999–2004 Mustangs. Check the steel line at the hose junction for corrosion. Replace a damaged hose before proceeding; it can burst under hard braking.
🔧 Mechanic's note — Tom Becker
I never skip the hose check on a 20-plus-year-old Mustang — I've found dry-rot cracks hiding on the back side of the hose by flexing it, and a burst hose under hard braking is a nightmare I can prevent in thirty seconds.
Video at 2:15
4
Retract the piston and clean the bracket
Compress the caliper piston with a C-clamp, watching the fluid reservoir level in the engine bay. Wire-brush the bracket's pad contact points and install new anti-rattle clips. Lubricate the slide pins so the caliper centers over the rotor.
Video at 3:00
5
Install the new pads
Grease the new pads' ears and backs, then slide them into the bracket with the wear sensors correctly oriented. Refit the caliper over the pads and torque the bolts to spec. Spin the rotor by hand to confirm nothing drags.
Video at 4:30
6
Reassemble and bed the brakes
Reinstall the wheels, torque the lug nuts in a star pattern to 100 ft-lbs, and lower the car. Pump the brake pedal until firm. Road-test with progressive stops to bed the pads.
Video at 5:45
7
Top up brake fluid and check for leaks
Check the reservoir in the engine bay and top it to the MAX line with DOT 3 fluid if needed. Inspect around the caliper piston boot for seepage indicating a failing seal. The fluid should be clear, not dark brown.
🔧 Mechanic's note — Tom Becker
Dark brown brake fluid is a warning, not a cosmetic issue — I've learned it's absorbed moisture and boils under hard braking, which is exactly when you need it, so I flush it before the next hard stop.
Video at 5:00
All Done!
Test your repair before closing everything up. If something doesn't work right, double-check your steps.
⚠️ Common Mistakes to Avoid
- • Not supporting the caliper, which tears the flexible brake hose.
- • Installing pads without cleaning the rusty bracket slides, causing uneven wear.
- • Forgetting to check the brake fluid level after retracting pistons.
- • Reusing a scored rotor that immediately ruins the new pads.