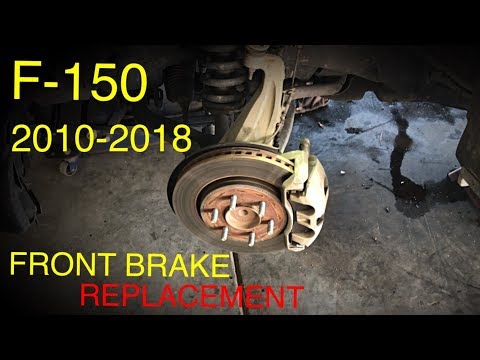
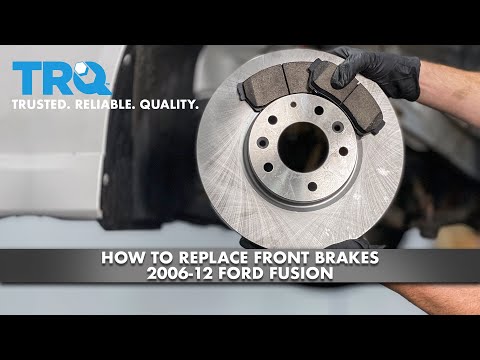
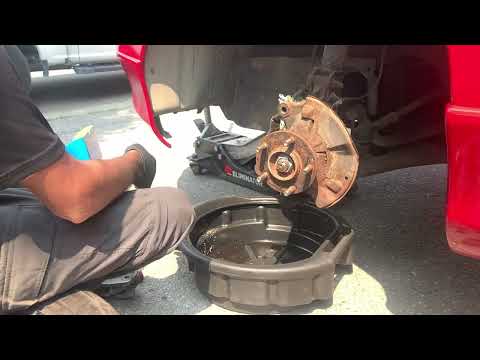
Quick answer: Front Brake Pads Replacement on a 2004–2008 Ford F-150 is rated Moderate and takes about 60–90 minutes per axle. You'll need 10 tools for this job, and parts cost about $59. This guide walks you through the full job step by step, including the mistakes to avoid.
| Part Name |
Part Number |
Price |
Buy |
| Front brake pads (2004–2008 F-150, ceramic or semi-metallic) |
— |
$44.00 |
|
| Front brake rotors (if scored or warped) Optional |
— |
$181.00 |
|
| Brake parts cleaner |
— |
$8.00 |
|
| High-temp brake grease |
— |
$7.00 |
|
| Brake pad clips (new) |
— |
— |
|
About prices: shown prices are typical retail averages and change frequently; cheaper alternatives may be available. Confirm the current price before buying.
💡 Pro tip: Order all parts at once to save on shipping
Step-by-Step Instructions
Follow these steps carefully
1
Lift and secure the F-150
Park level, shift into Park, set the parking brake, and chock the rear wheels. Break the front lugs loose with a 21mm socket on the ground. Jack the front up under the frame and set it on jack stands.
Video at 0:00
2
Remove the wheel and caliper
Remove the front wheels to expose the calipers. Remove the two 13mm caliper bolts and lift the caliper off the anchor bracket. Hang it from the coil spring with a wire hanger so the brake hose bears no weight.
Video at 1:30
3
Remove pads and rotor, clean the hub
Pull the pads and clips from the bracket, then pull the rotor off the hub — if rusted on, thread two 8mm bolts into the removal holes to press it free. Wire-brush the hub face so the rotor sits flat.
🔧 Mechanic's note — Tom Becker
That 8mm-bolt trick for stuck rotors is worth remembering — I've threaded them into the removal holes and pressed a rotor straight off without hammering, because hammering a stuck rotor is how hub bearings get ruined.
Video at 3:00
4
Retract the twin caliper pistons
Press both pistons back with a C-clamp across the old pad. Open the reservoir cap first and siphon fluid if the level nears the top — the pistons must be retracted to fit over the new pads and rotor.
🔧 Mechanic's note — Tom Becker
I always open the reservoir cap before pressing the pistons back — I've seen trapped pressure blow the cap off or push fluid past the master cylinder seals, and I siphon fluid out if the level is already high.
Video at 4:30
5
Install the new rotor and pads
Slide the new rotor onto the clean hub, held by one loose lug nut. Install new pad clips in the bracket and grease the pad ears and slide contact points. Set the new pads in with wear indicators positioned correctly.
Video at 6:00
6
Reinstall the caliper
Set the caliper over the new pads and rotor, threading the 13mm caliper bolts in by hand to avoid cross-threading. Tighten to specification, typically 25–30 ft-lbs. Confirm the caliper slides smoothly on its pins before proceeding.
Video at 7:15
7
Mount the wheel and torque lugs
Remount the wheel and tighten the six 21mm lug nuts in a star pattern to 150 ft-lbs. Lower the truck and re-torque the lugs with the tire on the ground — proper lug torque prevents rotor warping from uneven clamping.
Video at 8:30
8
Pump the pedal and road-test
Pump the brake pedal until firm. Road-test at low speed with several firm stops to bed the pads, then check for pulling or vibration. The job is done when the pedal is high and firm and stops are smooth.
Video at 9:30
All Done!
Test your repair before closing everything up. If something doesn't work right, double-check your steps.
⚠️ Common Mistakes to Avoid
- • Forgetting to pump the brake pedal before the test drive, causing a dangerously soft first stop.
- • Not cleaning rust from the hub face, which causes rotor runout and pedal pulsation.
- • Hanging the caliper by the brake hose, which damages the hose internally.
- • Mixing up left and right pads on models with directional wear indicators.