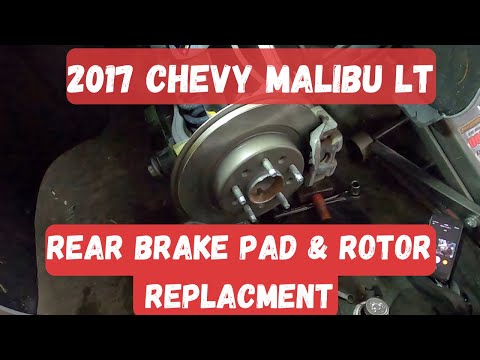
Quick answer: Brake Rotor Replacement on a 2016–2022 Honda Pilot is rated Advanced and takes about 2-3 hours. You'll need 4 tools for this job, and parts cost about $180. This guide walks you through the full job step by step, including the mistakes to avoid.
| Part Name |
Part Number |
Price |
Buy |
| Brake rotor pair for one axle; verify diameter and trim |
— |
$180.00 |
|
About prices: shown prices are typical retail averages and change frequently; cheaper alternatives may be available. Confirm the current price before buying.
💡 Pro tip: Order all parts at once to save on shipping
Step-by-Step Instructions
Follow these steps carefully
1
Confirm fitment and prepare the vehicle
Park the 2016-2022 Honda Pilot on level ground, set the parking brake, chock the wheels, and compare both new rotors with the old parts. Verify the axle, diameter, venting, and any electronic parking-brake service procedure before disassembly.
2
Lift safely and remove the wheel
Loosen the lug nuts slightly, raise the 2016-2022 Honda Pilot at the approved lift points, place it securely on jack stands, and remove the wheel. Keep the wheel and fasteners organized.
3
Remove and support the caliper
Remove the caliper and, where required, the caliper bracket from the 2016-2022 Honda Pilot. Hang the caliper securely without stretching or twisting the brake hose; do not depress the brake pedal while the caliper is removed.
🔧 Mechanic's note — Ray Delgado
I never let a Pilot caliper dangle by the hose — I hang it from the spring with a bungee. A stretched hose can fail internally and lock that caliper up weeks later, and you'll never trace it to this moment.
4
Remove the old rotor
Remove the 2016-2022 Honda Pilot rotor retaining screw or clips if present. If the rotor is seized, use the service holes or approved methods; release an internal parking-brake adjuster before forcing a rear rotor off.
5
Clean the hub and prepare the new rotor
Wire-brush the hub face and remove scale so the new rotor seats flat. Clean the replacement rotor with brake cleaner to remove its shipping coating, then inspect it for damage and confirm it runs true on the hub.
6
Install the rotor and reassemble the brake
Install the new 2016-2022 Honda Pilot rotor and retaining hardware, inspect the pads and clips, and reinstall the bracket and caliper. Compress the piston only with the correct procedure, then torque each fastener to the exact service-manual specification.
7
Torque, test, and bed the brakes
Reinstall the wheel and torque the lug nuts in a star pattern. Pump the pedal until firm, verify fluid and parking-brake operation, then perform a slow test drive and bed the new brake rotors using the manufacturer procedure.
🔧 Mechanic's note — Tom Becker
I torque Pilot lugs in a star pattern with a torque wrench, never the impact gun. Uneven lug torque warps brand-new rotors faster than anything else I see in the shop — then the customer is back with a pulsation.
All Done!
Test your repair before closing everything up. If something doesn't work right, double-check your steps.
⚠️ Common Mistakes to Avoid
- • Ordering a rotor with the wrong diameter, hat height, or axle application
- • Letting the caliper hang from the brake hose or twisting the hose
- • Forcing off a rotor without releasing an integrated parking-brake drum or retaining screw
- • Failing to clean rust from the hub or brake-protective coating from the new rotor
- • Skipping the pad inspection, pedal pumping, or bedding procedure