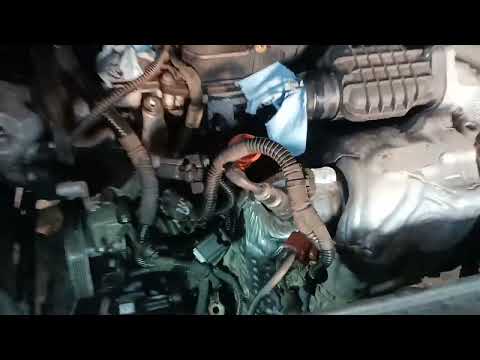
Quick answer: Alternator Replacement on a 2017–2021 Acura MDX is rated Advanced and takes about 2-3 hours. You'll need 9 tools for this job, and parts cost about $503. This guide walks you through the full job step by step, including the mistakes to avoid.
| Part Name |
Part Number |
Price |
Buy |
| Alternator |
31100-5J6-A01RM |
$452.52 |
|
| Serpentine Belt |
5060460 |
$50.00 |
|
About prices: shown prices are typical retail averages and change frequently; cheaper alternatives may be available. Confirm the current price before buying.
💡 Pro tip: Order all parts at once to save on shipping
Step-by-Step Instructions
Follow these steps carefully
1
Disconnect Battery, Note Belt Routing
You'll need: new Denso alternator (150A — verify amperage matches), basic sockets, belt tensioner tool. Disconnect the NEGATIVE battery terminal FIRST. Note the serpentine belt routing before removal. This is the standard Honda/Acura J-V6 procedure — similar to the Pilot, Ridgeline, and Odyssey.
2
Remove Serpentine Belt
Release the serpentine belt tensioner and slip the belt off the alternator's 6-groove pulley — use the tensioner tool to relieve pressure and don't let the belt snap back. Note the routing for reinstallation. The 6-groove pulley must align with the belt's grooves.
3
Disconnect Electrical
Disconnect the alternator's electrical: the main battery cable and the multi-pin regulator connector (4P on Honda/Acura). The regulator plug has a release tab — don't force it. The Denso's internal regulator means the connector is critical — ensure it's clean.
🔧 Mechanic's note — Tom Becker
I've found that that 4P regulator plug gets brittle with heat — squeeze the release tab fully before pulling, and pull the plug body, never the wires. A broken tab means a connector that vibrates loose in a month.
4
Unbolt and Remove Alternator
Remove the mounting bolts and maneuver the alternator out — it's accessible but may be snug, so wiggle it free rather than forcing it. The 150A Denso is a standard J-series unit — the same part fits the Pilot, Passport, Ridgeline, and Odyssey.
5
Install New Denso Alternator
Install the new Denso alternator (verify 150A — not a lower-amp unit). Reconnect the B+ wire and the regulator connector (ensure it clicks). Reinstall the serpentine belt — ensure the 6-groove pulley aligns and the routing is correct.
🔧 Mechanic's note — Ray Delgado
I've learned to spend the extra on the Denso OE here. The J35 runs a lot of electronics, and the cheap remans have a habit of whining, undercharging at idle, or dying in a year. This is not the part to bargain-hunt.
6
Reconnect Battery, Test Voltage
Reconnect the negative battery terminal. Start the engine — charging voltage at the battery should read 13.5-14.5 volts with the engine running. If below 13.5V, check connections. (Sport Hybrid excluded — different system.)
All Done!
Test your repair before closing everything up. If something doesn't work right, double-check your steps.
⚠️ Common Mistakes to Avoid
- • Not disconnecting the battery before starting the repair
- • Forcing the alternator out without removing necessary components
- • Over-tightening bolts during reassembly