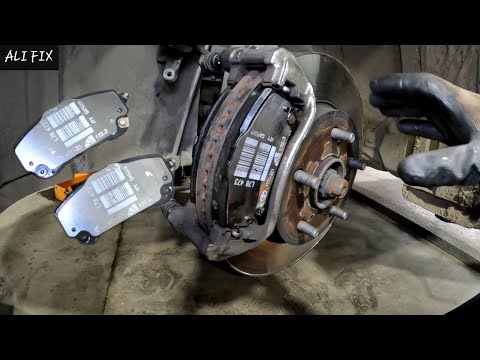
Quick answer: Front Brake Pads Replacement on a 2017–2024 Audi A4 is rated Moderate and takes about 2-3 hours. You'll need 8 tools for this job, and parts cost about $350. This guide walks you through the full job step by step, including the mistakes to avoid.
| Part Name |
Part Number |
Price |
Buy |
| Front Brake Pads |
— |
$150.00 |
|
| Brake Rotors |
— |
$200.00 |
|
About prices: shown prices are typical retail averages and change frequently; cheaper alternatives may be available. Confirm the current price before buying.
💡 Pro tip: Order all parts at once to save on shipping
Step-by-Step Instructions
Follow these steps carefully
1
Loosen lugs and raise the vehicle
Some have TRW calipers. One DIY documents a 'monobloc' caliper design on the B9 — verify yours. You'll need: pads for 314mm rotors, standard tools. Check your PR code to confirm the rotor size. Loosen lugs, jack up, support with stands.
🔧 Mechanic's note — Ray Delgado
I tell everyone in my shop to check your PR code before you order — 1LT and 1LB are the base 314mm setup, and ordering pads for the wrong brake package is the classic A4 mistake. The monobloc versus floating caliper changes the hardware too.
2
Remove the wheel
Remove the front wheel. Verify the 314mm rotor diameter. The caliper may be a monobloc design (single-piece) or standard floating — check yours. Look for the wear sensor wire and note the hardware.
3
Remove the caliper
Remove the caliper bolts and slide the caliper off. Support it with wire. If replacing rotors, remove the bracket. The 314mm rotor should slide off. Verify the new rotor matches — 314mm x 25mm.
4
Remove old pads and hardware
Remove the old pads. Inspect the 314mm rotor for minimum thickness and check for scoring. Clean the bracket. If there's a wear sensor, note its position. Ensure the replacements match the premium pads.
5
Compress the piston
Push the piston back. It's a standard caliper — no rotation. Open the reservoir cap. The piston should retract smoothly. Clean the boot.
6
Clean and install hardware
Clean the bracket. Install new hardware. Install the new pads — ensure they slide freely. If there's a wear sensor, install it. Ensure the shims are correct.
7
Install new pads and caliper
Slide the caliper back over the pads. Reinstall bolts to Audi spec. Ensure the hose isn't twisted. Connect the wear sensor if equipped. Pump the pedal to seat the pads.
8
Refit wheel and pump the pedal
Reinstall the wheel and torque to Audi spec in a star pattern. Lower the A4. Bed the pads gently. Test drive: it should brake smoothly and quietly with no warning lights.
All Done!
Test your repair before closing everything up. If something doesn't work right, double-check your steps.
⚠️ Common Mistakes to Avoid
- • Not properly securing the vehicle before starting the repair
- • Failing to clean the brake components before reassembly
- • Over-tightening the caliper bolts, leading to potential damage