Quick answer: Spark Plug Replacement on a 2006–2011 Cadillac DTS is rated Advanced and takes about 2–3 hours. You'll need 6 tools for this job, and parts cost about $115. This guide walks you through the full job step by step, including the mistakes to avoid.
| Part Name |
Part Number |
Price |
Buy |
| Correct spark plug set for the gasoline/ICE engine in 2006-2011 Cadillac DTS; verify engine, heat range, gap, and VIN fitment |
— |
$115.00 |
|
| Coil-boot seals or ignition coils only if inspection finds damage Optional |
— |
$35.00 |
|
About prices: shown prices are typical retail averages and change frequently; cheaper alternatives may be available. Confirm the current price before buying.
💡 Pro tip: Order all parts at once to save on shipping
Step-by-Step Instructions
Follow these steps carefully
1
Understand the Northstar layout and let it cool
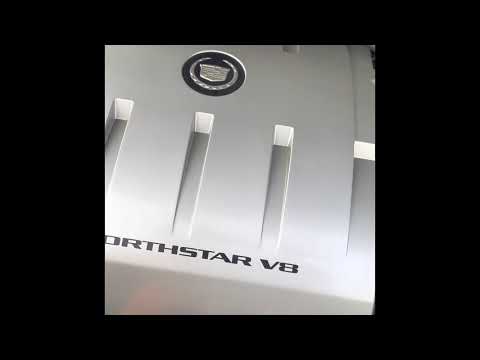
The 2006-2011 DTS's 4.6L Northstar V8 has eight plugs — four per bank, the rear bank under the windshield cowl. Each plug has its own coil-on-plug coil. Start with a completely cold engine; the aluminum heads must be cool before loosening any plug.
2
Remove the engine cover and plan your attack
Lift off the large plastic engine cover to expose both banks. Disconnect the negative battery terminal. A shop light aimed from the side makes the rear bank far easier.
3
Remove the front-bank coils first
Start with the accessible front bank to learn the procedure. Unplug each coil's electrical connector, remove its retaining bolt, and pull the coil straight up out of the well. The coils on these cars are individually replaceable, so if one looks damaged you can swap just that one later. Keep the coils in order and lay them on a clean rag. Blow any debris out of the plug wells before going further.
4
Remove the rear-bank coils
Use a mirror or phone camera — the rear bank is worked by feel. Unplug each connector (same tabs, harder to reach), remove the bolts, lift the coils. Odd cylinders (1, 3, 5, 7) are on this bank, cylinder 5 third from the passenger side.
🔧 Mechanic's note — Ray Delgado
I do this every single time: Cylinder 5 being third from the passenger side on the rear bank is worth memorizing. When a P0305 comes in on a DTS, that numbering saves you from pulling coils on the wrong bank first.
5
Remove the old plugs and install the new ones
Remove the eight plugs with a 5/8-inch socket. Check each new plug's gap with a feeler gauge. Thread every plug in by hand, tighten until the crush washer seats plus a quarter to a half turn. Aluminum heads strip easily — never force a plug.
6
Reinstall all coils and the engine cover
Seat each coil, reinstall the retaining bolts snugly, and click every connector home — tug each one to confirm it latched, because a half-connected rear-bank coil is a classic comeback. Refit the engine cover and reconnect the negative battery terminal.
7
Start up and check for misfires
Start the engine: steady idle, no check-engine light. Test-drive — a flashing check-engine light means a misfire; shut down and recheck coil connectors on the suspect bank. A misfire code on one cylinder after a fresh plug change means that cylinder's coil is the suspect.
All Done!
Test your repair before closing everything up. If something doesn't work right, double-check your steps.
⚠️ Common Mistakes to Avoid
- • Treating it like an earlier Northstar and hunting for a shared coil cassette — the 2006+ DTS uses individual coils.
- • Leaving a rear-bank coil connector half-latched in the tight space, causing an immediate misfire.
- • Overtightening plugs in the aluminum Northstar heads, which strips the threads.
- • Skipping the gap check because the plugs came pre-gapped — verify against the underhood sticker.