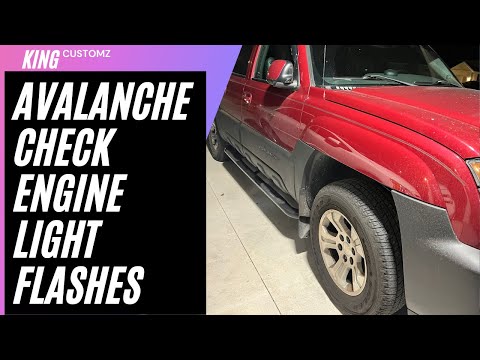
Quick answer: Engine Air Filter Replacement on a 2002–2006 Chevrolet Avalanche is rated Easy and takes about 20-45 minutes. You'll need 2 tools for this job, and parts cost about $35. This guide walks you through the full job step by step, including the mistakes to avoid.
| Part Name |
Part Number |
Price |
Buy |
| Engine air filter for 2002-2006 Chevrolet Avalanche; verify engine, housing shape, and VIN fitment |
— |
$35.00 |
|
About prices: shown prices are typical retail averages and change frequently; cheaper alternatives may be available. Confirm the current price before buying.
💡 Pro tip: Order all parts at once to save on shipping
Step-by-Step Instructions
Follow these steps carefully
1
Prep and locate the air box
Park, set the parking brake, and shut the engine off. Open the hood and find the airbox — a black plastic box on the wide ribbed rubber intake duct (GMT800 platform). It takes the ACDelco A1519C filter (also A3086C).
2
Open the air filter housing
Flip the perimeter clips on the airbox lid outward — no tools; typically 4 clips on the GMT800. Lift the lid only as far as needed so it doesn't strain the intake tube. Note the lid orientation for reinstall.
3
Remove the old filter and inspect it
Lift the old air filter out of the housing — ACDelco A1519C (also A3086C); FRAM CA8756. Hold the old element up to light; if you can't see light through the pleats, it was overdue. Don't pry the clips with a screwdriver.
🔧 Mechanic's note — Ray Delgado
I never pry these GMT800 clips with a screwdriver — I've seen more than one snap clean off and turn a five-dollar filter job into an airbox-hunting weekend. Wiggle the lid while you flip them instead.
4
Install the new filter
Seat the new filter in the housing with the rubber seal fully seated in the groove. Run your finger around the entire perimeter — there must be no gaps; an unseated filter lets dirt into the 5.3L V8.
🔧 Mechanic's note — Ray Delgado
On these 5.3Ls the seal check is the step that actually protects your engine — a pinched frame edge lets grit straight past the filter. I run my finger around the whole perimeter every time, no exceptions.
5
Reseal and verify
Close the airbox lid evenly so the seal compresses equally. Refasten every clip. Start the engine and listen for 30 seconds: whistling or hissing indicates an air leak (lid not sealed). Take a short test drive. Interval: every 15,000–30,000 miles.
All Done!
Test your repair before closing everything up. If something doesn't work right, double-check your steps.
⚠️ Common Mistakes to Avoid
- • Confusing the engine filter with the cabin filter
- • Installing the filter upside down or leaving a corner unseated
- • Dropping clips, dirt, or shop towels into the intake tract
- • Over-tightening plastic air-box fasteners
- • Failing to reconnect the intake duct or sensor connector