Quick answer: AC Not Blowing Cold / Recharge on a 2003–2009 Chevrolet Express is rated Moderate and takes about 30-60 minutes. You'll need 2 tools for this job, and parts cost about $45. This guide walks you through the full job step by step, including the mistakes to avoid.
| Part Name |
Part Number |
Price |
Buy |
| Correct refrigerant DIY kit with gauge (R-134a or R-1234yf as labeled) |
— |
$45.00 |
|
| AC leak-detect dye (optional) Optional |
— |
$12.00 |
|
About prices: shown prices are typical retail averages and change frequently; cheaper alternatives may be available. Confirm the current price before buying.
💡 Pro tip: Order all parts at once to save on shipping
Step-by-Step Instructions
Follow these steps carefully
1
Confirm refrigerant type and symptoms
Find the under-hood J639 A/C sticker and confirm refrigerant type and charge. All 2003-2009 Express vans are factory R-134a; GM's R-1234yf rollout didn't start until 2017 (bulletin 12-01-37-001B). Wear safety glasses and gloves — refrigerant causes frostbite and eye injury. Never vent refrigerant or overcharge.
🔧 Mechanic's note — Tom Becker
On rear-A/C Express vans, I check the long underbody lines first — the most common leak point; trace them for oily residue. Weak airflow usually isn't a filter issue: most never had a factory cabin filter, so I'd check the blower motor and resistor.
2
Find the low-side service port
Engine off. The low-side port screws into the accumulator — the silver canister on the passenger side — under a black or blue cap. The coupler fits ONLY the low-side port; never force it onto the high-side fitting. Wipe the port clean before connecting.
3
Take a baseline reading
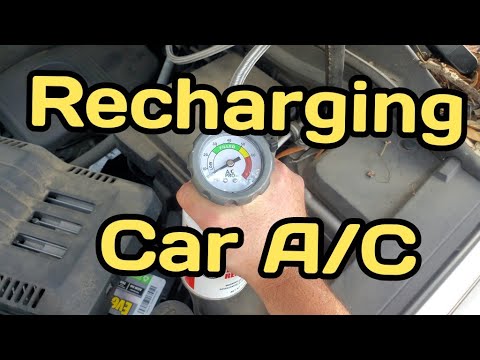
MAX A/C, recirc, blower high; confirm the compressor runs (clutch click). Gauge against the kit chart — generic guide: 80F, 40-50 psi on R-134a or 25-35 on R-1234yf; 90F, 45-55 or 30-40. Near zero means essentially empty — find the leak before adding anything.
4
Add refrigerant cautiously
If the baseline is low but not near zero, add refrigerant in short bursts with the can upright, pausing between bursts. Stop when the pressure is in the chart range and the vents blow cold. Never overcharge: it hurts cooling and can damage the compressor.
5
Stop and verify cooling
When the gauge is in range and the center vent blows cold — high 30s to mid-40s F on MAX — stop, disconnect, and recap the port. Check for leaks: oily residue at hose fittings and the condenser face.
🔧 Mechanic's note — Tom Becker
I've learned this the hard way: Check for dye at dusk with a UV flashlight — factory dye glows under it. And if the cold fades within days or the compressor never kicks on, that's a shop job, not another can.
All Done!
Test your repair before closing everything up. If something doesn't work right, double-check your steps.
⚠️ Common Mistakes to Avoid
- • Using the wrong refrigerant (R-134a vs R-1234yf)
- • Overcharging by watching a gauge without following the kit chart and vent temperature
- • Recharging an empty or badly leaking system
- • Connecting to the high-side port
- • Continuing to recharge when the system loses cooling again within days