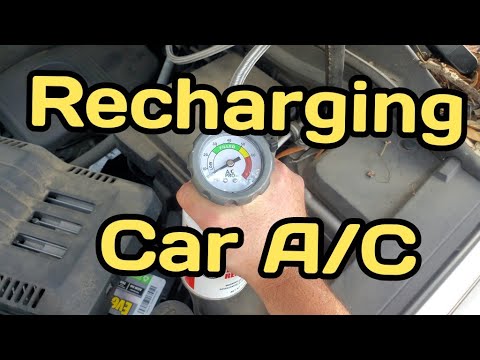
Quick answer: AC Not Blowing Cold / Recharge on a 2008–2019 BMW X6 is rated Moderate and takes about 45-90 minutes. You'll need 2 tools for this job, and parts cost about $45. This guide walks you through the full job step by step, including the mistakes to avoid.
| Part Name |
Part Number |
Price |
Buy |
| Vehicle-specific A/C refrigerant or service part |
— |
$45.00 |
|
About prices: shown prices are typical retail averages and change frequently; cheaper alternatives may be available. Confirm the current price before buying.
💡 Pro tip: Order all parts at once to save on shipping
Step-by-Step Instructions
Follow these steps carefully
1
Verify the complaint
Park safely, set climate control to MAX cooling. Check blower speed at each setting, vent selection, center-vent temperature, and both sides cooling equally. Under-hood label confirms refrigerant: 2008–2017 R-134a, 2018–2019 R-1234yf.
🔧 Mechanic's note — Tom Becker
I've seen X6 owners chase a refrigerant problem that turned out to be the blend doors — when the driver's side is cold and the passenger side isn't, stop and test the HVAC actuators before you open the system.
2
Inspect controls and airflow
Before touching refrigerant, check the cabin air filter behind the glove box, blower airflow, A/C fuse and relay, the condenser face for debris or bent fins, the serpentine belt, and fittings for oil residue — oily grime at a fitting signals a refrigerant leak.
3
Check pressures and temperature
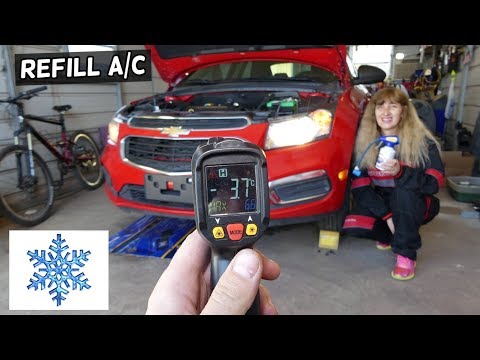
Engine running, MAX A/C, recirculation on, blower high: read low-side pressure against an ambient-temperature chart (~25–35 psi at 65°F, ~35–40 at 70°F, ~40–50 at 80°F, ~45–55 at 90°F). Pressure near zero means professional evacuation and leak repair — not a top-off.
🔧 Mechanic's note — Ray Delgado
I never trust a DIY-kit pressure chart by itself — always read your gauge's own documentation, because a reading that looks fine at 90°F can hide an undercharge that's starving the compressor of oil.
4
Repair the root cause
Fix leaks before adding refrigerant: UV dye, a nitrogen pressure test, or a shop leak-down test. R-1234yf is mildly flammable (ASHRAE A2L) — no open flames, ventilate well, never vent refrigerant; recovery needs certified equipment. Skip stop-leak: it clogs the expansion valve.
5
Recharge and verify
Recharge by weight to the factory spec on the under-hood label — a DIY can cannot measure charge weight. Confirm stable vent temperature, steady compressor operation, strong airflow, and no new leaks. Cooling fades within days? The leak isn't fixed — re-dye and re-test.
All Done!
Test your repair before closing everything up. If something doesn't work right, double-check your steps.
⚠️ Common Mistakes to Avoid
- • Adding refrigerant without checking for a leak or reading system pressure
- • Using a refrigerant can or adapter that does not match the vehicle specification
- • Opening fittings without proper recovery equipment
- • Ignoring condenser airflow, fuses, relays, or a failed blower