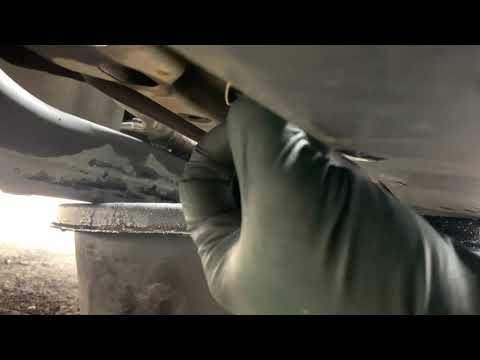
Quick answer: Front Brake Pad and Rotor Replacement on a 2005–2010 Chrysler 300 is rated Moderate and takes about 1-2 hours. You'll need 11 tools for this job, and parts cost about $37. This guide walks you through the full job step by step, including the mistakes to avoid.
| Part Name |
Part Number |
Price |
Buy |
| Front brake pad set (2005-2010 Chrysler 300) |
— |
$37.00 |
|
| Front brake rotors, pair |
— |
— |
|
About prices: shown prices are typical retail averages and change frequently; cheaper alternatives may be available. Confirm the current price before buying.
💡 Pro tip: Order all parts at once to save on shipping
Step-by-Step Instructions
Follow these steps carefully
1
Park safely and loosen lug nuts
Park the 2005-2010 Chrysler 300 on a flat surface, engage the parking brake, and chock the rear wheels. Loosen the front lug nuts slightly with a lug wrench while the wheel is still on the ground. Completion looks like lug nuts broken loose with the car stable and secured.
2
Lift the car and remove the wheel
Jack up the front of the 300 and place jack stands securely under the frame rails. Remove the loosened lug nuts completely and pull the front wheel off the hub.
3
Remove the caliper bolts
Locate the two 13mm bolts on the back of the brake caliper. Remove them with a 13mm socket, holding the guide pins steady if they try to turn. Completion looks like both caliper bolts removed and set aside.
4
Lift off the caliper and hang it safely
Slide the caliper straight off the rotor and old pads. Hang it from the coil spring with a bungee cord or sturdy wire so its weight never pulls on the rubber brake hose.
🔧 Mechanic's note — Ray Delgado
Trust me on this one: Hang it from the coil spring with a bungee cord or sturdy wire so its weight never pulls on the rubber brake hose.
5
Remove the old brake pads
Pull the worn brake pads out of the caliper bracket. Note how the wear indicators and any shims are positioned so the new pads go in the same way.
6
Remove the bracket and old rotor
Remove the two large 21mm caliper bracket bolts using a breaker bar for leverage. Lift the bracket off the knuckle, then slide the old rotor straight off the wheel hub. If the rotor is rusted on, tap its hat gently with a mallet to break it free. Completion looks like the bracket and rotor removed with the hub exposed.
🔧 Mechanic's note — Tom Becker
I've done this job enough times to say it plain: If the rotor is rusted on, tap its hat gently with a mallet to break it free.
7
Clean the hub surface
Scrub the wheel hub face with a wire brush until it is free of rust scale and debris. Completion looks like bright, clean metal across the full hub face.
8
Install the new rotor and bracket
Slide the new rotor onto the cleaned hub, making sure it sits flush with no rocking. Reinstall the caliper bracket over the rotor and tighten the two 21mm bolts firmly.
9
Compress the caliper piston
Use a caliper piston compressor tool or a C-clamp with an old pad to press the caliper piston slowly back into its bore. Completion looks like the piston fully retracted flush with the caliper body.
10
Install the new brake pads
Apply a thin film of brake lubricant to the pad backing plates where they touch the bracket, avoiding the friction surfaces. Slide the new pads into the bracket with any shims and wear indicators in their original positions.
🔧 Mechanic's note — Ray Delgado
I learned this one the hard way — I apply brake lubricant to the pad backing plates where they touch the bracket, never on the friction surfaces.
11
Reinstall the caliper
Lower the caliper over the new pads and rotor, then reinstall and tighten the two 13mm caliper bolts. Confirm the caliper slides smoothly on its guide pins and is centered over the rotor.
12
Refit the wheel, torque, and bed the pads
Remount the front wheel and snug the lug nuts by hand in a star pattern. Lower the 300 off the jack stands, then torque the lug nuts to 110 ft-lbs in a star sequence. Pump the brake pedal several times until it feels high and firm, then road test with 5-6 moderate stops from 35 mph to bed the pads. Completion looks like a firm pedal and smooth, quiet stops with no pull or vibration.
All Done!
Test your repair before closing everything up. If something doesn't work right, double-check your steps.
⚠️ Common Mistakes to Avoid
- • Forgetting to pump the brake pedal before driving, which leaves no pedal pressure on the first stop.
- • Not cleaning rust from the hub face, causing the new rotor to sit unevenly and vibrate.
- • Letting the caliper hang by the brake hose, which can stretch or damage the line.
- • Skipping the pad bedding procedure, leading to noisy brakes and uneven pad transfer.