Quick answer: AC Not Blowing Cold / Recharge on a 2011–2014 Chrysler 300 is rated Moderate and takes about 30-60 minutes. You'll need 2 tools for this job, and parts cost about $45. This guide walks you through the full job step by step, including the mistakes to avoid.
| Part Name |
Part Number |
Price |
Buy |
| Correct refrigerant DIY kit with gauge (R-134a or R-1234yf as labeled) |
— |
$45.00 |
|
| AC leak-detect dye (optional) Optional |
— |
$12.00 |
|
About prices: shown prices are typical retail averages and change frequently; cheaper alternatives may be available. Confirm the current price before buying.
💡 Pro tip: Order all parts at once to save on shipping
Step-by-Step Instructions
Follow these steps carefully
1
Confirm refrigerant type and symptoms
Find A/C spec label: radiator support, hood underside, or strut tower. 2011–2013 use R-134a; the 300 switched to R-1234yf during 2014 — a 2014 could be either, and the label decides. 1234yf charge: about 25 oz. Never guess the refrigerant — fittings differ by design.
🔧 Mechanic's note — Tom Becker
Before you buy a recharge can, pull the cabin filter — on the 300 it's behind the glove box. I've seen plenty of 'AC not cold' complaints that were just a filter packed solid, and weak airflow looks exactly like a weak charge.
2
Find the low-side service port
Find 'L' cap on the larger-diameter suction line — the port can look small, so go by line size. A DIY hose only snaps onto the low-side coupler; if it won't click, stop. Engine OFF; never use adapters or charge the high side — dangerous.
🔧 Mechanic's note — Ray Delgado
I've trained my ears for this one: Don't stand there waiting for a clutch click on these — most 300s from this era run a variable-displacement compressor, so steady pulley rotation is your sign it's alive and working.
3
Take a baseline reading
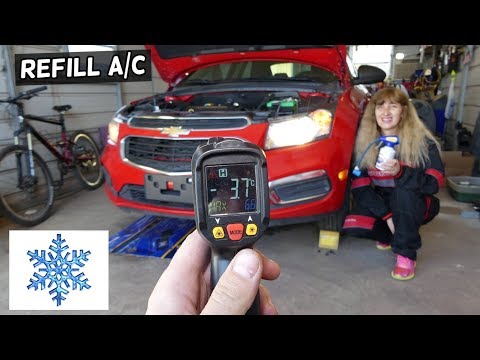
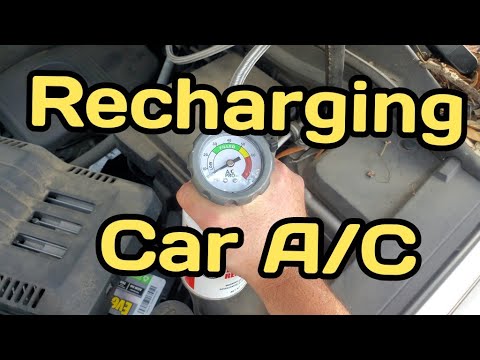
MAX A/C, coldest, recirc ON, blower high: run 2–3 minutes, read low-side gauge vs. the ambient chart — 25–35 psi at 65°F, 35–40 at 70°F, 40–50 at 80°F, 45–55 at 90°F. Near zero? Stop: empty system needs pro evacuation and leak repair, not a top-off.
4
Add refrigerant cautiously
Add refrigerant in 5–10 second bursts, can upright — vapor only, never invert; liquid entering the compressor destroys it. Recheck gauge and vent temp between bursts, aiming mid-chart, not the top. R-1234yf is mildly flammable: no open flames, ventilate. Never vent refrigerant to atmosphere.
🔧 Mechanic's note — Tom Becker
I never touch those stop-leak 'tune-up' cans — the sealant can clog the expansion valve or orifice tube, and then a cheap top-off turns into a real component replacement.
5
Stop and verify cooling
Stop when low-side pressure is in range and center vents blow cold — high-30s–mid-40s °F. Reinstall the 'L' cap (primary seal). Cooling fading in days means a leak: UV dye inspection or shop leak-down test, not another can — repeated recharging risks the compressor.
All Done!
Test your repair before closing everything up. If something doesn't work right, double-check your steps.
⚠️ Common Mistakes to Avoid
- • Using the wrong refrigerant (R-134a vs R-1234yf)
- • Overcharging by watching a gauge without following the kit chart and vent temperature
- • Recharging an empty or badly leaking system
- • Connecting to the high-side port
- • Continuing to recharge when the system loses cooling again within days