Quick answer: 12V Battery Replacement on a 2008–2014 Dodge Avenger is rated Easy and takes about 30-90 minutes. You'll need 2 tools for this job, and parts cost about $180. This guide walks you through the full job step by step, including the mistakes to avoid.
| Part Name |
Part Number |
Price |
Buy |
| Replacement 12-volt battery for 2008-2014 Dodge Avenger; verify group size, CCA, terminal layout, and VIN fitment |
— |
$180.00 |
|
| Anti-corrosion terminal protectant or felt washers (optional) Optional |
— |
$8.00 |
|
About prices: shown prices are typical retail averages and change frequently; cheaper alternatives may be available. Confirm the current price before buying.
💡 Pro tip: Order all parts at once to save on shipping
Step-by-Step Instructions
Follow these steps carefully
1
Verify battery fitment
On the 2008–2014 Avenger the battery is NOT under the hood — it's in the driver-side wheel well, behind the fender liner. Buy a Group 86 battery first (525 CCA minimum; Group 26 also fits) and stage a floor jack, jack stands, and socket set.
🔧 Mechanic's note — Ray Delgado
Do not go hunting under the hood — this battery genuinely lives in the wheel well. I watched a guy pull his airbox apart for an hour before he believed me.
2
Make the vehicle safe
Park on level ground, Park, parking brake, ignition fully off. Turn the steering wheel fully right to open the driver-side wheel well, jack up the front onto jack stands. Chock the rear wheels; key out of the ignition. Gloves and eye protection on.
3
Disconnect the old battery
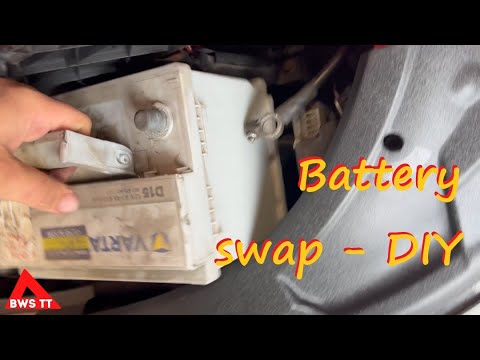
Remove the front driver-side wheel, the splash shield and fender liner fasteners to expose the battery. Disconnect negative first, positive, without twisting the posts. Remove the hold-down, photograph the cable routing, and maneuver the old Group 86 out through the wheel opening.
🔧 Mechanic's note — Tom Becker
My two cents on this step: Bag and label those splash shield fasteners. They're plastic push-pins, they vanish in gravel driveways, and the shield flaps without them.
4
Compare and install the replacement
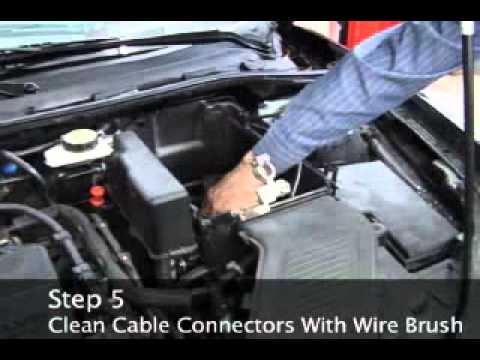
Compare the new Group 86: same case, adequate CCA. Clean corrosion off the cable ends — wheel-well batteries corrode from road spray. Refit the hold-down snugly; connect positive first, then negative. Refit the splash shield; every fastener seated so water can't reach the battery.
5
Reset and verify operation
Refit the wheel, lower the car, torque the lug nuts per your owner's manual. Start: charging light out, engine cranking briskly. Jump-starts: use the remote positive terminal and a body ground, no wheel removal. If the battery light stays on, have the charging system tested.
🔧 Mechanic's note — Ray Delgado
Battery jobs have bitten me before: Remember that remote jump terminal under the hood — you'll thank yourself the next time this battery dies in a parking lot at night.
All Done!
Test your repair before closing everything up. If something doesn't work right, double-check your steps.
⚠️ Common Mistakes to Avoid
- • Buying by appearance instead of group size, CCA, polarity, and hold-down fit
- • Shorting the positive terminal to the body with a metal tool
- • Lifting the battery by damaged terminals or leaving it unsecured
- • Skipping battery registration, window/clock resets, or charging-system checks when required
- • Assuming a new battery fixes a parasitic draw or charging fault