Quick answer: 12V Battery Replacement on a 2007–2012 Dodge Caliber is rated Easy and takes about 30-90 minutes. You'll need 2 tools for this job, and parts cost about $180. This guide walks you through the full job step by step, including the mistakes to avoid.
| Part Name |
Part Number |
Price |
Buy |
| Replacement 12-volt battery for 2007-2012 Dodge Caliber; verify group size, CCA, terminal layout, and VIN fitment |
— |
$180.00 |
|
| Anti-corrosion terminal protectant or felt washers (optional) Optional |
— |
$8.00 |
|
About prices: shown prices are typical retail averages and change frequently; cheaper alternatives may be available. Confirm the current price before buying.
💡 Pro tip: Order all parts at once to save on shipping
Step-by-Step Instructions
Follow these steps carefully
1
Verify battery fitment and charging symptoms
Confirm the job on your 2007–2012 Caliber: Group 86. Because the Group 86 is a small case, confirm the replacement's dimensions so the hold-down and cables line up. Before buying, check for slow cranking, a charging warning, or a swollen case.
🔧 Mechanic's note — Tom Becker
I always check this before I pick up a wrench: That swollen case is the tell — if the sides bulge, the battery is already cooked inside. Buy the replacement before you start unbolting anything.
2
Make the vehicle safe and preserve settings when permitted
Park the Caliber on level ground, shift to Park, set the parking brake, and switch the ignition fully off. Pop the hood - the battery sits in the engine compartment in a tray with a hold-down bracket. Keep the key out of the ignition. You will need a 10mm wrench or socket for the terminal nuts. A memory saver is only worth using if your owner's manual permits it; otherwise plan to reset the clock and radio presets afterward. Wear gloves and eye protection.
3
Disconnect the old battery
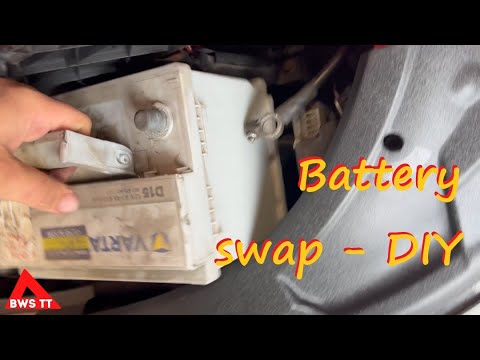
Remove the hold-down bracket. Disconnect negative first, then positive, loosening the terminal nuts without twisting the posts or shorting your wrench against the fender or strut tower — keep the wrench flat. Photograph the cable routing, then lift the battery straight out.
🔧 Mechanic's note — Ray Delgado
Keep the wrench flat on those close-set terminals. One slip against the fender and you'll weld the wrench to the body — ask me how I know.
4
Compare and install the replacement
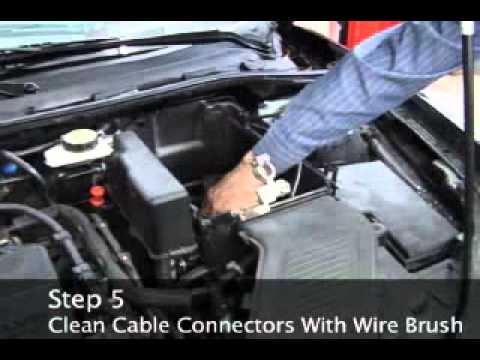
Compare the new Group 86: same compact case, positive top-left, same height so the hood clears the posts. Wire-brush the tray; clean corrosion off the cable ends. Refit the hold-down snugly, connect positive first, then negative. Tug each terminal — it must not rotate.
5
Reset and verify operation
Start the Caliber: charging warning light out, engine cranking briskly. Reset clock/radio presets; idle a few minutes so the ECM re-learns. If the battery light stays on, a terminal feels hot, or you smell sulfur, stop — have the alternator/charging system tested.
🔧 Mechanic's note — Tom Becker
Battery jobs have bitten me before: Sulfur smell after the swap means stop, full stop. That's a battery venting gas — don't keep driving it to the parts store.
All Done!
Test your repair before closing everything up. If something doesn't work right, double-check your steps.
⚠️ Common Mistakes to Avoid
- • Buying by appearance instead of group size, CCA, polarity, and hold-down fit
- • Shorting the positive terminal to the body with a metal tool
- • Lifting the battery by damaged terminals or leaving it unsecured
- • Skipping battery registration, window/clock resets, or charging-system checks when required
- • Assuming a new battery fixes a parasitic draw or charging fault