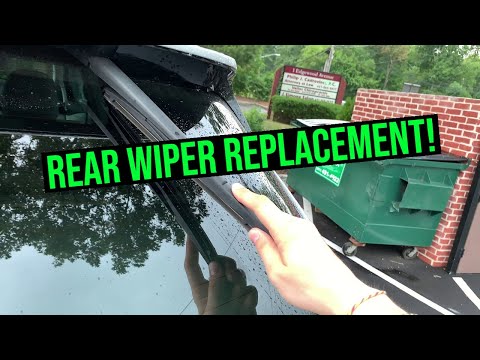
Quick answer: Rear Wiper Blade Replacement on a 2011–2024 Dodge Durango is rated Easy and takes about 5–10 minutes. You'll need 1 tool for this job, and parts cost about $15. This guide walks you through the full job step by step, including the mistakes to avoid.
| Part Name |
Part Number |
Price |
Buy |
| Rear wiper blade, 12" |
— |
$14.99 |
|
About prices: shown prices are typical retail averages and change frequently; cheaper alternatives may be available. Confirm the current price before buying.
💡 Pro tip: Order all parts at once to save on shipping
Step-by-Step Instructions
Follow these steps carefully
1
Park, switch off, and head to the liftgate
Park level, set the brake, switch the ignition off. At the back of the Durango, lift the rear wiper arm off the liftgate glass until it holds in the raised service position.
2
Study the rear connector before touching it
Look closely where the 12-inch blade meets the arm: the Durango's rear wiper uses an RL2 (Roc Lock 2) connector, completely different from the front J-hooks.
🔧 Mechanic's note — Tom Becker
In my experience, Parts stores love selling you a front blade for the rear — the package sometimes even says 'fits Durango.' Flip it over and check for the RL2 marking before you leave the store, not in the parking lot.
3
Release the old blade from the RL2 connector
Hold the arm steady with one hand — never let go of a raised arm over bare glass. With the other hand, press the release tab on the RL2 connector and slide or rotate the old blade out, following the motion the tab suggests.
🔧 Mechanic's note — Tom Becker
From my bay, The RL2 release has a direction it wants to go — forcing it the wrong way is how the little plastic tab snaps. If it won't budge, wiggle the blade side to side while pressing the tab; the wiggle beats brute force.
4
Compare the old blade to the new one
Lay the old blade next to the new one — the Durango's rear blade is 12 inches. Also confirm the new blade has the RL2-style connector.
5
Slide the new blade into the connector
Tug firmly along the arm to confirm the lock — a blade that isn't fully latched will sail off the liftgate at highway speed in the rain.
6
Lower the arm gently onto the glass
Never let the arm snap back on its own, especially with the blade off — the bare end can chip or crack the rear glass, a far more expensive repair than a wiper blade.
7
Test the rear wash and wipe
The 12-inch blade should clear a clean arc with no skipping, chattering, or streaks. Confirm the blade parks itself at the base of the glass when switched off — proper parking confirms the connector is fully seated.
All Done!
Test your repair before closing everything up. If something doesn't work right, double-check your steps.
⚠️ Common Mistakes to Avoid
- • Buying a J-hook blade for the rear — the Durango rear arm needs the RL2 / Roc Lock 2 connector
- • Letting the raised arm snap back against the bare liftgate glass
- • Installing the blade without hearing the connector click, then losing it on the highway