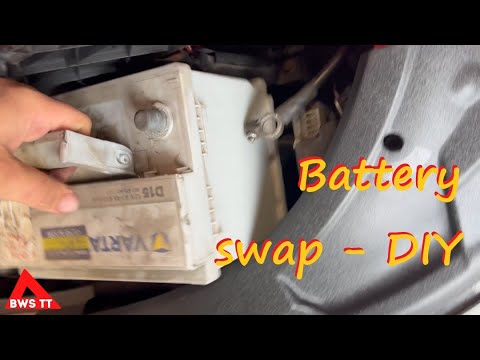
Quick answer: 12V Battery Replacement on a 2006–2013 Lexus IS is rated Easy and takes about 30-90 minutes. You'll need 2 tools for this job, and parts cost about $180. This guide walks you through the full job step by step, including the mistakes to avoid.
| Part Name |
Part Number |
Price |
Buy |
| Replacement 12-volt battery for 2006-2013 Lexus IS350; verify group size, CCA, terminal layout, and VIN fitment |
— |
$180.00 |
|
| Anti-corrosion terminal protectant or felt washers (optional) Optional |
— |
$8.00 |
|
About prices: shown prices are typical retail averages and change frequently; cheaper alternatives may be available. Confirm the current price before buying.
💡 Pro tip: Order all parts at once to save on shipping
Step-by-Step Instructions
Follow these steps carefully
1
Confirm the correct Group 24 battery for your IS
Match the group size, terminal layout, and at least the factory cold-cranking amps stamped on your old battery before buying — around 600 CCA is typical. Photograph the old label for comparison.
2
Park safely and open the hood
Park the IS on level ground, set the parking brake, and switch the ignition fully off with the key out. Open the hood and locate the battery in the engine bay. Put on gloves and eye protection, and keep metal tools, watches, and jewelry away from the terminals.
🔧 Mechanic's note — Tom Becker
I test the charging system after every battery swap. A new battery masks a dying alternator for about a week.
3
Inspect terminals, hold-down, and cable routing
Check both cable clamps for white or green corrosion, cracked insulation, and looseness. Note which cable runs to the positive post and which to the negative, and inspect the hold-down clamp securing the battery to the tray.
4
Disconnect the old battery, negative first
Loosen the negative cable clamp nut with a 10mm wrench and lift the clamp straight off the post; tuck it where it cannot fall back onto the terminal. Then remove the positive cable the same way.
5
Remove the hold-down and lift out the old battery
Unbolt the hold-down clamp and lift it clear, then lift the old Group 24 battery straight up and out — 40 pounds — and set it on the ground, not on the fender. Set the new battery into the tray.
6
Clean and reconnect the cables
Clean both cable clamps with a wire brush, then connect the positive cable first and the negative cable second, tightening each nut firmly so the clamps cannot rotate on the posts.
7
Verify operation and reset your presets
Start the IS and confirm strong cranking with no battery warning light. Expect about 13.5 to 14.5 volts across the terminals with the engine running. Reset the clock and radio presets, and resync the one-touch power windows by holding each switch at full open and full closed for a few seconds.
All Done!
Test your repair before closing everything up. If something doesn't work right, double-check your steps.
⚠️ Common Mistakes to Avoid
- • Buying by appearance instead of group size, CCA, polarity, and hold-down fit
- • Shorting the positive terminal to the body with a metal tool
- • Lifting the battery by damaged terminals or leaving it unsecured
- • Skipping battery registration, window/clock resets, or charging-system checks when required
- • Assuming a new battery fixes a parasitic draw or charging fault