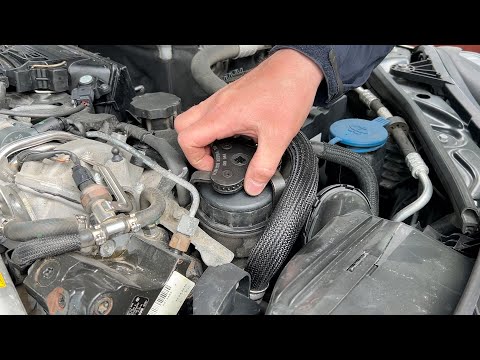
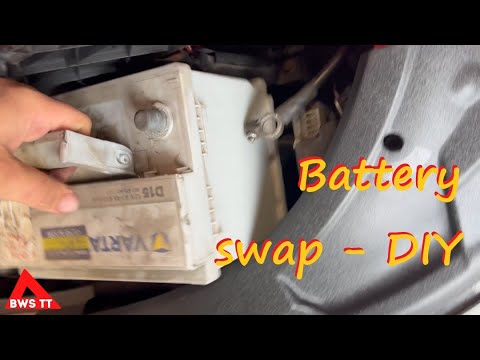
Quick answer: 12V Battery Replacement on a 2010–2016 Mercedes-Benz E-Class is rated Moderate and takes about 30-90 minutes. You'll need 2 tools for this job, and parts cost about $180. This guide walks you through the full job step by step, including the mistakes to avoid.
| Part Name |
Part Number |
Price |
Buy |
| Replacement 12-volt battery for 2010-2016 Mercedes-Benz E-Class Hybrid; verify group size, CCA, terminal layout, and VIN fitment |
— |
$180.00 |
|
| Anti-corrosion terminal protectant or felt washers (optional) Optional |
— |
$8.00 |
|
About prices: shown prices are typical retail averages and change frequently; cheaper alternatives may be available. Confirm the current price before buying.
💡 Pro tip: Order all parts at once to save on shipping
Step-by-Step Instructions
Follow these steps carefully
1
Confirm battery fitment and symptoms
Match the label exactly: Group 48/H6 or 49/H8 (E350 70Ah, E550 95Ah). E350: battery on the right side of the engine compartment. E550: trunk, under the load-compartment floor, right side. Test the old battery under load first.
2
Make the vehicle safe
Set the parking brake, switch the ignition off, and take the keys so the modules go to sleep. Wear safety glasses and gloves — batteries contain acid and produce explosive gas. Radio presets and clock will be lost.
3
Access the battery
E350: battery under the hood, passenger side. E550: trunk, under the load floor, right side. Behind the driver's-side dashboard sits a small AUXILIARY battery — an "Auxiliary Battery Malfunction" warning means that small battery is the culprit.
🔧 Mechanic's note — Tom Becker
If the dash says 'Auxiliary Battery Malfunction', do not touch the main battery — that little aux battery behind the dash is the culprit. I have seen people replace the big battery twice before finding it.
4
Disconnect the old battery
Disconnect the NEGATIVE cable first, then the positive — never let a tool bridge a terminal to the body. Photograph the cable routing and vent-tube placement before removing anything.
5
Remove the old battery
Remove the hold-down clamp and lift the main battery straight out — it weighs 40-60 lbs, so lift with your legs. Inspect the tray for rust or acid damage; clean corrosion with a baking-soda solution and a wire brush.
6
Install the replacement battery
Verify the battery matches: same group size, terminal layout and polarity, equal or higher CCA. Secure the hold-down snugly, then connect POSITIVE first and NEGATIVE last. Tighten clamps without over-tightening; reconnect the vent hose to route gases outside the car.
🔧 Mechanic's note — Ray Delgado
That vent hose on the trunk-mounted battery is not optional — it routes hydrogen outside the car. I tug-test it after every install, because a loose hose in a sealed trunk is a real hazard.
7
Reset and verify operation
The W212 documents no scan-tool battery registration for the main battery. Reset the clock and windows, confirm no battery warnings remain, and check idle voltage — roughly 13.5 to 14.8 volts.
All Done!
Test your repair before closing everything up. If something doesn't work right, double-check your steps.
⚠️ Common Mistakes to Avoid
- • Buying by appearance instead of group size, CCA, polarity, and hold-down fit
- • Shorting the positive terminal to the body with a metal tool
- • Lifting the battery by damaged terminals or leaving it unsecured
- • Skipping battery registration, window/clock resets, or charging-system checks when required
- • Assuming a new battery fixes a parasitic draw or charging fault