Quick answer: Engine Air Filter Replacement on a 2015–2018 Mercedes-Benz GLA is rated Easy and takes about 10 minutes.. You'll need 2 tools for this job, and parts cost about $35. This guide walks you through the full job step by step, including the mistakes to avoid.
| Part Name |
Part Number |
Price |
Buy |
| Engine air filter for 2015-2018 Mercedes-Benz GLA; verify engine, housing shape, and VIN fitment |
— |
$35.00 |
|
About prices: shown prices are typical retail averages and change frequently; cheaper alternatives may be available. Confirm the current price before buying.
💡 Pro tip: Order all parts at once to save on shipping
Step-by-Step Instructions
Follow these steps carefully
1
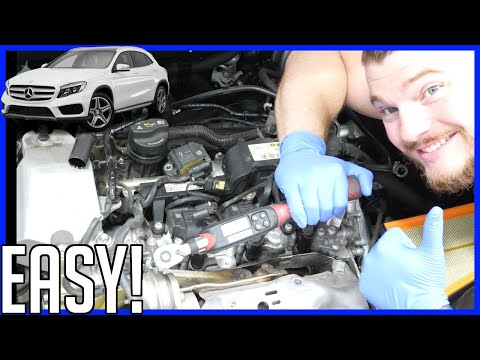
Locate the airbox on the M270 engine
Pop the hood and stand at the front of the car. You will spot it by the row of screws around the lid's perimeter and the electrical connector plugged into the intake duct downstream of the filter - that is the pressure sensor.
2
Unplug the sensor and free the lid
You only need a screwdriver for this one - no socket set required - and most DIYers finish in about five to ten minutes. Before backing out any screws, unplug the pressure sensor's electrical connector: press its release tab and slide the plug straight off the sensor in the intake duct. Then loosen the clamp where the upper airbox housing meets the intake duct boot, so the lid can lift free without straining the duct.
🔧 Mechanic's note — Tom Becker
For dual-filter setups, I do one side at a time. Mixing up left and right is easier than you'd think.
3
Remove the upper housing and old filter
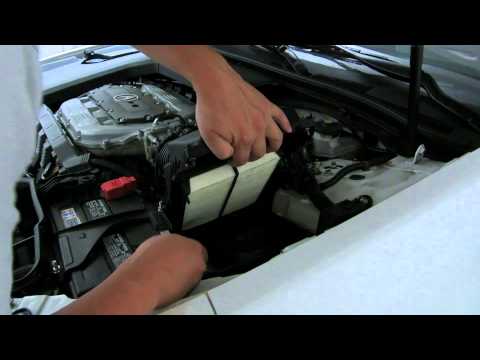
Back out the screws around the airbox lid and the bolts where the upper housing sections meet the intake duct. Lift the upper housing straight up and off - the old panel filter either comes out with the lid or sits exposed in the lower box. Grab the filter by its plastic frame and lift it out; note how its rubber gasket rim seated against the lower housing's lip, because the new filter has to land exactly the same way. If the old filter is heat-stuck to the box, work it free gently instead of yanking - the plastic sealing lip and lid tabs are what break here, not the filter.
4
Inspect the housing
Run a finger along the sealing lip looking for cracks or warping; a damaged lip lets unfiltered air around the filter and needs attention before reassembly.
5
Seat the new panel filter
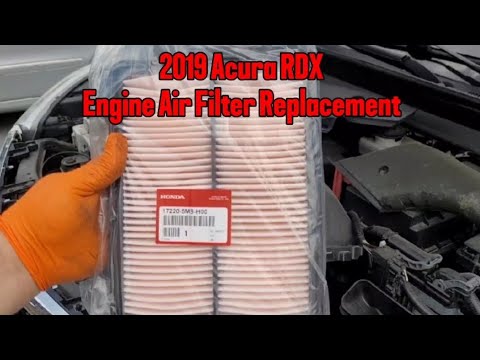
Set the new rectangular panel filter into the lower housing exactly the way the old one sat, rubber gasket rim pressed evenly onto the sealing lip all the way around. Buy the filter by exact vehicle fitment (GLA 250 or GLA 45, 2015-2018) - the frame must match the box. Double-check the filter sits flat and is not cocked up on one corner; a crooked filter whistles under boost and lets dust past the seal. Lower the upper housing back onto the intake duct, making sure the duct boot slips fully over the housing neck before you touch a screw.
6
Reassemble and reconnect the sensor
Refit the lid screws and the bolts at the intake duct, snugging them by hand and then giving each a firm final turn with the screwdriver - these thread into plastic, so do not muscle them. Reconnect the pressure sensor plug until its latch clicks; a connector left hanging is the classic cause of a check-engine light after this job. Shake the assembled airbox: it should feel solid with no rattle, and the intake hose should sit fully home on its neck with the clamp over the boot.
7
Verify the job and note the interval
Start the engine and let it idle a minute, listening at the airbox for whistling that means a pinched seal or loose clamp. Take a short drive with a couple of full-throttle pulls - the turbo should pull smoothly with no hesitation. If a check-engine light comes on, reseat the pressure-sensor connector first. Inspect this filter at every service; replace it when the pleats are dark and clogged, and sooner if you drive in dusty conditions.
All Done!
Test your repair before closing everything up. If something doesn't work right, double-check your steps.
⚠️ Common Mistakes to Avoid
- • Lifting the upper housing without first unplugging the pressure-sensor connector - the wiring is short and tears easily.
- • Over-tightening the lid screws and stripping the threads in the plastic housing.
- • Seating the new panel filter crooked on the sealing lip - it will whistle under boost and let dust past the seal.