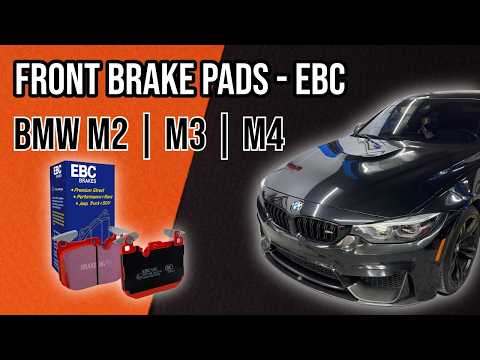
Quick answer: Front Brake Pad Replacement on a 2017–2024 MINI Countryman is rated Moderate and takes about 90-150 minutes. You'll need 7 tools for this job, and parts cost about $133. This guide walks you through the full job step by step, including the mistakes to avoid.
| Part Name |
Part Number |
Price |
Buy |
| Front brake pad set (correct for F60 Countryman) |
— |
$85.00 |
|
| Brake wear sensor (replace if worn or damaged) |
— |
$24.00 |
|
| Brake grease |
— |
$15.00 |
|
| Brake parts cleaner |
— |
$9.00 |
|
About prices: shown prices are typical retail averages and change frequently; cheaper alternatives may be available. Confirm the current price before buying.
💡 Pro tip: Order all parts at once to save on shipping
Step-by-Step Instructions
Follow these steps carefully
1
Loosen the wheel bolts and lift the car
With the car on the ground, crack the front wheel bolts loose with the 17mm socket. Jack up the front and lower it onto jack stands, then remove the bolts and the wheel.
🔧 Mechanic's note — Tom Becker
I crack the wheel bolts with the 17mm while it's on the ground — I've fought them in the air before, and the car sways the whole time.
Video at 00:00
2
Disassemble the front brakes
Locate the caliper and remove its guide bolts, then lift the caliper off the carrier and support it so the brake hose is never stretched. The braking hardware is exposed once the caliper is hung safely aside.
Video at 02:05
3
Inspect the rotor and hardware
Check the rotor face for deep grooves, cracks, or heavy rust ridging, and measure thickness if you have a micrometer. Clean the caliper carrier with the wire brush and brake cleaner so the new pads slide freely.
🔧 Mechanic's note — Ray Delgado
I clean the carrier with a wire brush so the pads slide freely — I've seen a rusty carrier cause uneven pad wear within months.
4
Prepare the new front pads
Compare the new pads with the old ones to confirm identical shape and size for the F60. Apply a thin film of brake grease to the pad backing plates and contact points, keeping grease off the friction surfaces.
Video at 04:42
5
Compress the caliper piston
Fit the piston compressor tool and wind the caliper piston back into its bore to make room for the thicker new pads. Watch the brake fluid reservoir under the hood and remove a little fluid if it threatens to overflow.
🔧 Mechanic's note — Tom Becker
I watch the reservoir and siphon fluid if it nears the top — I've overflowed one pushing a piston back, and the paint damage was permanent.
6
Install the new pads and refit the caliper
Slide the new pads into the cleaned carrier with the wear sensor in its correct position. Lower the caliper over the pads and refit the guide bolts, tightening them securely.
Video at 05:52
7
Refit the wheel and lower the car
Thread the wheel hanger or align the wheel by hand, then refit the wheel bolts and snug them. Lower the car to the ground and tighten the bolts in a star pattern with the torque wrench to the vehicle specification.
8
Confirm a firm pedal, no warning light, and smooth stops
The job is finished when the pedal is firm, the warning light is out, and the car stops smoothly on a gentle test drive with a proper pad bedding-in.
Video at 17:31
All Done!
Test your repair before closing everything up. If something doesn't work right, double-check your steps.
⚠️ Common Mistakes to Avoid
- • Forgetting to pump the brakes before the test drive, leaving no pedal on the first stop.
- • Installing pads without greasing the contact points, causing squeal.
- • Reusing a damaged wear sensor, which triggers a false brake warning.
- • Hanging the caliper by the brake hose and damaging it.