Quick answer: Engine Oil & Filter Change on a 1994–1998 Saab 900 is rated Moderate and takes about 30-60 minutes. You'll need 2 tools for this job, and parts cost about $57. This guide walks you through the full job step by step, including the mistakes to avoid.
Oil spec
2.3L I4
Capacity 4.2 qt with filter Viscosity 10W-30 (alt: 10W-40, 5W-30, 5W-40) Spec API SJ
| Part Name |
Part Number |
Price |
Buy |
| Engine Oil (10W-30) |
— |
$45.00 |
|
| Correct engine oil filter and drain-plug washer for 1994-1998 Saab 900 |
— |
$12.00 |
|
About prices: shown prices are typical retail averages and change frequently; cheaper alternatives may be available. Confirm the current price before buying.
💡 Pro tip: Order all parts at once to save on shipping
Step-by-Step Instructions
Follow these steps carefully
1
Confirm the 4-cylinder specs and set up safely
Park the 1994-1998 Saab 900 on level ground, set the parking brake, and chock the wheels. The 4-cylinder engines (2.0T B204, 2.3L B234) take 4.2 quarts of full synthetic 10W-30 with a filter change — 10W-40, 5W-30, or 5W-40 are also acceptable, and turbo owners often prefer a 0W-40. Get a spin-on filter, a new drain-plug washer, a drain pan, and a funnel. Raise the front on ramps or rated jack stands; never work under a jack alone. Saab lists severe service as short trips, idling, dusty conditions, and towing — if that describes your driving, stick to the 5,000-mile end of the interval.
2
Warm the engine and locate the filter
The spin-on filter sits right at the FRONT of the engine, easy to reach — one of the simpler filter locations of the era. Remove the oil fill cap and dipstick to vent the crankcase, and position the drain pan under the sump.
3
Drain the oil for a full ten minutes
Inspect the drain plug threads, then refit the plug with a NEW washer and tighten it securely. While it drains, keep clear of the turbocharger and exhaust manifold, which stay dangerously hot.
4
Remove the old filter and clean the surface
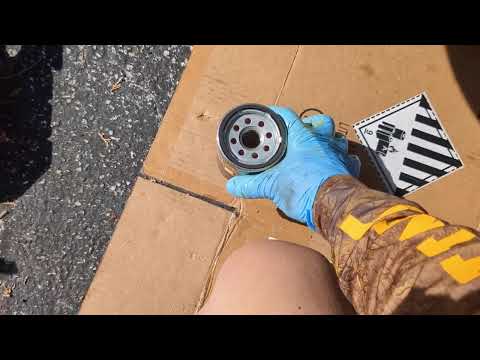
Unscrew the old filter — a filter wrench or channel locks is enough if it's stubborn. Confirm the old gasket came off with the filter, then wipe the mounting surface clean. Don't overtighten.
5
Refill, run to temperature, and check the level
Pour in 4.2 quarts of fresh synthetic through a funnel and reinstall the fill cap and dipstick. Start the engine, let it reach normal temperature, and check around the drain plug and filter for leaks.
All Done!
Test your repair before closing everything up. If something doesn't work right, double-check your steps.
⚠️ Common Mistakes to Avoid
- • Using the wrong viscosity, capacity, or filter
- • Working under a vehicle supported only by a jack
- • Reusing a crushed drain-plug washer or leaving the old filter gasket stuck
- • Over-tightening the filter or drain plug
- • Starting the engine without first verifying oil was added