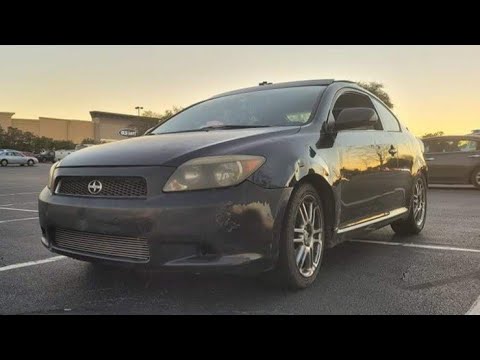
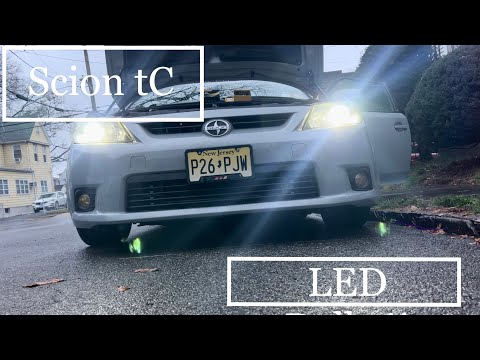
Quick answer: Rear Brake Pads Replacement on a 2005–2010 Scion tC is rated Moderate and takes about 1–2 hours. You'll need 6 tools for this job, and parts cost about $63. This guide walks you through the full job step by step, including the mistakes to avoid.
| Part Name |
Part Number |
Price |
Buy |
| Rear brake pad set (correct for 2005–2010 Scion tC) |
— |
$51.00 |
|
| Brake cleaner |
— |
$7.00 |
|
| Brake grease / anti-seize for pad contact points |
— |
$5.00 |
|
| Anti-rattle clip set |
— |
— |
|
About prices: shown prices are typical retail averages and change frequently; cheaper alternatives may be available. Confirm the current price before buying.
💡 Pro tip: Order all parts at once to save on shipping
Step-by-Step Instructions
Follow these steps carefully
1
Loosen lugs and lift the rear
With the tC on the ground, crack the rear lug nuts loose. Jack up the rear, secure it on jack stands, release the parking brake, and remove the rear wheels.
Video at 0:00
2
Unbolt the rear caliper
Locate the two caliper bracket bolts on the back of the rear caliper. Remove the caliper bolts, then slide the caliper off the rotor and hang it from the suspension with wire so the hose is not stressed.
3
Remove the worn pads and hardware
Slide the old pads out of the caliper bracket and note their orientation. Pull the anti-rattle clips and shims, and inspect the rotor surface for deep scoring that would require replacement.
4
Retract the caliper piston
Open the brake fluid reservoir cap under the hood to relieve pressure.
5
Clean and lubricate the bracket
Scrub the pad slide surfaces in the bracket with a wire brush and spray them with brake cleaner. Apply a thin film of brake grease to the pad ears' contact points and check that the slide pins move freely.
6
Install the new pads and clips
Fit the new anti-rattle clips into the bracket, then slide the fresh pads in with their friction material facing the rotor. Double-check that the wear-indicator tab is positioned correctly.
7
Reinstall the caliper and wheel
Slide the caliper back over the pads and rotor, then torque the caliper bolts to spec. Refit the wheel, hand-tighten the lugs, lower the car, and torque the lug nuts in a star pattern.
8
Bed the pads and test
Pump the brake pedal several times until it feels firm before moving the car. Take a cautious test drive with a few moderate stops from 30 mph to bed the new pads, listening for any abnormal noise.
All Done!
Test your repair before closing everything up. If something doesn't work right, double-check your steps.
⚠️ Common Mistakes to Avoid
- • Forcing the rear caliper piston straight in when it needs to be rotated (check your tC's caliper design).
- • Forgetting to pump the brakes before the test drive, causing a soft pedal scare.
- • Reusing seized slide pins without cleaning and re-greasing them.
- • Installing pads backwards or leaving the anti-rattle clips out.