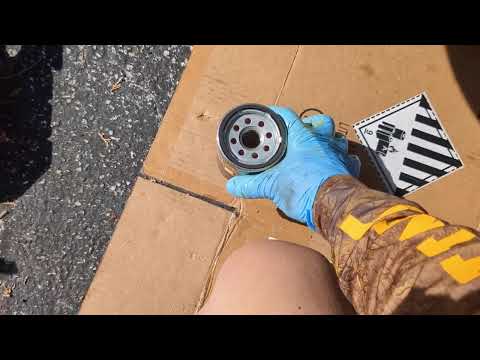
Quick answer: Engine Oil Filter Change on a 2016–2018 Toyota Corolla iM is rated Moderate and takes about 30–45 minutes. You'll need 5 tools for this job, and parts cost about $42. This guide walks you through the full job step by step, including the mistakes to avoid.
Oil spec
1.8L I-4
Capacity 4.4 qt with filter Viscosity 0W-20 (alt: 5W-20) Spec API
| Part Name |
Part Number |
Price |
Buy |
| 0W-20 full synthetic oil (about 4.4 quarts with filter) |
— |
$23.00 |
|
| Cartridge oil filter element with O-rings for 2ZR-FAE |
— |
$17.00 |
|
| New drain plug gasket |
— |
$2.00 |
|
About prices: shown prices are typical retail averages and change frequently; cheaper alternatives may be available. Confirm the current price before buying.
💡 Pro tip: Order all parts at once to save on shipping
Step-by-Step Instructions
Follow these steps carefully
1
Warm up and lift the car safely
Warm the 1.8L for a few minutes so the oil drains freely, then park on level ground, set the parking brake, and shut it off. The Corolla iM takes 4.4 quarts of 0W-20 with the filter, per the owner's manual. Raise the front on rated jack stands or ramps, and have a 64mm 14-flute cap wrench for the plastic filter housing, a drain pan, a funnel, and a new drain-plug gasket ready.
2
Remove the under-engine cover
Unfasten the clips and bolts holding the plastic under-engine cover and set it aside; keep the fasteners together because the mix of clips and bolts is easy to lose. This exposes the 14mm drain plug and the black plastic filter housing.
3
Drain the oil
Position the drain pan under the 14mm drain plug, remove the plug with its old gasket, and let the oil drain fully. Fit the plug with a new gasket and tighten it snugly, then wipe the pan clean around it.
4
Open the cartridge filter housing
Fit the 64mm 14-flute cap wrench onto the black plastic filter housing and turn it counterclockwise. Lower it carefully, it holds oil, and keep it level so the old element does not fall out into the pan.
5
Replace the element and O-rings
Pull the old filter element out of the housing and discard it. Remove the old O-rings, noting where each one sits, then lubricate the new O-rings with fresh oil and fit them with the new element, seating the element fully onto the housing post.
6
Reinstall the housing
Thread the housing back on by hand so the plastic threads start straight, then tighten to a firm snug, about 18 ft-lb (25 Nm). Do not overtighten the plastic housing or it will crack or be nearly impossible to remove next time.
🔧 Mechanic's note — Ray Delgado
My shop habit: Do not overtighten the plastic housing or it will crack or be nearly impossible to remove next time.
7
Refill and check the level
Pour in about 4.4 quarts of 0W-20 through the filler cap with a funnel. Start the engine for 30 seconds, shut it off, wait a minute for the oil to settle, and check the dipstick; top up to the full mark without overfilling.
8
Reinstall the cover and inspect
Refit the under-engine cover with all its clips and bolts. Lower the car, run the engine briefly, and inspect the drain plug and the filter housing for leaks.
All Done!
Test your repair before closing everything up. If something doesn't work right, double-check your steps.
⚠️ Common Mistakes to Avoid
- • Overtightening the plastic cartridge housing, which cracks it and causes a major leak.
- • Leaving the old O-ring stuck in place, which doubles up the seal and leaks.
- • Using the wrong oil weight instead of the specified 0W-20.