← Back to Toyota RAV4 Guides

2013–2018 Toyota RAV4

2013-2018 Toyota RAV4 — Brake Pad Replacement

🔧 Easy 2-3 hours

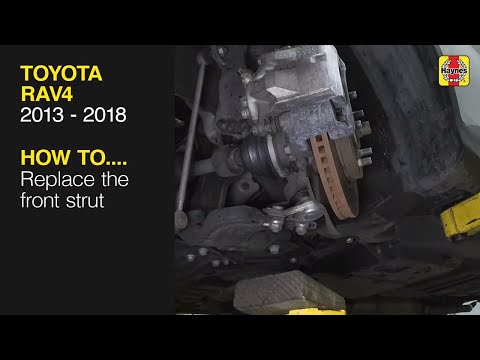
Quick Video Tutorial

Parts You Need

Total Cost
$72.70
Part Name Part Number Price Buy
Front Disc Brake Pad Kit (OEM 04465-42200; LE trims often use 04465-AZ314, confirm pad shape) 04465-42200 $72.70
Brake Parts Cleaner — —
Brake Caliper Slide Pin Lubricant — —

About prices: shown prices are estimates from typical Amazon listings and change frequently, and cheaper alternatives may be available. Confirm the current price on Amazon before buying.

💡 Pro tip: Order all parts at once to save on shipping

Step-by-Step Instructions

Follow these steps carefully

1

Prep and loosen the lug nuts

Park on level ground, set the parking brake, and chock the rear wheels. While the RAV4 is still on the ground, crack each front lug nut loose with a 21mm socket (do not remove them yet).

2

Check the brake fluid reservoir

Open the hood and check the brake fluid reservoir. If it is full to the brim, draw a little fluid out with a turkey baster so the returning piston does not overflow it. Put the cap back on loosely.

3

Lift the front and remove the wheel

Jack up the front of the RAV4 at the factory jack point and place jack stands under the reinforced pinch-weld areas. Remove the five 21mm lug nuts and take the wheel off.

4

Unbolt the caliper (14mm)

Remove the two 14mm caliper slide bolts. Lift the caliper off the bracket and hang it from the strut spring with a wire hook or bungee cord. Do not let it dangle by the brake hose.

5

Remove the old pads and hardware

Slide the old pads out of the bracket. Note the position of the wear indicator (on the inner pad) and pull out the anti-squeal shims and the pad support clips.

6

Compress the caliper piston

Place one of the old pads against the piston and use a caliper compressor tool or C-clamp to push the piston straight back into the bore. Go slowly so fluid rises gently in the reservoir.

7

Clean the bracket and service the slide pins

Scrub the bracket pad tracks with a wire brush and spray everything with brake parts cleaner. Pull each slide pin, wipe it clean, and re-coat it with fresh silicone brake lubricant before sliding it back in.

8

Install the new pads and hardware

Fit the new pad support clips, then the new pads with their shims, wear indicator on the inner pad facing up as the old one was. Apply a thin film of brake lubricant to the back of the pads where they meet the caliper.

9

Reinstall the caliper and torque to 25 ft-lb

Swing the caliper back over the pads and install the two 14mm slide bolts. Torque them to 25 ft-lb.

10

Refit the wheel and torque lug nuts to 76 ft-lb

Mount the wheel, start all five lug nuts by hand, and lower the RAV4 to the ground. Torque the 21mm lug nuts to 76 ft-lb in a star pattern. Repeat on the other front wheel.

11

Pump the pedal before driving

With the engine off, press the brake pedal repeatedly until it goes firm. Check the reservoir level and top off with the correct DOT fluid if needed. Do this before driving.

12

Bed in the new pads

Bed the pads in: make 8 to 10 moderate stops from about 35 mph, allowing the brakes to cool between stops. Avoid hard stops for the first 200 miles.

All Done!

Test your repair before closing everything up. If something doesn't work right, double-check your steps.

⚠️ Common Mistakes to Avoid

  • • Skipping the pedal pump: drive off with a soft pedal and no stopping power for the first stop.
  • • Using the wrong pad set for your trim: two different front pad shapes were used across 2013-2018 RAV4s (the LE commonly takes 04465-AZ314 while most other trims take the 04465-42200-style kit). Match the new pad silhouette against the old one before compressing the piston.
  • • Reusing seized slide pins without cleaning and re-greasing them: this is the number one cause of uneven pad wear and squeal after a DIY brake job.
  • • Snugging lug nuts in a circle instead of a star pattern, or guessing the torque: undertorqued lugs loosen, overtorqued lugs warp rotors.
  • • Letting the caliper dangle by the brake hose: a stretched hose can crack internally and fail weeks later. Hang it on a hook or bungee.