Quick answer: Brake Pad Replacement on a 2013–2016 Audi Allroad is rated Advanced and takes about 1-3 hours. You'll need 7 tools for this job, and parts cost about $205. This guide walks you through the full job step by step, including the mistakes to avoid.
| Part Name |
Part Number |
Price |
Buy |
| Front or rear brake pad set for 2013-2016 Audi Allroad; verify axle, brake package, and VIN fitment |
— |
$180.00 |
|
| Replacement pad hardware or wear sensor only if the kit requires it |
— |
$25.00 |
|
About prices: shown prices are typical retail averages and change frequently; cheaper alternatives may be available. Confirm the current price before buying.
💡 Pro tip: Order all parts at once to save on shipping
Step-by-Step Instructions
Follow these steps carefully
1
Confirm axle, parts, and brake condition
FRONT axle (B8). Single-piston sliding calipers; pads sit under an anti-rattle spring — remove it first. Confirm front-axle pads; check rotor thickness vs. minimum stamped on hat. Electric wear sensor on driver's-side pad — disconnect; transfer or replace.
2
Lift and secure the vehicle
Park level; chock the rear wheels. Parking brake holds the rear axle — irrelevant here, but chocks are mandatory. Loosen wheel bolts, raise the front, set car on stands at factory pinch-weld pads behind front wheels. Remove bolts and wheel.
3
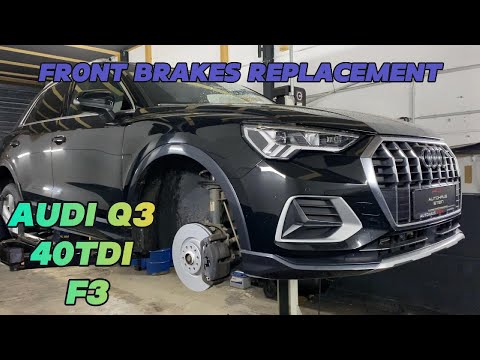
Remove the caliper and old pads
Pry off anti-rattle spring (thin flathead); note orientation. Pop caps; pull two glide pins (T45/T40 Torx; some 9mm hex), wiggle out. Disconnect driver's-side wear sensor (14mm bolt). Pry caliper rearward; zip-tie to spring — never by hose. Pull old pads.
🔧 Mechanic's note — Tom Becker
I photograph that anti-rattle spring before it comes off. It only goes back one way, and 'roughly right' rattles over every bump.
4
Install pads and hardware
Wire-brush bracket lands; fit stainless clips. Pads in — wear tab as before, shims placed. Compress phenolic pistons (dual-piston spreader) — crack if cocked, so keep square, go slow; watch reservoir. Grease pins (silicone brake grease); seat boots; refit caliper.
5
Torque, pump, and bed in
Reinstall caliper; refit glide pins, caps, anti-rattle spring as removed; reconnect wear sensor. Torque to spec. Refit wheel; torque wheel bolts star-pattern to 120 N-m. Pump pedal until firm; check fluid, warning. Bed pads moderately; no hard braking 150-200 km.
All Done!
Test your repair before closing everything up. If something doesn't work right, double-check your steps.
⚠️ Common Mistakes to Avoid
- • Changing only one pad or mixing pad sets on an axle
- • Working under a vehicle supported only by a jack
- • Letting the caliper hang from the brake hose
- • Forcing a seized piston or ignoring a leaking caliper
- • Skipping final lug and caliper torque or the bedding procedure