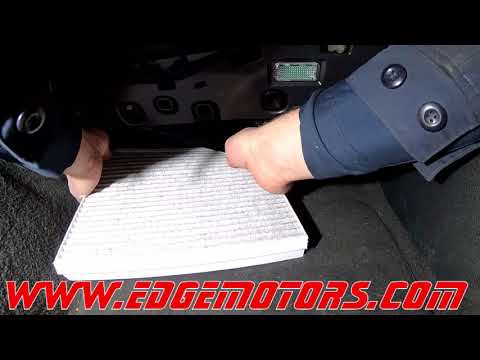
Quick answer: Engine Air Filter Replacement on a 2013–2016 Audi Allroad is rated Easy and takes about 15–20 minutes. You'll need 2 tools for this job, and parts cost about $35. This guide walks you through the full job step by step, including the mistakes to avoid.
| Part Name |
Part Number |
Price |
Buy |
| Engine air filter for 2013-2016 Audi Allroad; verify engine, housing shape, and VIN fitment |
— |
$35.00 |
|
About prices: shown prices are typical retail averages and change frequently; cheaper alternatives may be available. Confirm the current price before buying.
💡 Pro tip: Order all parts at once to save on shipping
Step-by-Step Instructions
Follow these steps carefully
1
Locate the driver's-side airbox
Open the hood: the airbox is the box on the driver's side of the 2.0T bay. The Allroad came only with the 2.0T — no V6 or diesel. Note the Torx screws around the lid and the outlet-side MAF sensor.
2
Unplug the MAF and loosen the intake clamp
Unplug the MAF connector — press the tab and pull it back. Loosen the intake-tube clamp at the lid (7 mm socket or flat-blade screwdriver) just enough for slack. The slack lets the lid lift up and back without stressing the piping.
3
Back out the Torx screws and lift the lid
Back out all the Torx lid screws — about six, commonly T25 or T30, so test-fit your bit first. Leave each sitting loose in its hole. Then work the lid back and up; the piping flexes enough for clearance.
🔧 Mechanic's note — Ray Delgado
Take it from me: Test-fit the Torx bit before backing anything out. These are commonly T25 or T30, and a loose bit rounds the head in one slip — then you're drilling in an airbox.
4
Rotate the old filter out counterclockwise
This filter doesn't lift straight out: rotate it counterclockwise and it pops free of the tab holders in the base. Note the locating tabs the new filter must engage. Lift it out, vacuum the base, and check the lid's perimeter seal for flattening or tears.
🔧 Mechanic's note — Tom Becker
In my experience, That rotate-to-release motion fools people the first time — they yank straight up and chew the tabs. Twist counterclockwise and it pops right out.
5
Rotate the new filter into its tab holders
Set the new filter and rotate clockwise until its tabs drop into the holders — front tab clicks. It should sit flat. Check the arrow points toward the engine; a filter atop the holders holds the lid up and whistles.
6
Reseat the lid, snug the screws, reconnect everything
Lower the lid down to realign the intake tube with its clamp. Run each Torx screw in by hand, then snug gently — they thread into plastic. Retighten the clamp and push the MAF connector on until its tab clicks.
7
Start up and verify boost behavior
Start the engine and idle; listen for whistling from a misseated lid. Confirm no check-engine light — a forgotten MAF plug sets one fast. Drive it; boost should build smoothly. Audi's interval is every 40,000 miles, sooner on dusty roads.
All Done!
Test your repair before closing everything up. If something doesn't work right, double-check your steps.
⚠️ Common Mistakes to Avoid
- • Using the wrong Torx size and rounding out a screw head — test-fit the bit in one screw before committing, and back each screw out gently rather than muscling it.
- • Removing the lid screws completely and dropping one into the engine bay — back them out until loose and lift the lid with the screws still sitting in their holes.
- • Forcing the new filter in without engaging its locating tabs — the 2.0T element has small tabs at its base that must rotate into the tab holders in the airbox, or the lid will not sit flat.