Quick answer: 12V Battery Replacement on a 2006–2011 Buick Lucerne is rated Easy and takes about 30-90 minutes. You'll need 2 tools for this job, and parts cost about $180. This guide walks you through the full job step by step, including the mistakes to avoid.
| Part Name |
Part Number |
Price |
Buy |
| Replacement 12-volt battery for 2006-2011 Buick Lucerne; verify group size, CCA, terminal layout, and VIN fitment |
— |
$180.00 |
|
| Anti-corrosion terminal protectant or felt washers (optional) Optional |
— |
$8.00 |
|
About prices: shown prices are typical retail averages and change frequently; cheaper alternatives may be available. Confirm the current price before buying.
💡 Pro tip: Order all parts at once to save on shipping
Step-by-Step Instructions
Follow these steps carefully
1
Verify battery fitment and charging symptoms
Your 2006-2011 Lucerne takes a Group 48 (H6) on 2008–2011, or Group 79 side-post on 2006–2007 battery (top-post on 2008–2011, side-post on 2006–2007, positive on the top right on 2008–2011 (verify against your old battery), about 730 CCA (the factory rating for the H6) or better) mounted under the rear seat cushion, not under the hood. Before spending money, confirm the battery is really the problem: slow cranking, dim headlights, a battery or charging-system warning light, corrosion on the terminals, or a swollen or leaking case. Slow cranking of the 3.8L V6 or 4.6L V8, or a battery warning on the driver information center. If you can, have the charging system load-tested first — an alternator fault or parasitic draw will drain a brand-new battery just as fast.
2
Make the vehicle safe
Take the key or fob well away from the car so the modules can go to sleep. Access means removing the rear seat cushion: pull the front edge of the cushion up and out of its retainers to expose the battery compartment.
🔧 Mechanic's note — Ray Delgado
I don't buy the cheapest battery. In my experience, the mid-grade ones last years longer for not much more money.
3
Disconnect the old battery
On the 2006-2011 Lucerne: With the seat cushion out, lift off the battery cover if your Lucerne has one. Remove the hold-down hardware (base clamp in the under-seat tray), then disconnect the NEGATIVE (-) cable first and tuck it aside where it can't touch metal or the positive post. Then remove the POSITIVE (+) cable. IMPORTANT: the battery must stay vented exactly like the original — note how the vent tube is routed and connected before you touch anything. Never twist a cable off its post by force, and never let a wrench bridge the positive terminal to the body. Snap a photo of the cable routing and hold-down before you lift the battery out.
4
Compare and install the replacement
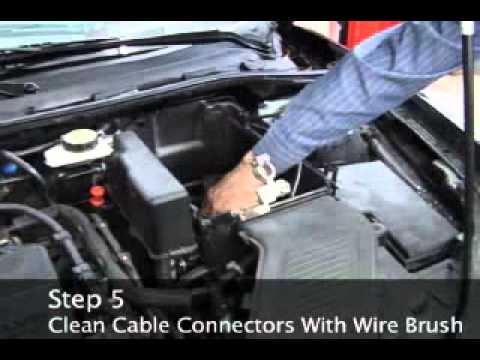
For the Lucerne, set the old and new batteries side by side and confirm the group size, case dimensions, terminal type, and polarity all match. Brush corrosion off the cable ends and wipe out the tray. Lower the new Group 48 (H6) on 2008–2011, or Group 79 side-post on 2006–2007 battery into place under the rear seat cushion, not under the hood, seat it flat, and secure the hold-down firmly without crushing the case. Reconnect the vent tube to the outlets on both sides of the battery and seat the vent assembly grommet into the floor pan, exactly as the original was routed. Connect the POSITIVE (+) cable first, then the NEGATIVE (-) cable, and snug each clamp so there is no wiggle.
5
Reset and verify operation
Reinstall everything you removed — the battery cover and the rear seat cushion, pressing the cushion firmly back into its retainers. Start the Lucerne and make sure the battery and charging-system warnings stay off. Radio presets, the clock, and seat-memory settings may reset. Note that you never need to open the hood for this job — jump-starting is done from remote terminals under the hood, per the owner's manual. With the engine running, charging voltage at the terminals should read roughly 13.5 to 14.8 volts. If the battery gets hot, leaks, smells of sulfur, or won't stay clamped, stop and have the charging system inspected. Return the old battery to the parts store for recycling and your core-charge refund.
All Done!
Test your repair before closing everything up. If something doesn't work right, double-check your steps.
⚠️ Common Mistakes to Avoid
- • Buying by appearance instead of group size, CCA, polarity, and hold-down fit
- • Shorting the positive terminal to the body with a metal tool
- • Lifting the battery by damaged terminals or leaving it unsecured
- • Skipping battery registration, window/clock resets, or charging-system checks when required
- • Assuming a new battery fixes a parasitic draw or charging fault