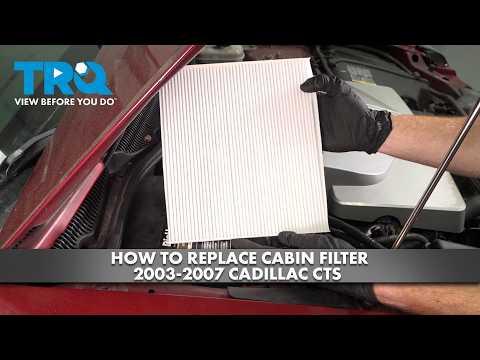
Quick answer: Engine Air Filter Replacement on a 2008–2013 Cadillac CTS is rated Easy and takes about 10–15 minutes. You'll need 2 tools for this job, and parts cost about $35. This guide walks you through the full job step by step, including the mistakes to avoid.
| Part Name |
Part Number |
Price |
Buy |
| Engine air filter for 2008-2013 Cadillac CTS; verify engine, housing shape, and VIN fitment |
— |
$35.00 |
|
About prices: shown prices are typical retail averages and change frequently; cheaper alternatives may be available. Confirm the current price before buying.
💡 Pro tip: Order all parts at once to save on shipping
Step-by-Step Instructions
Follow these steps carefully
1
Park and locate the airbox ahead of the engine
Engine off, parking brake on. The airbox is the black box ahead of the V6 near a front corner. Same layout on 3.6L, 3.0L V6 (2010–2013), and the 6.2L CTS-V — its airbox sits front-right.
2
Remove the T25 Torx screws around the lid
T25 Torx screws hold the lid — no spring clips, so grab a T25 bit first. Back each screw out into a magnetic tray; they tumble into the bay easily. Count them so every one goes back in.
3
Lift the lid clear without disturbing the MAF wiring
Lift the lid. The MAF sensor and its wiring are next to the box — never touch, wipe, or spray the element. If the lid resists, check for a missed screw; forcing it cracks the plastic tabs.
4
Remove the old panel filter and note its orientation
Lift the old filter out, noting which face pointed up and how the rubber frame nested into the channel. Hold it to daylight: a clogged filter shows as sluggish throttle and a fuel-economy drop before any warning light.
5
Clean the lower box and the lid's sealing lip
Vacuum or wipe the lower half clear of leaves, sand, and grit — without pushing debris toward the clean-side outlet. Check the lid's sealing lip and seal channel for grit; an even seal keeps unmetered air from the MAF.
6
Seat the new filter and settle the lid squarely
Drop the new filter into the lower box, rubber frame flat in its channel. Set the lid on squarely — if it rocks, the filter is cocked. Reseat the filter; don't force the lid down with the screws.
🔧 Mechanic's note — Tom Becker
If the lid rocks when you set it down, don't pull it down with the screws — I lift it back off and reseat the filter every time. Fighting a cocked filter with T25s is how those plastic bosses strip.
7
Reinstall the screws and verify with a test run
Reinstall every T25 screw — thread each by hand first, then snug in a crisscross pattern (not gorilla-tight; the bosses are plastic). Start the engine and listen for hissing or whistling; take a short drive to confirm no check-engine light.
All Done!
Test your repair before closing everything up. If something doesn't work right, double-check your steps.
⚠️ Common Mistakes to Avoid
- • Dropping a T25 screw into the engine bay — they vanish behind the airbox and rattle around, so keep every screw in a tray.
- • Reinstalling the lid crooked so one corner rides up on the filter frame, which lets unmetered air past the MAF and can set a lean code.
- • Overtightening the T25 screws into the plastic box and stripping the bosses, which ruins the lid's seal permanently.