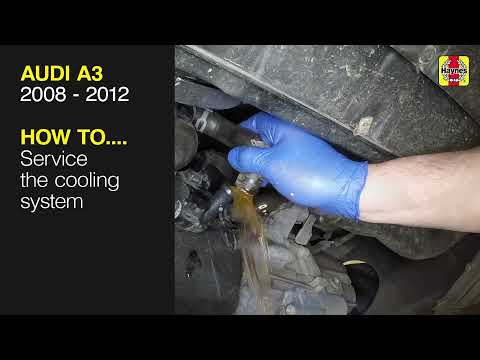
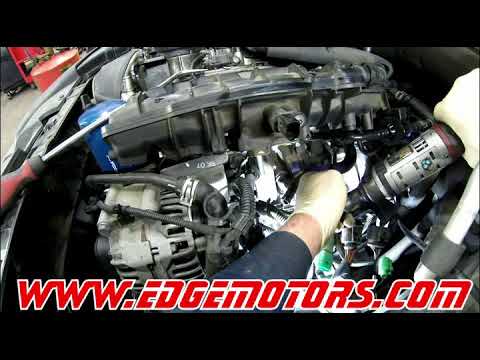
Quick answer: Water Pump Replacement on a 2008–2012 Chevrolet Malibu is rated Advanced and takes about 2-3 hours. You'll need 9 tools for this job, and parts cost about $140. This guide walks you through the full job step by step, including the mistakes to avoid.
| Part Name |
Part Number |
Price |
Buy |
| ACDelco 252-962 Water Pump Kit Optional |
252-962 |
$150.00 |
|
| Gates Water Pump Kit |
— |
$140.00 |
|
| Water pump TTY bolt set (new) |
— |
— |
|
| Water Pump Seal |
— |
— |
|
About prices: shown prices are typical retail averages and change frequently; cheaper alternatives may be available. Confirm the current price before buying.
💡 Pro tip: Order all parts at once to save on shipping
Step-by-Step Instructions
Follow these steps carefully
1
Prepare (TTY bolts, EN-46104!)
3.6L V6 (LY7): pump mounts on the FRONT (timing) cover — accessory-style, NOT timing-chain-driven like the 2.4L. EN-46104 pulley holder required. TTY: NEW bolts, 10 N·m (89 lb-in) two passes + final 45°; pulley bolts 10 N·m. New pump, NEW seal, Dex-Cool.
2
Drain, Access the Front Cover
Let the engine cool and drain the Dex-Cool. The pump sits on the FRONT (timing) cover — accessory mounting, not timing-chain-driven like the 2.4L. Clear obstructing components for access. The EN-46104 holder is required to hold the pulley — don't attempt this without it.
3
Remove Pump (discard TTY bolts!)
Hold the pulley with the EN-46104 holder and remove its bolts (10 N·m on reinstall). Remove the pump bolts — they're torque-to-yield: discard, do NOT reuse. Remove the pump and DISCARD the old seal. Clean the front-cover mating surface.
4
Install New Pump (TTY: 10 N·m + 45°!)
Install the new pump with a NEW seal and NEW TTY bolts: 10 N·m (89 lb-in) in two passes plus a final 45° — don't skip the angle. Pulley bolts: 10 N·m with the EN-46104 holder. Reused bolts won't hold clamping force.
🔧 Mechanic's note — Ray Delgado
Torque-to-yield means one use, period. I've seen reused TTY bolts back out and dump coolant on the highway. New bolts, two passes at 10 N·m, then the 45-degree turn — every time.
5
Refill Dex-Cool, Bleed
Refill with Dex-Cool — not green, not Asian. Fill the surge tank. Bleed: run to operating temp with heat on max, cool, recheck. The 3.6L bleeds normally. Verify the new seal isn't leaking — the front-cover location makes a leak visible.
6
Verify, Check Seal, Recheck
Start the engine and check for leaks at the pump and new seal; the gauge should climb to normal. The 3.6L's recipe: front-cover accessory mounting (not timing-chain like the 2.4L), NEW TTY bolts (10 N·m two passes + 45°), EN-46104 holder, new seal, Dex-Cool.
All Done!
Test your repair before closing everything up. If something doesn't work right, double-check your steps.
⚠️ Common Mistakes to Avoid
- • Not properly draining the coolant before starting the repair
- • Failing to replace the gasket or O-ring with the new water pump
- • Over-tightening bolts, leading to gasket damage or warping