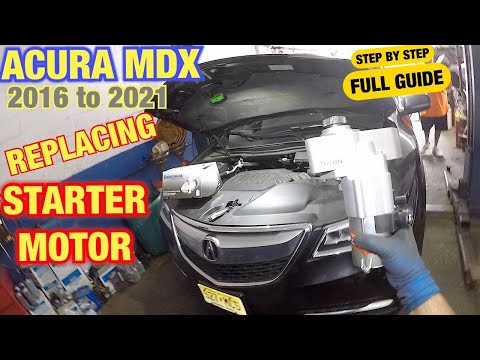
Quick answer: Starter on a 2015–2023 Dodge Challenger is rated Advanced and takes about 2-4 hours. You'll need 5 tools for this job, and parts cost about $220. This guide walks you through the full job step by step, including the mistakes to avoid.
| Part Name |
Part Number |
Price |
Buy |
| Replacement starter motor |
— |
$220.00 |
|
| Starter terminal hardware or heat shield fasteners (if needed) Optional |
— |
$20.00 |
|
About prices: shown prices are typical retail averages and change frequently; cheaper alternatives may be available. Confirm the current price before buying.
💡 Pro tip: Order all parts at once to save on shipping
Step-by-Step Instructions
Follow these steps carefully
1
Confirm the no-crank diagnosis
Park safely, set the parking brake, ignition off. Verify battery charge, then test battery voltage, cable/ground voltage drop, fuses, relay, and the start signal. Clicking or no-crank can also mean a weak battery or bad connection.
2
Disconnect the battery and gain access
Disconnect the negative (−) battery cable and isolate it. Locate the starter at the bellhousing and clear access — intake duct, splash shield, skid plate, or heat shield. If below, raise and support the vehicle on rated jack stands.
3
Photograph and disconnect starter wiring
Photograph the starter connections before removal. Remove the nut and main B+ cable, then unplug or remove the solenoid trigger wire. Keep the energized cable insulated from ground and inspect the terminals for heat damage, corrosion, or loose crimps.
4
Remove and compare the old starter
Support the starter while removing its mounting bolts, then lower it out without stressing wiring. Compare the replacement against the old unit: mounting ears, nose length, gear, solenoid clocking, connector locations, and any heat shield or bracket that must transfer.
🔧 Mechanic's note — Ray Delgado
I compare mounting ears, nose length, gear, and solenoid clocking old-against-new before the old starter leaves my hands. A solenoid clocked wrong means the harness won't reach — and I'm not making a second trip.
5
Install and torque the replacement starter
Fit the replacement starter to the bellhousing, hand-start mounting bolts, and tighten evenly to manufacturer spec. Reinstall any alignment dowel, bracket, or heat shield. Reconnect the solenoid trigger wire and B+ cable on clean, tight terminals; don't overtighten the stud.
🔧 Mechanic's note — Tom Becker
I fit the starter to the bellhousing and hand-start every bolt before any tightening, working them down evenly to spec. The alignment dowel goes back in first — skip it and the starter sits crooked and chews the flywheel.
6
Reconnect the battery and verify cranking
Reconnect the negative battery cable, reinstall shields and intake parts, and check wiring is clear of moving or hot components. Crank from a safe position; it should turn over smoothly without grinding. If the symptom remains, recheck diagnosis and wiring.
All Done!
Test your repair before closing everything up. If something doesn't work right, double-check your steps.
⚠️ Common Mistakes to Avoid
- • Replacing the starter when a weak battery, corroded cable, poor ground, fuse, relay, or neutral-safety circuit caused the no-crank condition
- • Failing to disconnect the negative battery cable before removing the B+ cable
- • Dropping the starter or cross-threading mounting bolts
- • Mixing up the main battery cable and solenoid trigger wire or leaving either connection loose