Quick answer: Thermostat Replacement on a 2015–2019 Ford Explorer is rated Advanced and takes about 2-4 hours. You'll need 4 tools for this job, and parts cost about $85. This guide walks you through the full job step by step, including the mistakes to avoid.
| Part Name |
Part Number |
Price |
Buy |
| Thermostat and sealing gasket for 2015-2019 Ford Explorer; verify engine and opening temperature |
— |
$65.00 |
|
| Vehicle-approved premixed coolant or concentrate; match the owner manual |
— |
$20.00 |
|
About prices: shown prices are typical retail averages and change frequently; cheaper alternatives may be available. Confirm the current price before buying.
💡 Pro tip: Order all parts at once to save on shipping
Step-by-Step Instructions
Follow these steps carefully
1
Confirm fitment and prepare
Park on level ground, set the parking brake, let the engine cool completely, and compare the replacement thermostat and seal with the removed parts. Confirm the engine and the manufacturer procedure before draining.
2
Drain the cooling system
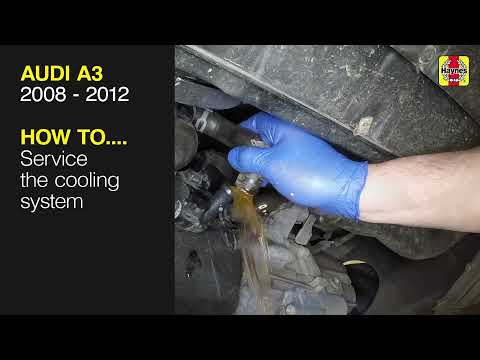
Remove the reservoir or radiator cap only when cold. Place a drain pan under the approved drain point and drain enough coolant to lower the level below the thermostat housing; cap and label the coolant container.
🔧 Mechanic's note — Ray Delgado
I cap and label the coolant I drain — I've learned mixing Dex-Cool with green coolant turns to sludge, and 'I'll remember' never survives a lunch break.
3
Gain access to the housing
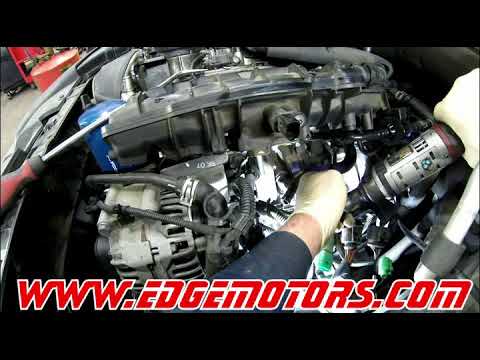
Remove the engine cover, air-intake pieces, brackets, or shields that obstruct the thermostat housing. Keep connectors and fasteners organized and do not pull on wiring or plastic fittings.
4
Remove the old thermostat
Mark hose and connector positions, release the relevant hose clamp, and remove the housing fasteners with the correct socket. Separate the housing carefully, capture residual coolant, remove the old thermostat and gasket, and clean the mating surfaces without gouging them.
5
Install the new thermostat
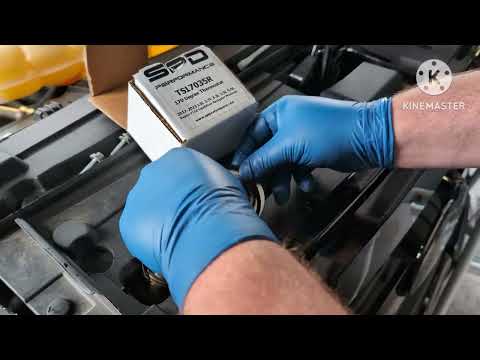
Install the new thermostat in the exact orientation shown by the service information, fit a new gasket or O-ring, and seat the housing evenly. Start every fastener by hand, then torque in the specified sequence and value for the installed engine.
6
Refill and bleed the system
Reconnect hoses, sensors, intake parts, and shields. Fill with the specified coolant using a spill-free funnel if appropriate, then follow the vehicle-specific air-bleeding procedure. Do not substitute a generic bleed method for a hybrid or electronically controlled system.
7
Verify operation and leaks
Start the engine and monitor the temperature, heater output, reservoir level, and housing for leaks. Let it cool fully, recheck the level, inspect again, and do not drive if it overheats, the heater stays cold, the warning light remains on, or coolant leaks.
🔧 Mechanic's note — Tom Becker
I keep a hawk's eye on the temp gauge for the first drive and keep the heater on — if the needle climbs past halfway or the heater blows cold, I pull over; I've learned that's trapped air, not a bad thermostat.
All Done!
Test your repair before closing everything up. If something doesn't work right, double-check your steps.
⚠️ Common Mistakes to Avoid
- • Opening the radiator or expansion-tank cap while the engine is hot
- • Installing the thermostat backward or reusing a flattened gasket
- • Mixing incompatible coolant or allowing dirt into the open housing
- • Over-tightening aluminum housing fasteners or using sealant where none is specified
- • Failing to bleed air and recheck the level after a complete cool-down