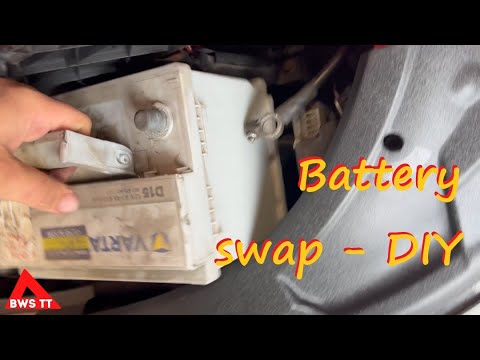
Quick answer: 12V Battery Replacement on a 2016–2023 Mercedes-Benz Metris is rated Moderate and takes about 30-90 minutes. You'll need 2 tools for this job, and parts cost about $180. This guide walks you through the full job step by step, including the mistakes to avoid.
| Part Name |
Part Number |
Price |
Buy |
| Replacement 12-volt battery for 2016-2023 Mercedes-Benz Metris; verify group size, CCA, terminal layout, and VIN fitment |
— |
$180.00 |
|
| Anti-corrosion terminal protectant or felt washers (optional) Optional |
— |
$8.00 |
|
About prices: shown prices are typical retail averages and change frequently; cheaper alternatives may be available. Confirm the current price before buying.
💡 Pro tip: Order all parts at once to save on shipping
Step-by-Step Instructions
Follow these steps carefully
1
Confirm the fitment and the under-seat location
On US-spec Metris vans, the main 12V battery lives under the driver's seat. It takes a Group 49/H8. Start/stop vans also carry a small aux battery under the front passenger seat. Read the group code on your old battery before buying.
🔧 Mechanic's note — Tom Becker
Battery jobs have bitten me before: Metris owners always ask why the battery is under the driver's seat — and then they buy a passenger-side aux battery by mistake. There are two batteries on start/stop vans. Read the label on yours before spending a dime.
2
Set up safely and protect the seat wiring
Park on level ground, shift to Park, set the parking brake, and switch the ignition off. Slide the driver's seat fully forward; don't force or unplug the seat's connectors. An in-cabin battery demands AGM with the vent tube routed outside. Wear eye protection and gloves.
3
Expose the battery under the driver's seat
Remove the floor trim and access panels under the driver's seat to expose the battery compartment. Photograph the cable routing before touching anything, noting the battery management sensor on the negative cable. Keep track of every fastener and trim clip.
4
Disconnect the old battery, negative first
Loosen the negative cable clamp first and tuck it aside where it can't touch either terminal, handling the sensor wiring gently. Disconnect the vent tube, remove the hold-down, then the positive cable. Lift the heavy Group 49/H8 battery straight up — legs, not back.
🔧 Mechanic's note — Ray Delgado
This one's bitten me before: That little sensor on the negative cable is fragile and expensive. If you yank the cable off rough, you'll snap it — loosen the clamp fully first and work it off with a gentle twist.
5
Set the new AGM battery and reconnect the vent
Lower the new Group 49/H8 AGM into the compartment in the original orientation and refit the hold-down snug. Reconnect the vent tube firmly so gases route outside the cabin. Connect positive first, negative, seating the sensor exactly as before; confirm both clamps grip firmly.
6
Register the battery if your model requires it
Many Mercedes want the battery registered to the battery management system with a scan tool or at the dealer so charging adapts. Requirements vary — if you can't confirm the procedure for your Metris, have a dealer or specialist check it rather than guessing.
7
Restore settings, verify charging, recycle the old battery
Reset the clock and radio presets, then return the seat to position. Start the van — strong cranking, no battery warning; expect roughly 13.5 to 14.5 volts across the terminals at idle. Return the old battery for its core refund and recycling.
All Done!
Test your repair before closing everything up. If something doesn't work right, double-check your steps.
⚠️ Common Mistakes to Avoid
- • Buying by appearance instead of group size, CCA, polarity, and hold-down fit
- • Shorting the positive terminal to the body with a metal tool
- • Lifting the battery by damaged terminals or leaving it unsecured
- • Skipping battery registration, window/clock resets, or charging-system checks when required
- • Assuming a new battery fixes a parasitic draw or charging fault