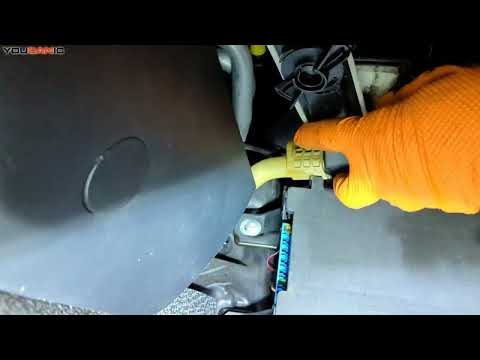
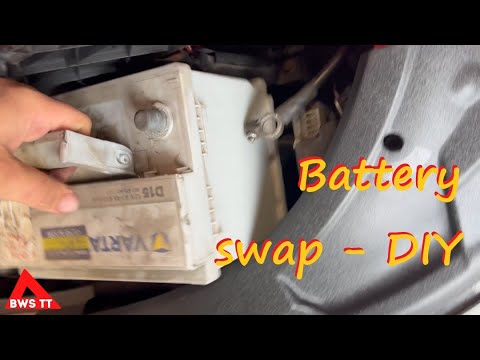
Quick answer: 12V Battery Replacement on a 1996–2024 Mercedes-Benz Vito is rated Moderate and takes about 30-90 minutes. You'll need 2 tools for this job, and parts cost about $180. This guide walks you through the full job step by step, including the mistakes to avoid.
| Part Name |
Part Number |
Price |
Buy |
| Replacement 12-volt battery for 1996-2024 Mercedes-Benz Vito; verify group size, CCA, terminal layout, and VIN fitment |
— |
$180.00 |
|
| Anti-corrosion terminal protectant or felt washers (optional) Optional |
— |
$8.00 |
|
About prices: shown prices are typical retail averages and change frequently; cheaper alternatives may be available. Confirm the current price before buying.
💡 Pro tip: Order all parts at once to save on shipping
Step-by-Step Instructions
Follow these steps carefully
1
Verify battery fitment and charging symptoms
Confirm the job on your 1996-2024 Mercedes-Benz Vito, and first identify which generation you have, because the battery location changes. Check for charging warnings, a swollen case, or green corrosion before buying.
🔧 Mechanic's note — Ray Delgado
I've found that identify the generation first — the battery moves between the engine bay, under the front seat, and the seat box depending on W638, W639, or W447. Order the wrong DIN size and it won't fit the box.
2
Make the vehicle safe
Park the Vito on level ground, set the parking brake, switch the ignition fully off, and take the key out of range so the modules sleep.
3
Reach the battery through the seat box
On the W639, slide the front seat fully forward, pry off the plastic side panel of the seat base, and reach the battery through the top of the seat box.
🔧 Mechanic's note — Tom Becker
I've learned that photograph the aux battery's vent tube and relay wiring before you touch anything on the ECO start-stop vans. Mix those up and the start-stop system just quietly stays disabled.
4
Compare and install the replacement
Compare the new battery with the old one: same case size, same terminal orientation, and a vent port in the right place. A battery mounted inside the cabin or under a seat MUST have its vent tube reconnected so gases exit outside the vehicle. Clean the tray or seat box and brush any corrosion off the cable ends. Lower the new battery straight into the box - it is heavy and the seat-base opening is tight - then connect positive first, negative second. Refit the hold-down so the battery cannot move, and confirm no cable is pinched when you refit the side panel, trim, or floor covering.
5
Reset and verify operation
Refit all seat trim and panels, start the Vito, and confirm charging voltage and that no battery or charging warnings remain on the dash. If your van has the ECO start-stop auxiliary battery, verify the start-stop system actually engages after a drive - a weak aux battery is the classic cause of start-stop staying disabled. Re-normalize the power windows (hold each switch at its limits) and reset the clock. No owner-accessible battery registration step is documented for the Vito - if warning lights persist or the battery runs hot or smells of sulfur, stop and have the charging system tested rather than driving on.
All Done!
Test your repair before closing everything up. If something doesn't work right, double-check your steps.
⚠️ Common Mistakes to Avoid
- • Buying by appearance instead of group size, CCA, polarity, and hold-down fit
- • Shorting the positive terminal to the body with a metal tool
- • Lifting the battery by damaged terminals or leaving it unsecured
- • Skipping battery registration, window/clock resets, or charging-system checks when required
- • Assuming a new battery fixes a parasitic draw or charging fault