Quick answer: Engine Air Filter Replacement on a 1996–2024 Mercedes-Benz Vito is rated Easy and takes about 20-45 minutes. You'll need 2 tools for this job, and parts cost about $35. This guide walks you through the full job step by step, including the mistakes to avoid.
| Part Name |
Part Number |
Price |
Buy |
| Engine air filter for 1996-2024 Mercedes-Benz Vito; verify engine, housing shape, and VIN fitment |
— |
$35.00 |
|
About prices: shown prices are typical retail averages and change frequently; cheaper alternatives may be available. Confirm the current price before buying.
💡 Pro tip: Order all parts at once to save on shipping
Step-by-Step Instructions
Follow these steps carefully
1
Confirm filter fitment and engine state
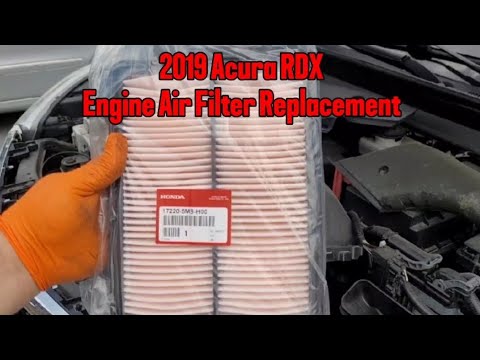
Mercedes part A 651 090 00 51 for the 2.0L turbo, with Mahle LX3031, Mann C42002, and WIX WA10559 as common equivalents.
🔧 Mechanic's note — Tom Becker
Identify the generation before you buy anything — a W639 filter will not fit a W447 box, and I've seen people order twice because they skipped the VIN check.
2
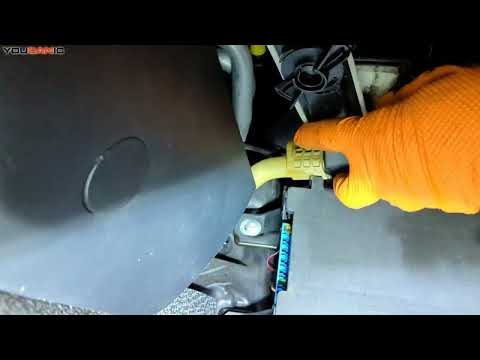
Open the air box
Van housings see more heat cycling and road grime than car boxes, so work the fasteners gently and do not pry the lid until every one is free.
3
Inspect the old filter and housing
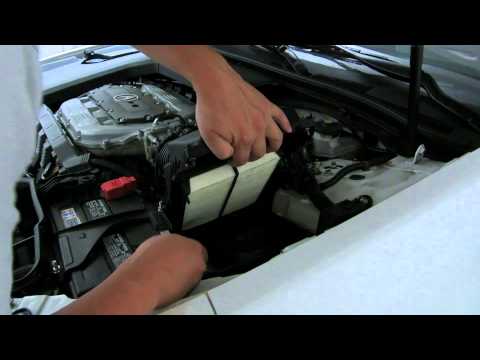
Lift the old panel filter out and note which face is dirty to set the airflow-arrow direction. Van airboxes collect an unusual amount of debris — vacuum the lower housing thoroughly for leaves, insects, and fine dust that accumulate behind the grille. Inspect the lid seal for hardening, check the intake duct and its clamps for cracks from heat aging, and confirm the MAF sensor connector is clean and dry. If your van is an older W638 or W639, the housing layout differs, so compare the new filter against the old one before proceeding.
4
Install the new filter
Set the new filter into the lower half with its gasket fully captured in the channel and the airflow arrow matching the old element's dirty side. The panel must sit flat with no rocking; on the W447 a filter that stands proud means the wrong generation's part. Lower the lid straight onto the seal, seating it squarely before engaging any fasteners — never use the clips or screws to drag a crooked lid into place.
🔧 Mechanic's note — Ray Delgado
In my experience, if the lid sits crooked, don't drag it straight with the fasteners — lift it and reseat it square. Using the clips to force a crooked lid warps the seal channel.
5
Close and verify the intake
Engage every lid fastener with even tension so the seal compresses uniformly, then confirm the MAF connector is seated and its wiring clears the lid edge. Remove the towel, start the engine, and listen at the airbox for a hiss or whistle that would signal an intake leak. Verify there is no check-engine light, no rough idle, and no loose-housing rattle at idle and under a light rev before you close the hood.
All Done!
Test your repair before closing everything up. If something doesn't work right, double-check your steps.
⚠️ Common Mistakes to Avoid
- • Confusing the engine filter with the cabin filter
- • Installing the filter upside down or leaving a corner unseated
- • Dropping clips, dirt, or shop towels into the intake tract
- • Over-tightening plastic air-box fasteners
- • Failing to confirm the MAF connector is seated.