Quick answer: Brake Pad Replacement on a 2017–2024 Nissan Armada is rated Advanced and takes about 1-3 hours. You'll need 3 tools for this job, and parts cost about $205. This guide walks you through the full job step by step, including the mistakes to avoid.
| Part Name |
Part Number |
Price |
Buy |
| Front or rear brake pad set for 2017-2024 Nissan Armada; verify axle, brake package, and VIN fitment |
— |
$180.00 |
|
| Replacement pad hardware or wear sensor only if the kit requires it |
— |
$25.00 |
|
About prices: shown prices are typical retail averages and change frequently; cheaper alternatives may be available. Confirm the current price before buying.
💡 Pro tip: Order all parts at once to save on shipping
Step-by-Step Instructions
Follow these steps carefully
1
Confirm you have the Y62 generation brakes
The pad shape and procedure are completely different between generations - confirm yours before ordering parts. Inspect pad thickness and rotor condition through the wheel.
🔧 Mechanic's note — Ray Delgado
This is exactly how wrong parts show up in my shop: someone orders pads for 'an Armada' and gets first-gen parts for a Y62. Check the build year before you click buy.
2
Park, chock, loosen lugs, and lift safely
Level pavement, Park, parking brake, chock rears — very heavy SUV. Crack front lugs on the ground, jack the front onto HD rated stands under the frame rails. Wheel off. Shake hard to confirm stability; never work under a jack alone.
3
Remove the caliper bolts and hang the caliper
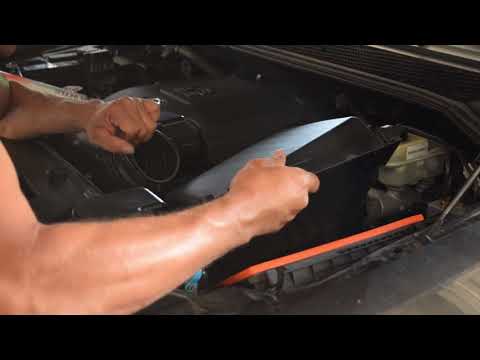
Back out the two caliper bolts; Hang it from the frame or control arm with a sturdy hook — never by the hose — and keep the hose's natural curve.
4
Remove the old pads and hardware; inspect everything
Slide the pads out and remove the stainless abutment clips — replace if rusted or grooved. Check both 45.4mm pistons' dust boots for tears. Inspect rotors for scoring, heat checking, and wear lip; heavy SUVs chew rotors once pads run thin.
5
Service the pins, retract both pistons, install pads
Seat the new abutment clips fully in the bracket. Lay the OLD pad across BOTH 45.4mm pistons and compress evenly with a C-clamp so neither piston cocks.
🔧 Mechanic's note — Tom Becker
My rule: That old-pad-across-both-pistons trick matters — press one piston alone on a dual-piston caliper and the other one cocks sideways in its bore.
6
Reinstall the caliper and wheel; torque to spec
Slide the caliper over the pads, reinstall the two bolts, and torque to your manual's spec. Wheel on, hand-start every nut, lower, and star-pattern the lugs to factory spec. Confirm the hose keeps its natural curve, clear of wheel and suspension through full steering lock.
7
Check the fluid and test drive
Check the reservoir and top up with the correct DOT fluid if needed. Test drive for straight, quiet stops with no pull or vibration, and recheck lug torque after 50 miles.
All Done!
Test your repair before closing everything up. If something doesn't work right, double-check your steps.
⚠️ Common Mistakes to Avoid
- • Changing only one pad or mixing pad sets on an axle
- • Working under a vehicle supported only by a jack
- • Letting the caliper hang from the brake hose
- • Forcing a seized piston or ignoring a leaking caliper
- • Skipping final lug and caliper torque or the bedding procedure